Bring Helpful Pollinators To Your Yard With DIY Clay Bee Cups
We may receive a commission on purchases made from links.
Planting colorful flowers will bring bees to your yard and support pollination. But while you make efforts to provide these insects with food provisions, you must also think about quenching their thirst. However, the birdbaths in your garden will be too big for them and present a drowning risk. Fortunately, you just need some clay and your DIY ingenuity to create bee clay cups. Simply roll a tiny amount of clay and form a spike on one end and a cup-shaped opening on the other.
This way, you can bring more bees into your yard and garden without spending too much money. Plus, the cups are easy to install. You just have to push the spiky end into the ground and fill the empty openings with a tiny amount of water. Better yet, they won't fade or break down easily, ensuring your DIY project keeps pollinators happy for a long time. That being said, be careful about the type of clay you use for this project. This is because regular polymer clay might contain chemicals and may be toxic to visiting pollinators, like bees and butterflies. Although you can use non-toxic polymer clay, such as the Sculpey Original Oven Bake Clay, it isn't considered food safe. So, be careful about the material you use. In case you don't want to risk it, go with porcelain or stoneware clay to be on the safe side.
How to DIY clay bee cups
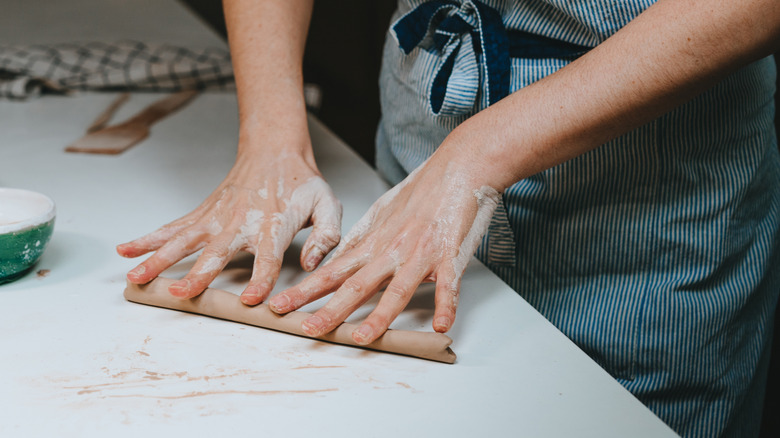
Once you have the clay you want to use for your bee cups, grab a clay cutter or knife, depending on how elaborate or simple you wish the final product to be. If you just want to DIY a simple cup for thirsty bees and butterflies, roll a small amount of clay on a table. After it seems even, apply a little extra pressure toward one end for a spiky stem. Mold the other end in the shape of a cup. Remember, you don't want the mouth to be too small, or the pollinators will have a hard time drinking from the cup. Similarly, you don't want the opening to be too big for their tiny bodies, or else they can drown. Plus, it'll invite mosquitoes and offer an ideal environment for them to lay eggs, aka breed.
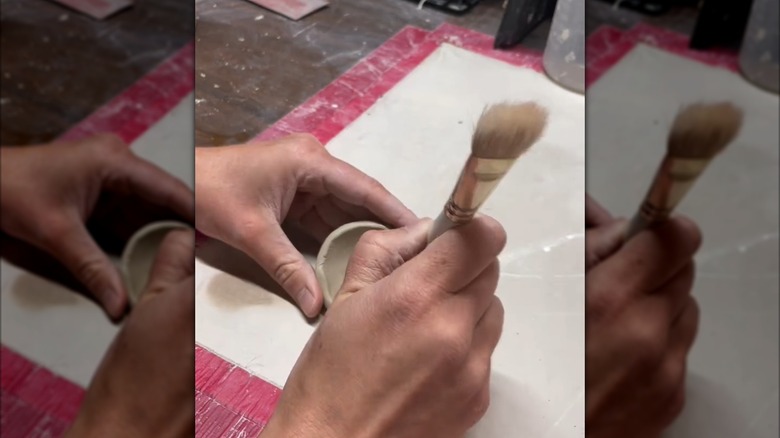
Next, bake it per the manufacturer's instructions and let it cool down. Ta-da! Your simple clay bee cups are ready to be used. However, if you want the design to be a bit more elaborate, let your creative side reign free once you have the basic structure ready. Use your clay cutter to carve pretty designs inside or craft tiny decorations, like flowers, and adhere them to the cup's bottom for a unique water holder for your favorite pollinators.
Ways to customize your clay bee cups
Looking to add a little extra oomph to your clay bee waterers? An easy way is to add a little non-toxic pigment to your white clay. Use shades that mimic the look of natural flowers to attract bees to your garden. Alternatively, mix two or more colors together for a unique shade. This will make the cups stand out in your garden and add visual interest. Another way to customize your bee cups is to experiment with the shape. If you're comfortable undertaking elaborate projects, mold your clay into striking blooms and attach the stem afterward.
You could even add a little texture to the cup's inside to up the ante. This will also ensure your DIY waterers aren't too slick, or they'll turn into a drowning hazard for the tiny pollinators. All you have to do is grab your clay cutter to carve micro designs within the waterer. Or, you could use the other end of your paintbrush to get the job done. One other option is to group a few bee cups together and place them in a DIY clay pot to let the visiting bees and butterflies drink water in style. Whichever option you choose, remember to replenish the cup as soon as it runs low. You may have to do it daily (or twice a day) on particularly hot days since water will evaporate at a faster rate.

