Upgrade Your Boring Concrete Patio To Custom Brick Using This Budget-Friendly DIY
Basic concrete patios are just that: basic. This can be fantastic if you just need a place for your grill and a spot to enjoy the sun. But if you're looking for inexpensive ways to cover a concrete patio — not to mention add a little more interest and personality to your outdoor space — consider using faux brick. With these multipurpose tiles, you can create a whole new look on your own and still have room in the budget to create the backyard of your dreams.
This DIY isn't just budget-friendly; it's simple. All you have to do is cut the faux bricks, like TORURAL Vintage Brown/Red Faux Brick Wall Tiles, to size and adhere them to your concrete patio to give your space a whole new look. However, the time needed for this project depends on the size of your patio and the complexity of the pattern you choose. But with a straightforward design and a small patio, you can likely complete this project in as little as a weekend.
Use faux bricks to customize your concrete patio
First things first: start by measuring your space. Then map out your design, either on the concrete patio itself with a pencil or on a piece of paper. This might feel like an extra step, but having a roadmap to keep you on track will come in handy when it gets hard to remember if that tile is supposed to be vertical or horizontal.
Then, work from one edge of the patio to the other. Use a utility knife to cut the bricks to size as needed and lay them out so you get a sense of the design. This also means that you can rearrange later if you need to. Once you're happy with the design, apply a construction adhesive that binds to concrete, like Loctite PL Premium Polyurethane Construction Adhesive, and let it dry. Use tile spacers to keep the pattern intact while the adhesive dries. Continue until the entire patio is covered with the faux brick tiles. Next, it's time to apply grout. Epoxy grout is a great choice because it can easily withstand water and weather. Apply, let dry, and enjoy your new, upgraded patio.
How much will this DIY patio facelift cost?
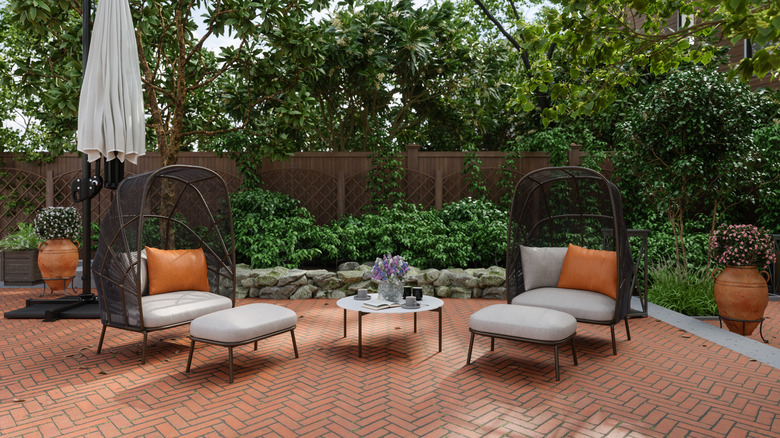
One of the best ways to determine this DIY's cost is to pick out your pattern first. While this might seem backward, it actually helps you estimate the final costs. If your pattern requires lots of small pieces, you may need to purchase an additional box of faux bricks. When it comes to picking paver patterns that will add interest and texture to your patio, there are tons of choices. Herringbone, pinwheel, and basketweave all look beautiful and generally use whole bricks, lowering your potential expenses. If you have a bit of room in the budget and are feeling adventurous, consider trying a whorl pattern where the bricks slowly expand out into circles.
Once you've picked your pattern, you can figure out your costs. To upgrade a 7-foot by 7-foot concrete patio with a simple pattern, you'll need a little under 4 boxes of the TORURAL faux brick tiles, priced at $49.99 per box as of this writing. Adding in a couple tubes of Loctite construction adhesive, currently priced at $6.48 each, comes out to just under $213. Meaning, with the average installation for a 7-foot by 7-foot square patio averaging between $400 and $1000, this DIY can save you up to $700. That's plenty left over to make the most out of your outdoor living space with a fun upgrade.

