Advice You Have To Follow To Avoid Damaging Wood Veneer While Sanding
We may receive a commission on purchases made from links.
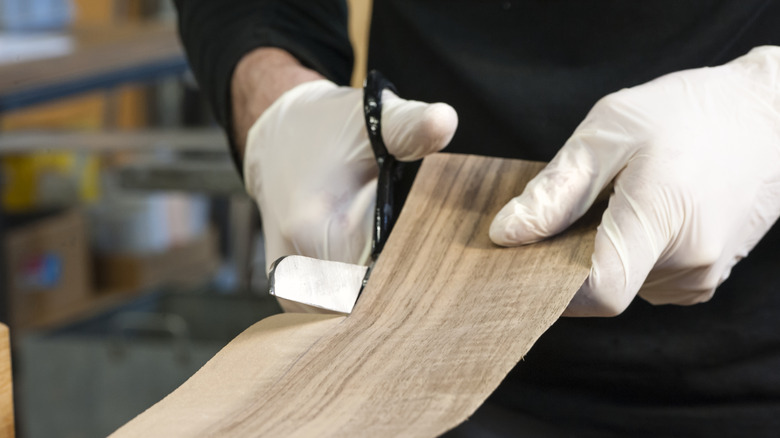
Wood veneer offers a sustainable and cost-effective way to get the look of luxurious hardwood at a fraction of the price. Veneer is a very thin slice of solid wood that's been glued to a piece of plywood, particleboard, or fiberboard. At under ¹⁄₄₀ of an inch in thickness per sheet, veneers are pliable enough to fit around unusual shapes and curves, making the material ideal for custom pieces of furniture. Since only a small amount of wood is used to create each veneer layer, it's one of the best ways to get the look of exotic hardwoods that are extremely expensive or even impossible to purchase. You'll find it on a wide assortment of items, from furniture to flooring, from cabinetry to cell phone covers. But although it's generally durable, you'll have to use caution when sanding it.
We asked Bob Beacham, House Digest's expert carpenter and remodeler, for tips on sanding veneer safely. "The danger is sanding through the veneer to reveal the core, which is less attractive (hence covering it with veneer) and will absorb finish at a different rate," Beacham told us during his exclusive interview. "The surface will look blotchy at best but is probably ruined," he cautioned. Once a piece of veneer has been sanded through, there's not much you can do to fix it. To prevent these issues, Beacham recommends using a stripper before sanding, sanding with the right grit, and raising the fibers once you're done. First, though, you should make sure you're dealing with actual wood veneer.
If you're working with wood veneer, strip it first
The first thing you need to do is determine whether the surface you're working with is veneer or not. "If you start sanding and you discover the surface is plastic, not wood, you have laminate instead of veneer (although some people call it plastic veneer)," Bob Beacham told House Digest during his exclusive interview. Laminate is commonly used on flat-packed items like the IKEA furniture you build yourself. According to Beacham, "About the only thing you can do with laminate is paint over it." Unlike laminate, veneer will have a natural wood grain pattern and texture instead of a glossy surface with a printed design.
Once you've determined that you're working with veneer, our expert carpenter recommends starting with a stripper before sanding by hand. "Using stripper is an excellent idea ... it does a lot of the hard work without sanding," he said. Citristrip Stripping Gel is one option to consider. A highly rated product with thousands of five-star reviews, it's capable of quickly removing varnish, lacquer, polyurethane, and shellac without subjecting you to an overpowering chemical smell. Solvent-based strippers are generally better than water or lye-based ones, which can loosen the bond between the thin veneer sheet and the glue holding it onto the plywood or fiberboard below. It's always a good idea to do a small patch test before covering any refinishing project with a caustic product. Also, don't forget to wear gloves to avoid any skin irritation.
Lift the fibers for the best end result
When sanding veneer, don't overdo it with heavy-duty power tools like electric sanders. "I want to emphasize how easy it is to sand through veneers," Bob Beacham told House Digest during his exclusive interview. "If it's a relatively small piece of furniture, I would probably do the job by hand," he added. To sand the surface, Beacham suggests using a sanding block or a piece of fine-grit sandpaper wrapped around a wood block. There are some common mistakes to avoid when sanding, including skipping a grit level, which can lead to scratches. "Sand with nothing coarser than 180 grit," Beacham advised. "It'll take longer, but it's safer, and all you're doing is removing the old finish."
Next, our carpentry expert said to thoroughly dust the veneer surface before wiping it with a damp cloth. "This is to raise the grain," he explained. "Tiny fibers will lift up from the surface, a bit like wood hairs." Take a break after this step to allow the piece to fully dry before sanding with a smoother grit, like 3M's Very Fine 220 General Purpose Sandpaper. "This removes those tiny fibers, leaving a super smooth surface for the finish," according to Beacham. For the best results, this step is especially important if you're using water-based finishes. He explained that "... if you don't go through the process of raising the grain beforehand, it will happen when you apply the finish, and the final result won't be as smooth." The process will help you get professional results whether you plan to stain a piece of furniture or paint veneer cabinets.


