Everyday Trash That Can Be Used To Make Your Garden Thrive
We may receive a commission on purchases made from links.
It might seem a little unexpected, but the secret to a thriving garden could be hiding in your recycling bin. Forget the usual suspects like food scraps and spent plants; we're talking about the potential of everyday household items like plastic bottles, cardboard boxes, and even old linens. These seemingly everyday materials can be transformed into a goldmine of useful gardening tools.
This isn't just about reducing waste — though that's great — it's about unlocking the hidden potential of everyday materials. By thinking creatively and repurposing what you've got, you can cultivate a thriving, resourceful garden that's as friendly to your budget as it is the environment. With a little ingenuity, even ordinary household items can contribute to extraordinary garden growth.
Thin foam packing sheets can be used for weed suppression
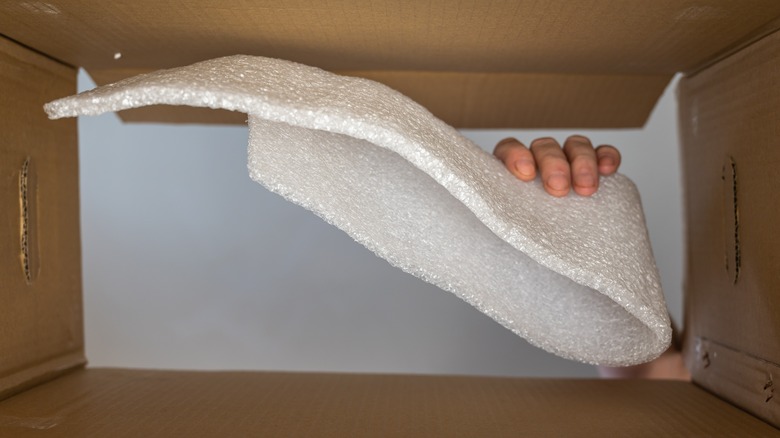
Those thin foam packing sheets that are often wrapped around electronics or fragile items can be a temporary, yet effective, way to suppress weeds. Weeds compete with garden plants for vital resources like sunlight, water, and nutrients, hindering garden growth and productivity. By laying these foam sheets directly on the soil surface, you'll be using a method of solarization which creates a temporary barrier that blocks sunlight from reaching weed seeds, preventing them from germinating. This reduces competition, allowing your desired plants to access more resources and grow stronger and healthier, especially during their critical early growth stages. Plus, it's a great way to give those packing materials a second, temporary life, before they hit the local landfill.
To use them, simply lay the sheets flat on the soil surface and hold them down with stones or garden stakes. Keep them in place for at least a month, but two months is best. Then, remove the foam sheets and plant your seedlings in your newly weed-free garden.
Repurpose plastic bottles as seedling starters, mini greenhouses, or self-watering planters
We seem to collect hoards of plastic bottles without even trying. Luckily, these can actually be super useful tools in your garden, helping your plants thrive by creating miniature, controlled environments that protect delicate seedlings, provide a humid environment for propagation, and deliver consistent moisture to established plants. This not only reduces waste but also provides a cost-effective and practical solution for gardeners who need multiple cheap but effective versatile gardening tools.
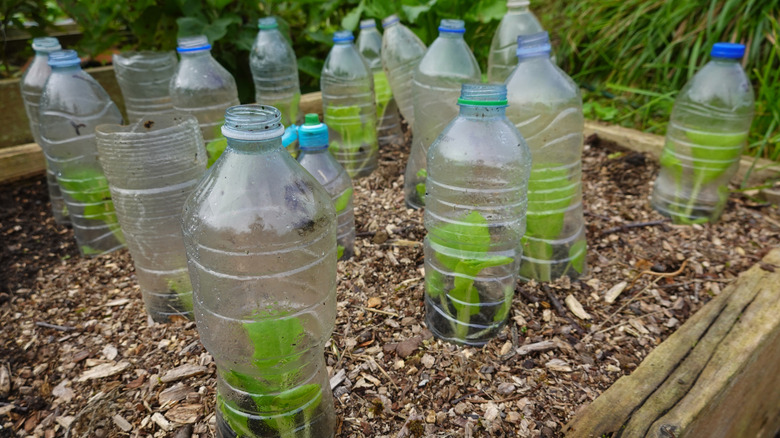
For seedling starters, simply cut the top off a plastic bottle and discard it. Then, cut a few drainage holes into the bottom, fill with potting soil, and sow your seeds. For self-watering planters, cut a bottle in half, invert the top portion, and insert it into the bottom, using a wick to draw water from the reservoir to the soil. If you're worried about soil leaking into the water reservoir, you can cut a small piece of mesh, tulle, or pantyhose and affix it over the hole with a ring of duct tape. To create a mini-greenhouse for larger plants, cut off the bottom of a larger bottle and place it over the plant, creating a protective dome. Whichever option you go with, all methods provide seedlings and plants with optimal growing conditions, giving them a strong start and ensuring their continued health. Plus, you're diverting plastic from landfills, which is always a win.
Convert old trash cans into compost bins
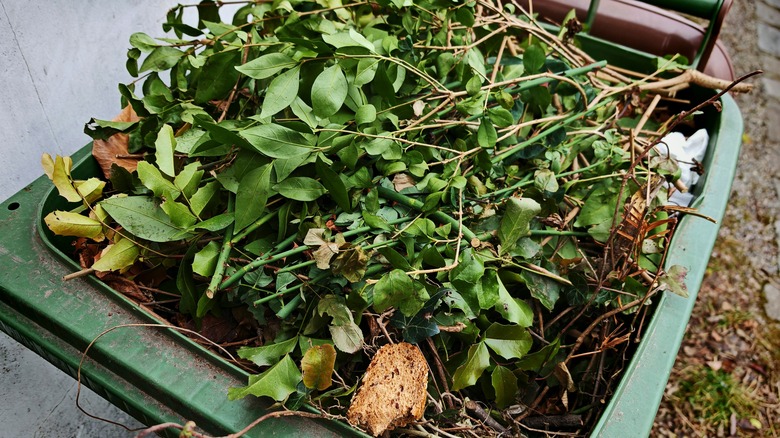
Don't send that old, dented trash can taking up space in your garage or shed to the landfill. Instead, transform it into a valuable asset for your garden — a compost bin. By creating a compost bin, you're not just recycling waste; you're creating a nutrient-rich soil amendment that will help your plants thrive. Compost provides essential nutrients, improves soil structure, and enhances water retention, leading to healthier, more productive plants.
To convert a trash can into a compost bin, start by drilling several drainage holes in the bottom and aeration holes along the sides to ensure proper airflow and prevent waterlogging. Add a mix of "green" materials, like grass clippings and vegetable scraps, and "brown" materials, like dry leaves and shredded cardboard, in alternating layers. Regularly turn the compost to aerate it and speed up decomposition. In a few months, you'll have a rich, dark compost ready to nourish your garden.
Turn junk mail or newspapers into mulch
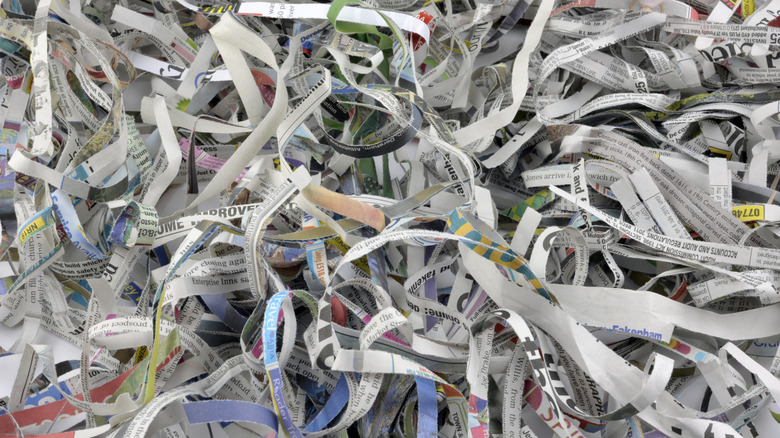
Junk mail or old newspapers aren't mere paper waste; they're a potential source of valuable garden mulch. Paper-based mulch is useful for gardens because it helps retain moisture, suppress weeds, and enrich the soil during decomposition. Plus, repurposing the paper will not only create a natural, soil-nourishing mulch — it may also make you excited for your weekly junk mail delivery.
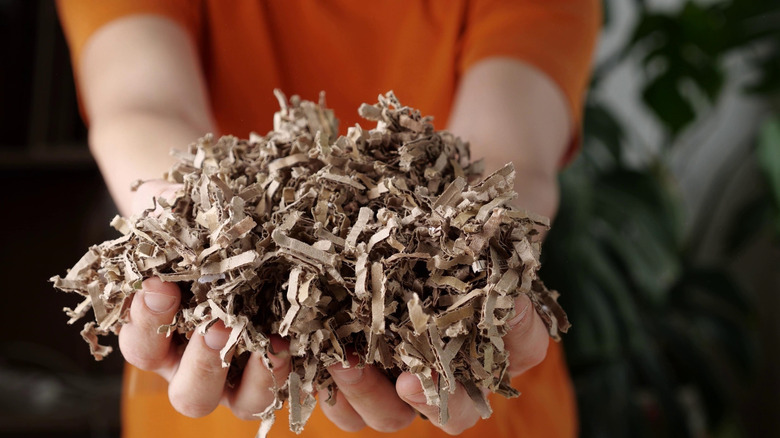
To turn junk mail or newspapers into mulch, simply shred the paper into small pieces. Avoid glossy paper ads as these may contain harmful chemicals. Spread the shredded paper around your plants, creating a layer a few inches thick. You can then cover the paper mulch with a layer of heavier mulch, like wood chips or straw, to prevent it from blowing away. As the paper decomposes, it adds organic matter to the soil, improving its structure and fertility. Once it's moist, make sure it doesn't dry out; paper can become hydrophobic if it loses moisture, pushing water away from your plants.
Worn clothing or linens can be used as plant markers or support ties for tall crops
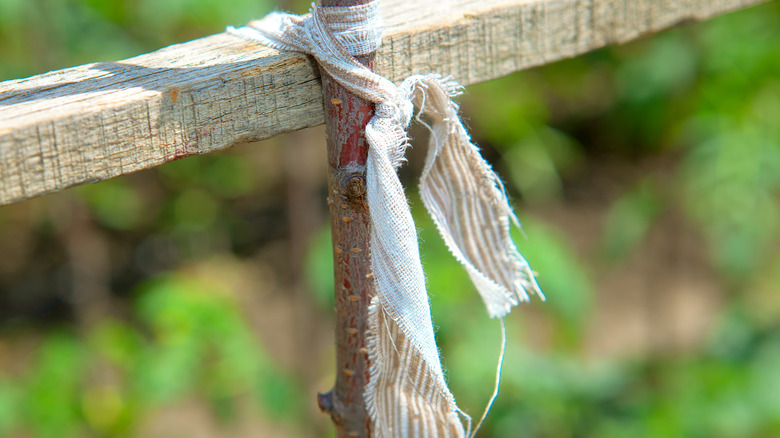
Worn-out clothing or even old pillowcases can be repurposed for the garden instead of the trash bin. One idea is using them as garden markers that help you map out where different crops are growing with the square foot gardening method. Another way is to cut them into strips to create gentle yet sturdy support ties for tall or climbing plants, preventing breakage and toppling. Of course, there's always the option of using them to dress or fill a scarecrow, too, making it look more human-like to deter birds. Whichever way you choose, these simple acts of repurposing not only reduce textile waste but provide your garden with essential support and organization, contributing to healthier, more robust plants.
To create visual planting barriers, simply tear the fabric into thin strips of your desired length and width. Tie the strips to garden stakes or other supports until your "safe zone" is laid out. Alternatively, tie them to taller stakes at regular intervals, creating a fluttering fabric barrier that can deter birds, rabbits, or other pests from entering your garden. For support ties, cut longer strips of fabric and tie them loosely around the plant stems and support structures, like stakes or trellises. Remember to use soft, natural fabrics like cotton or linen, as they are less likely to damage delicate stems and will decompose safely over time.
Use your cardboard shipping boxes as a weed barrier
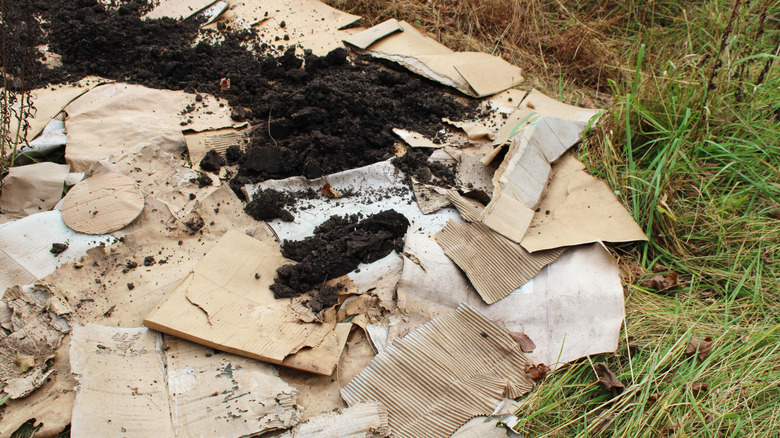
Got a bunch of cardboard shipping boxes piling up? Don't just toss them in the recycling bin; they can be a super handy weed barrier, especially if you're into the "Lasagna" method of gardening. Basically, they help your plants grow better by stopping weeds and making your soil richer. Laying down cardboard is like putting a base layer in your garden, blocking sunlight from weed seeds and adding good stuff to the soil as it breaks down.
Here's how to do it: First, get rid of any tape, staples, or labels on the boxes. Flatten them out and lay them on the ground, making sure they overlap so weeds can't sneak through. Give the cardboard a good soak with water to help break it down so that it hugs the ground better. Then, it's time to build the rest of the lasagna, so put down a layer that's around two inches thick of 'brown' stuff (like dry leaves or straw) and then add a two-inch layer of 'green' stuff (like grass clippings or kitchen scraps) on top. Throw on a layer of mulch, like wood chips or compost, to make it look nice and stop even more weeds. Over time, the cardboard and other layers will decompose and turn into awesome soil nutrients for your plants.
Repurpose pantyhose as hanging supports for melons
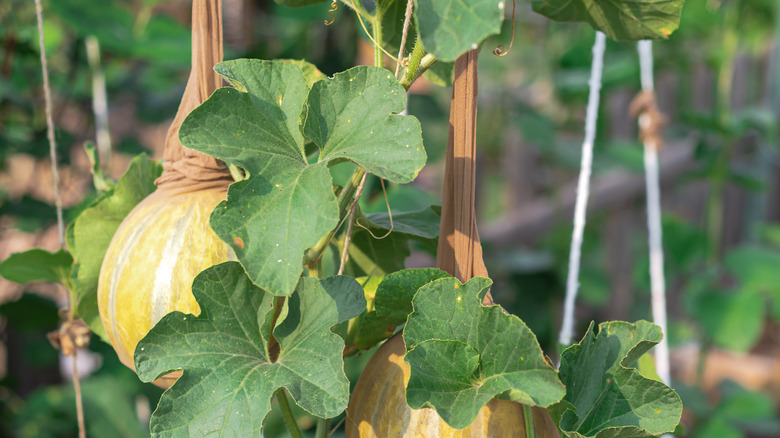
Don't toss those ripped pantyhose just yet! They can be surprisingly useful in the garden, especially for growing melons. Melons get heavy on the vine and can break off early, leaving you with an unripened melon and a frustrated appetite. Instead, by repurposing pantyhose you'll not only save garden space but provide a gentle yet strong support system that prevents melons from breaking off the vine, allowing them to ripen fully and remain undamaged.
To use pantyhose as melon supports, simply cut a section of the leg and create a hammock-like pouch. Gently place the developing melon into the pouch, and tie the ends of the pantyhose to a sturdy support, like a trellis or overhead structure. The stretchy fabric will expand as the melon grows, providing ample support without constricting it. Then, once the melon is fully ripe, pop it out of the stocking and untie it from the trellis. The best part is that you can reuse old pantyhose multiple times, which is perfect for gardeners using the succession planting method.
Use old sheets to protect delicate plants
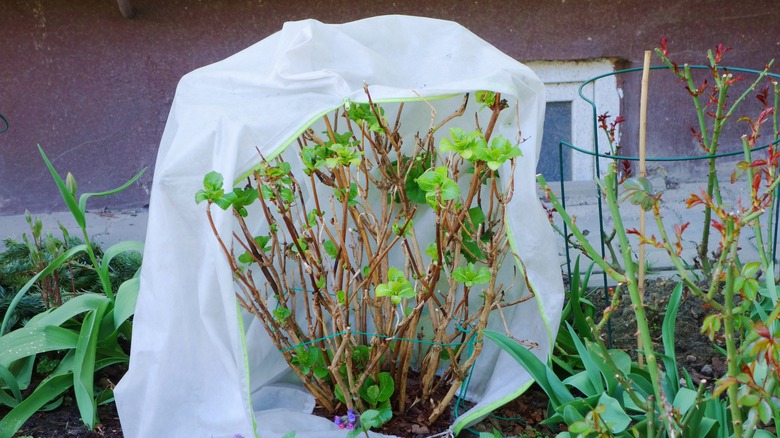
Sheets that are too worn or used-looking to be donated still have a valuable role to play in your garden. They can be surprisingly useful for protecting delicate plants from harsh sunlight, winter frost, and even bolting. By repurposing these sheets, you're creating a simple, breathable barrier that shields vulnerable plants, allowing them to thrive even under challenging conditions.
To use sheets as garden shade, simply drape them over a frame or stakes, creating a temporary canopy over your plants. This provides relief from intense sunlight and reduces scorching, wilting, and bolting in sensitive plants like lettuce or spinach. For winter protection, cover your plants with the sheets before a frost or freeze, securing them with stakes, twine, or stones to prevent the sheet from blowing away. The fabric acts as a gentle insulator, trapping warmth and protecting plants from damaging cold. These sheets will extend the life of your plants and give your old textiles a practical second act.
Turn toilet paper rolls into seed starters
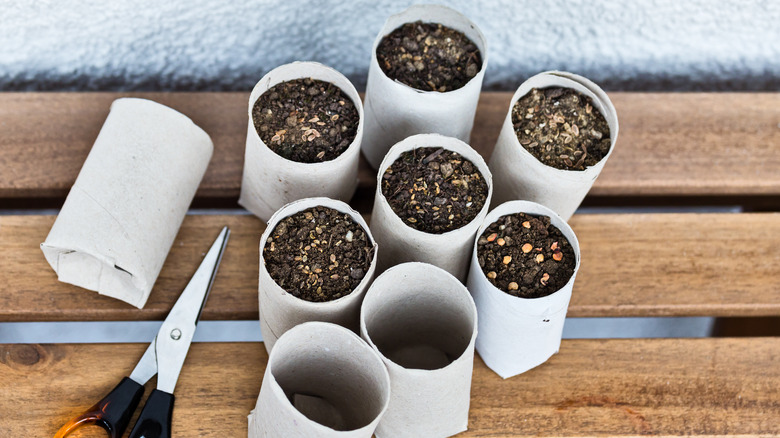
Toilet paper rolls are more helpful in the garden than you might think. They're perfect for making biodegradable seed starters indoors, giving your seedlings a healthy head start. By using these cardboard tubes, you're creating individual, compostable pots that prevent root disturbance when transplanting, allowing seedlings to establish themselves more readily in the garden. Plus, if you happen to bury a few extra rolls in the soil, those empty toilet paper tubes can attract earthworms, which are great for soil aeration.
To make seed starters, simply cut the toilet paper rolls in half or leave them whole, depending on the depth you need. If you're using them as standalone starters, gently fold down one side to create a base that will prevent soil or water from falling out. Fill them with seed-starting mix, then sow your seeds according to package directions, and water them gently. When your seedlings are ready to be transplanted, you can just pop the entire tube directly into the soil. The cardboard will decompose naturally, enriching the soil and minimizing transplant shock.
Turn larger plastic containers into winter seed starters
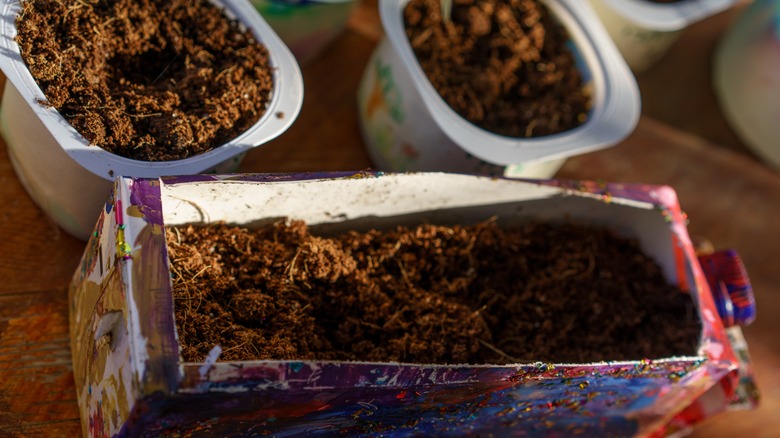
Larger plastic containers, like yogurt tubs or takeout containers, often end up in the recycling bin, but they too have a valuable second life in the garden. They can be repurposed into excellent winter seed starters, providing your seedlings with a warm, protected environment to thrive in. By reusing these containers, you're essentially creating miniature greenhouses that trap warmth and moisture, promoting optimal germination and protecting young plants from harsh, cold temperatures. This simple act of repurposing not only reduces plastic waste but also allows you to extend your growing season, starting your garden indoors even during the coldest months.
To convert a plastic container into a winter seed starter, first ensure it's clean. Next, poke a few drainage holes in the bottom. Pull out a few cups of seed-starting mix from the bag and moisten it with water; you want it to be moist but not soaked. This is a much easier method than trying to get the water level right after sowing. Once your soil is ready, add it to the container and sow your seeds according to package directions. Place the container in a sunny location, like a south-facing window, or under grow lights. You can also create a mini-greenhouse effect by covering the container with a clear plastic lid or plastic wrap.
Empty milk cartons can grow new crops you normally wouldn't have
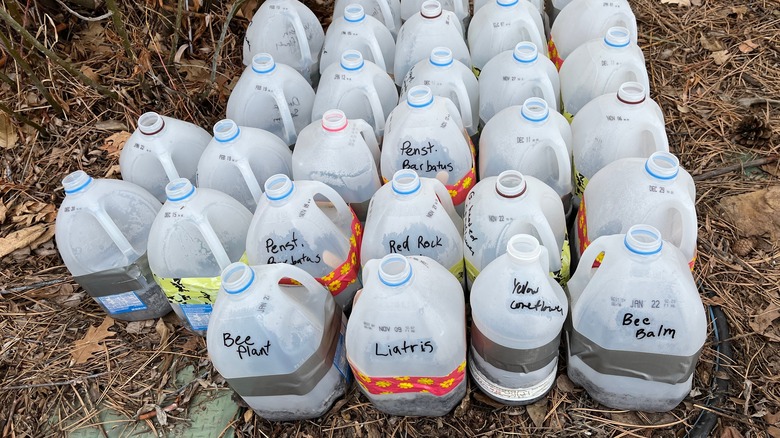
Empty plastic milk jugs are surprisingly versatile for starting seeds, and they can even allow you to try growing crops you might not have considered viable in your USDA Zone before. Their sturdy, translucent plastic construction makes them ideal for creating miniature greenhouses, holding moisture and providing a stable environment for seedlings. Plus, their larger size — as compared to toilet paper rolls or yogurt cups — allows for deeper root growth, especially for plants that need a longer start indoors.
To transform a plastic milk jug into a seed starter, rinse it thoroughly and cut drainage holes in the bottom. You can cut the top off to create a shorter container or leave one side intact to act like a hinge that's useful for planting taller seedlings. Fill the jug with moistened seed-starting mix and sow your seeds according to package directions. You can then seal the hinge with tape to help trap humidity. When the seedlings are ready, carefully cut away the plastic jug to avoid damaging the roots, and transplant them into the garden.
Use Chinese takeout chopsticks as seedling supports
Those leftover Chinese takeout chopsticks shouldn't just disappear into a drawer; they're surprisingly useful as seedling supports. By repurposing these chopsticks, you're preventing delicate seedlings from toppling over, ensuring they grow straight and strong. This is especially crucial as some seedlings can become top-heavy or if they're subjected to gentle winds, which can easily damage fragile stems.
To use chopsticks as seedling supports, make sure they're clean so that you don't add any sugary sauces or starches into the soil. Next, simply insert them into the soil next to the seedling, gently tying the stem to the chopstick with soft twine, VELCRO Brand garden ties, or fabric strips. As the plant grows, you can adjust the chopstick by positioning it further away or removing it if you think the seedling is ready to stand on its own. Not only does this give your chopsticks a second life but it also provides your seedlings with essential support during their critical early growth stages.
