Repurpose Welcome Mats In The Entryway For An Unexpected Makeover
We may receive a commission on purchases made from links.
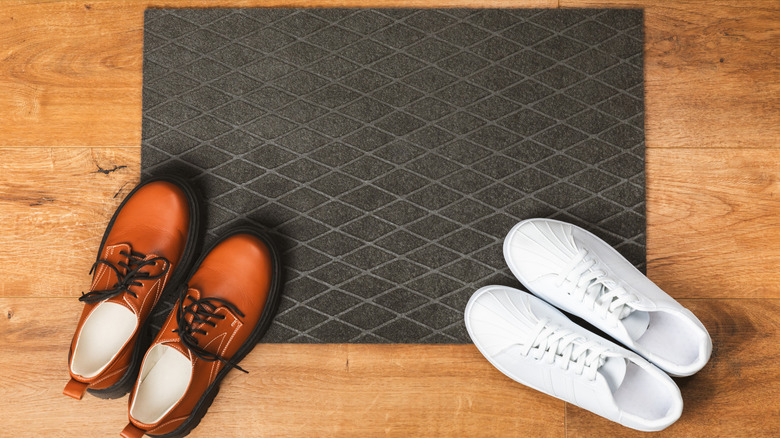
Your entryway's rubber welcome mat probably isn't a decor piece that you're thinking about very often. After all, it mostly just serves a functional purpose in that it stops the dirt and water on the bottom of your shoes from affecting your floors. However, with a little bit of creative magic, you could use this item as the base for a stunning accent wall that completely transforms the look of your interior. To get started, you'll need to pick out a patterned wallpaper, choose a few panels of MDF wood, and purchase some wooden moldings. You'll also need to get some no-nails adhesive, select a rich color of paint that matches the wallpaper, and, of course, gather up a couple of ornate-looking rubber door mats.
The idea for this project comes from TikTok user @itsbeautifulmate, who has a short video that showcases exactly how the creation was put together. After installing the doormats and finishing touches on the wall to get the look of traditional Victorian molding, the influencer added a couple of coat hooks and a bench for putting on shoes. Completing this project could completely revitalize your living room or perhaps make your hallway a more visually appealing space. It could even be a great way to make your entryway more inviting.
How to transform your interior wall with rubber door mats
To get started, you'll need to attach your door mats to the bottom section of your wall using an adhesive like Unibond No More Nails. The gaps between your mats should be equal and match the distances between your mats and the sides and bottoms of your wall. Next up, you'll need to cut a series of wooden panels from an MDF sheet. First, make panels that will fit around the four edges of the wall, not including the baseboard. Then, cut pieces that will fit within this edge framing and run vertically between your mats. Finally, fashion a few short lengths of the MDF to box in the mats. All of the panels you've just created should have matching widths. Now, you can affix them to the wall with both your adhesive and a nail gun.
The next step is to prime your paneling and your doormats, then color-drench them with a paint that matches the background color of your selected wallpaper. Once everything is dry, you can fill the open spaces above your doormats with the paper. Peel-and-stick wallpaper is perhaps the easiest choice for this step. Finally, you'll need to cut some thin wooden moldings to fit around the edges of the larger framed areas with the help of a miter saw. You should prime and paint these pieces before attaching them to the wall with a nail gun.
Upgrading your new decorative wall
There are plenty of exciting ways to make your new decorative wall even more functional and visually appealing. One option is to DIY an entryway bench with some adhesive metal coat hooks above it. Be sure to use a heavy-duty support bracket for the seat, such as these Iron Supports Heavy-Duty Bench Brackets, which need to be directly mounted to your wall studs. You could still cut and paint spindles for the front legs, but they would mostly be for decorative purposes only. Alternatively, you could just install a floating shelf in place of the bench, paint it to match the panels, and put a few houseplants on it to give the wall a refreshing splash of green.
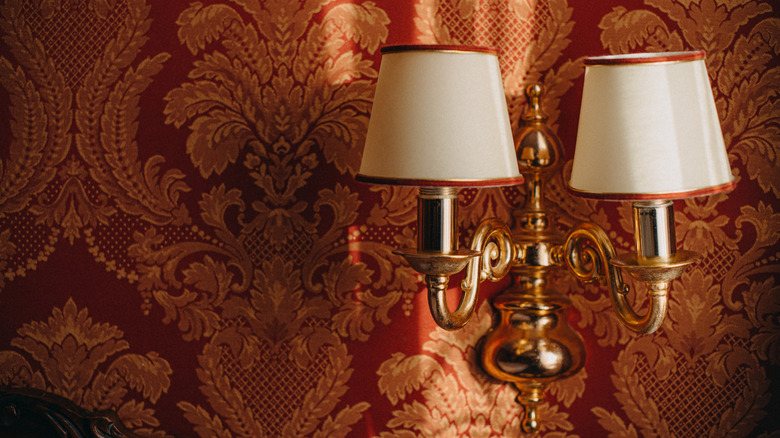
Another fantastic way to make your wall even more eye-catching is to install a few old-fashioned lantern sconces. A pair of Luling Vintage Glass Wall Sconce Fixtures, for example, would add a touch of elegance without pulling any attention away from the panel color or the trim detailing. Want to keep things simple instead? Putting a few framed photos or perhaps a mirror over the wallpaper could add to the opulence and allow your space to lean further into the Victorian aesthetic. If you're going to do this, you'll also want to read up on furniture ideas for a Victorian-inspired home.

