Repurpose A Wooden Serving Dish For A Simple DIY Pendant Light
The words "custom lighting" might cause you to cover your ears (or eyes, in this case) due to how expensive this can be. And money-saving hacks for upscale lighting dupes often involve painstaking steps. When you happen upon an easy and inexpensive lighting trick, it's worth uncovering your ears and eyes. Morph a wooden bowl into a stunning DIY pendant light with nothing more than a drill and a few different bits.
Pendant light kits are inexpensive and easy to get your hands on. Either ceiling-mounted or consisting of a long plug-in cord, these bare-bones fixtures are a blank slate ready to hold any kind of shade. Hit the jackpot with a thrifted wooden bowl. But even brand-new, a salad-size wooden bowl costs a small fraction of what a ready-made wooden pendant light would cost. Pair savings with the satisfaction of making something really impressive on your own. With a simple hole drilled in the base of the bowl fit for a pendant light kit, you'll have beautiful illumination in no time.
Grab yourself a wooden bowl, an E26/E27 pendant light kit like the VTYXCTIGJ Industrial Mini Pendant Light Kit, a drill, a 1½-inch Forstner drill bit, another small bit to make a pilot hole, a light bulb, and a tape measure. If you want to paint part of the bowl, purchase paint in the color of your choice. Also set aside painter's tape if you've opted for spray paint.
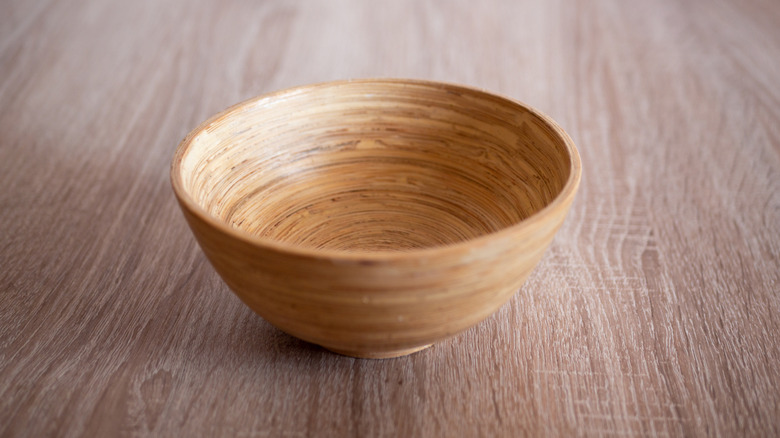
See the light in a wooden bowl
Start by making the hole in the bowl's base. Measure the exact center of the base, and drill a small pilot hole. Follow up by making a larger hole with your Forstner bit. If you like the look of the bowl without any detailing, attach it to the socket end of your pendant light. Once a bulb is in place, enjoy the glow. However, it's easy to make modifications to the plain wood at any time if you get antsy for a change.
Wooden bowls boast a lovely grain as-is, but complemented by a bright color, metallic shimmer, or texturizing finish, the natural beauty provides an unexpected contrast. Give either the inside or outside a coat of paint, paint just the trim, or try a painted pattern on the interior or exterior.
Stone finish paints contrast beautifully with wood grain, but a glossy Crayola-box tint on your lampshade brings two kinds of brightness to your space. For a perfect metallic paint finish for either side of the bowl or just a portion of it, give Rub 'n Buff a try. To paint only one surface of your bowl with spray paint, protect the surface you won't be painting by covering it in strips of painter's tape.
Visually appealing variations

You aren't limited to oversized vessels when it comes to wooden bowls. Maybe you spy a stack of small carved salad bowls at Goodwill; they could make a striking set of shades for a row of pendant lights over a kitchen counter or to unify lighting at different points in a room.
Alternatively, a set of two bowls in the same style but different sizes can come together as one lamp. Follow the same instructions as above to make holes in both bowls. Set the smaller of the two on the upturned base of the larger bowl, and affix them with glue. You can add a string of wooden beads around the seam between the two bowls or leave it unadorned. Also try this with metal mixing bowls for a money-saving pendant light hack.
Wood bowls often have smooth exteriors that are begging for embellishment. Similar to the light emanating from a punched tin lantern, try a pinhole design on your bowl. Plan out a pattern or copy the silhouette onto the bowl, and drill small holes at those points. With the light shining through the drilled holes highlighting your design, you'll have yourself a one-of-a-kind lampshade.