Tips To Make Installing A Bathroom Fan With A Light Easier
We may receive a commission on purchases made from links.
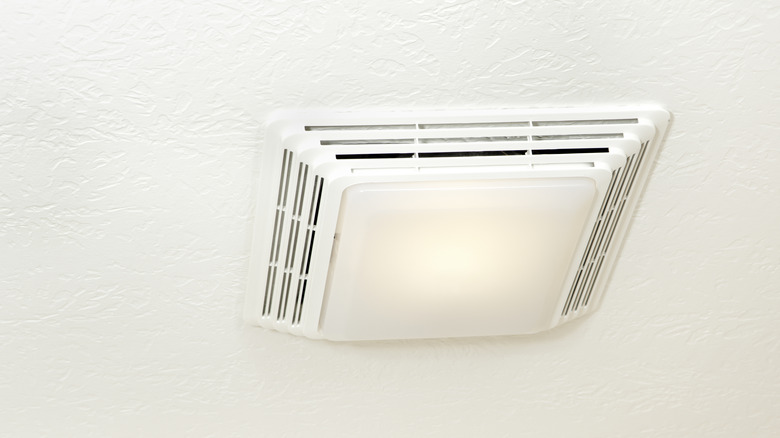
Spring is just around the corner, which means it's about time to start calculating your spring cleaning plans for the coming months. However, spring cleaning doesn't just mean vacuuming your floor, organizing piles of clothes, or creating a deep cleaning checklist to make every room in your home sparkle. It also means if you have any old and faulty appliances in your living space, it may be time to say, "Out with the old and in with the new." If you're looking to make some renovations to your bathroom this year, one of the best places to start is by installing a new bathroom fan and light.
Installing a new bathroom fan with a light isn't exactly the easiest DIY home project to undertake. For that reason, we have some tips tips on how to adequately prepare for the job — including proper safety protocol, gathering materials, and workflow tips to make installation easier. After all, having an efficient ventilation system for your bathroom is absolutely essential, so making sure you properly install a fan that helps assist in this process is important. Regardless, before you start the process at all, it'll be good to have these various items on hand: a power drill kit (which can be rented at Home Depot), some working gloves, a jab saw, a wire tester, a small sheet of drywall, and some 1 x 4 lumber.
Turn off the breaker and gather materials
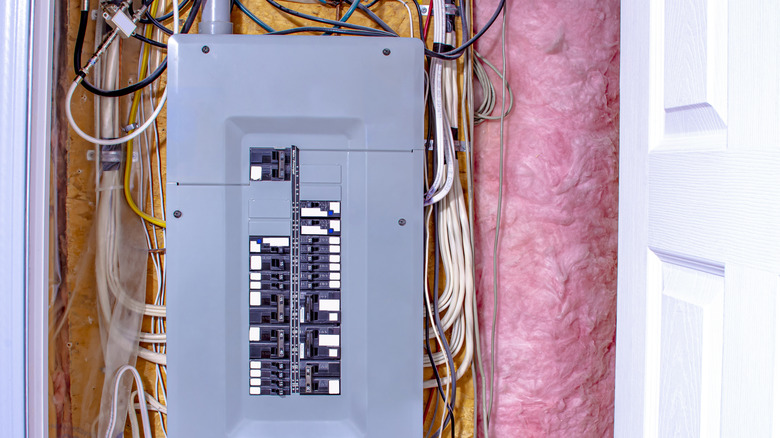
Safety comes first when working with any electrical equipment, so you want to make sure you follow the necessary precautions for your installation to go smoothly. The first thing you need to do before you start anything is to turn off the breaker that is flowing electricity to the light and fan fixture. These breakers are metal fixtures in the wall (as pictured) with plastic switches on them that can be flipped left or right to direct electrical power (as depicted in the image above) and can usually be found in your garage or basement. From there, you're going to need to locate the switch that specifically routes power to your bathroom and turn that off. After all, the last thing you want to happen when undertaking this process is to experience a dangerous electrical shock.
After the breaker is turned off, you're going to want to have a wire tester on hand to execute an added layer of protection. This is because even if the breaker is turned off, a loose wire connection can still shock you, which is why we also recommend being familiar with these 5 outlet tests for your home's safety if you plan on meddling with any sort of electrical wiring. The Kaiweets Non-Contact Voltage Tester is a great option to start with, and is available for $13.49 on Amazon.
How to deal with size differences in fan units
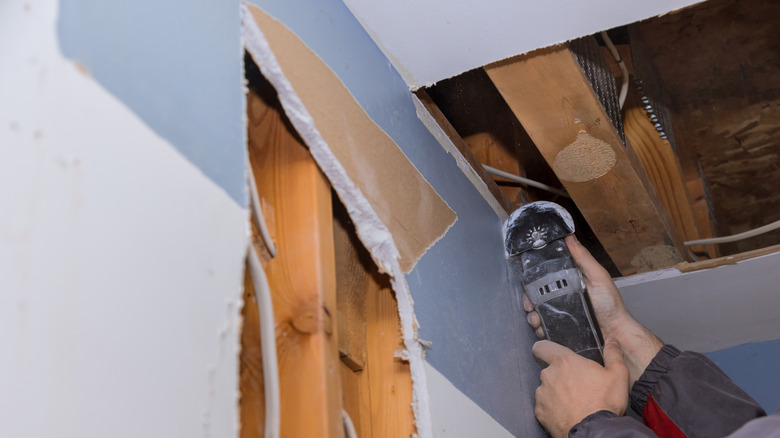
One of the most common issues in fan installation is having a new unit that is smaller or larger than the old unit, but you can work around this with a few tricks: If it's larger, you'll trace the new unit on the ceiling; if its smaller, you'll fill it in with drywall. We will tell you how. For starters, with a larger new fan, place it over the hole in the ceiling where your old one used to be, and trace around it on the drywall with a pencil or marker. Once you've drawn an outline on the drywall around the exterior of the new fan, cut a new hole with a jab saw, following the outline to properly support the new unit. After this, screw the new unit into place. If you can see there are still gaps in the drywall, make sure you use fire-retardant foam or insulation to fill them.
If the hole is too big for a smaller fan, you'll need to measure the size of the gap between the new fan and the existing hole. Then you will need to cut out a piece of drywall in accordance with that measurement as well as a piece of 1 x 4 foot lumber that is 4 inches longer than the patch. Then, screw the 1 x 4 above the ceiling, assuring it spans the opening, giving you something to anchor the drywall to. Once completed, attach the drywall using screws. If the face of the fan doesn't cover the screw holes in your ceiling, use mud and tape drywall to cover them up.