The Dollar Tree Tray You Can DIY For Earthy Home Decor On A Budget

Dollar Tree picture frames are bizarre building blocks, but imaginative online crafters constantly share scores of ways to use these cheap rectangles to create anything from drawer organizers to plant hangers to tables. Score one that's 11 inches by 14 inches, and it can become a stylish tray layered with river rocks and equipped with handles. Using only Dollar Tree items, whip up a tray that's either ornamental or functional, depending on the exact products and process you use. Our inspirational crafter shared this project on their YouTube channel @Gleespen Designs. They picked up a frame in this size from the Dollar Tree Plus section of their local store for $3. If your neighborhood store doesn't offer an extended selection, a Special Moments Classic Plastic Photo Frame can stand in as part of a decorative rather than weight-bearing tray.
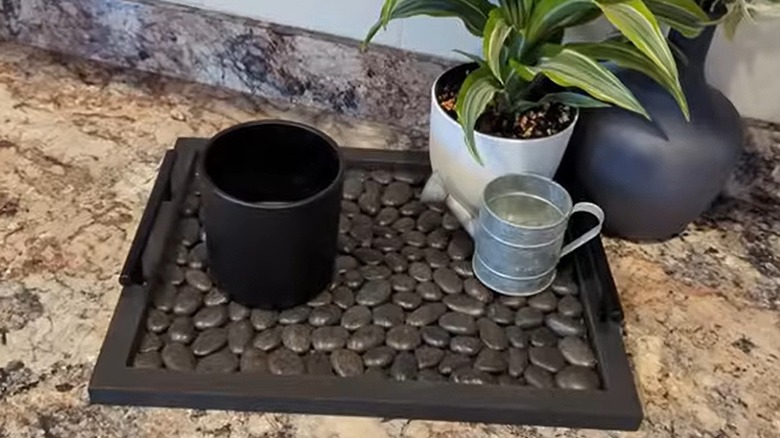
Along with a large frame, preferably made of wood, purchase two metal drawer pulls, and a bag or two of river rocks from the floral section from Dollar Tree. Smooth black stones against a black painted frame looks sleek and high-end, but the natural colors of tumbled stone offset by light wood stain will yield an entirely different, yet equally high-end, aesthetic. Also grab a glue gun, paint or stain, and a brush.
A tray for budget-friendly beauty
If your Dollar Tree frame search ends with only a plastic model, you're limited to making a lovely yet purely decorative tray. In order to create something that can withstand some light handling, the frame will require extra reinforcement. Remove the glass from the frame, and glue the backing to the frame. Hot glue will do a passable job, but E6000 is a more reliable choice. One of the main reasons why you should keep this glue in your home is its ability to bond two different materials.
Once the glue has cured, paint your frame and the backing black or another color that strikes your fancy, and let it dry. Sift through the stones in your bag to find the flattest among them, and mock up an arrangement on the frame backing before committing to glue. Attach them with hot glue or E6000, filling the entire space inside the frame with stones. Affix the tray handles with glue to the narrowest sides of the frame, directly across from each other. If you'd like a smoother surface for your tray, you can use epoxy resin to hold your garden stones in place on your tray.
A tray pairing form with function

To get the most out of your project without a whole lot more work, you'll have to diversify your shopping and tack on a couple more steps. If your search for a sturdier wood frame at the 'Tree turns up fruitless, make a side trip to the nearest second hand shop; picture frames are one of the most common items you'll find at thrift stores. Bring a measuring tape, and look for a frame with a flat surface, with sides at least 1 inch wide, and little or no ornamentation.
Along with the same supplies you'd use for the budget version, also set aside a drill. This time, definitely spring for an epoxy coating. Covering the stones inside the frame with a mixture of resin and hardener will provide a stronger final result. It's more cost effective to buy these materials in bulk rather than opting for a collection of 1-ounce bottles sold at Dollar Tree. Do keep in mind that handles only glued in place won't hold up to much use. Go through the same steps as the budget-friendly tray, but instead of gluing on the handles, drill holes in the frame to attach the handles with screws.