Breathe Life Into An Outdated Dining Chair With A No-Sew Reupholstery
We may receive a commission on purchases made from links.
There are lots of reasons you might choose to keep a set of old chairs instead of buying new ones. The quality of the craftsmanship (older furniture is often sturdier and better made relative to modern, mass-produced options) and saving money are a couple of great reasons. Old chairs, especially vintage or inherited pieces, can carry emotional significance, which can make them difficult to throw away or donate. Environmental sustainability is also a valid reason to keep old chairs around. Tons of furniture ends up in landfills every year.
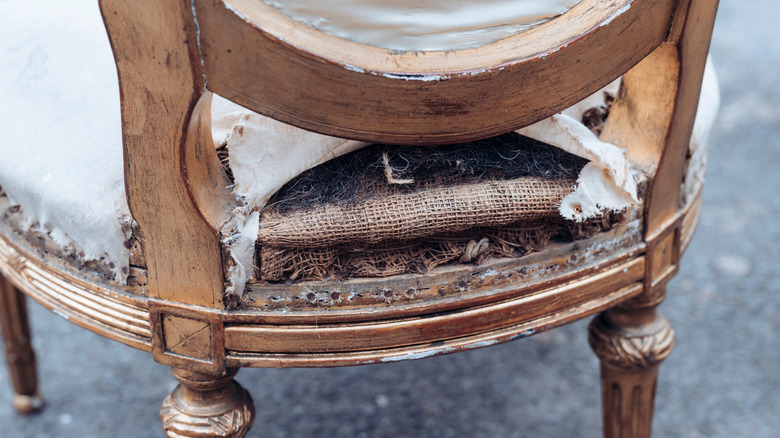
If you have an old chair, you likely know that issues can arise no matter how well-made they are. The upholstery can become faded, torn, or stained and the padding can flatten; making the chair less comfortable. Reupholstering is a great solution to address these issues and more while preserving the chair's value.
Reupholstering has a reputation for being pretty challenging if you aren't familiar with sewing, though. Whether or not people's beliefs about reupholstering are true, there's a straightforward, no-sew reupholstering technique that'll help your dining room chairs look brand new. For this no-sew reupholstery hack, you need a staple gun, scissors, fabric, a razor, a bias tape maker, an iron, a flathead screwdriver, and a hot glue gun.
The no-sew reupholstery hack for your dining room chairs
To start, cut a square of fabric a bit larger than what will cover the chair, taking care to leave some fabric to make the welting. Lay the piece of fabric over the seat of the chair in your preferred orientation and pull the fabric down around the sides of the cushion. On the back of the chair (and the arms, if it has them) use your screwdriver to push the fabric into the crevices so you can pull it the rest of the way down. Then, staple the fabric to the inner part of the chair frame and trim the excess fabric with your razor.
For the welting, measure each length of exposed staples and cut a series of 2"-wide strips to the appropriate lengths. Run the strips of fabric through your bias tape maker and fold them lengthwise. Hot glue the length of the exposed staples and apply the welting. Be sure not to use so much glue that it spills out from under the welting. If you do use too much, there are ways to remove the hot glue stains from fabric.
These instructions are for chairs with embedded seats. If your seats are removable, the method for applying the fabric is the same, but the rest of the process is quite a bit easier. You just remove the seats and staple the fabric to the underside. You don't need to make welting or use any hot glue.
Tips and tricks for keeping your reupholstered chairs looking new
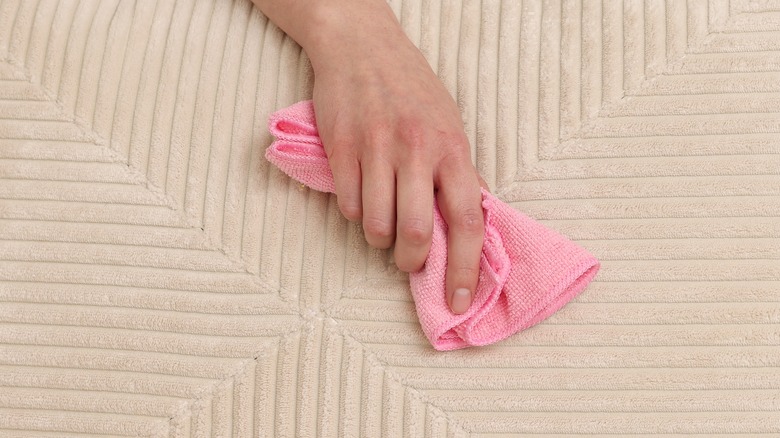
Now that you've put in the work to reupholster your dining room chairs, you're going to want to take good care of them. To keep reupholstered furniture looking new for as long as possible, regular maintenance and proper care are essential. Vacuuming is a good start to keeping fabric clean. Dirt can settle into the fabric and become more difficult to remove if not vacuumed right away. For spills and stains, address them promptly by blotting (not rubbing) with a clean cloth and fabric-appropriate cleaning solutions.
Fading is another issue for dining room chair upholstery. To prevent fading, place the furniture away from direct sunlight or use UV-protective window coverings to minimize sun exposure. Consider applying a fabric protector to the upholstery to preemptively guard against stains and wear. Rotating cushions and pillows periodically will also help combat fading by distributing wear more evenly. Following these tips will help keep your newly reupholstered dining room chairs looking brand new for years to come, while sparing you the trouble and cost of having to reupholster your chairs again.