DIY Furniture Pads That Will Keep Your Hardwood Floors Looking Clean
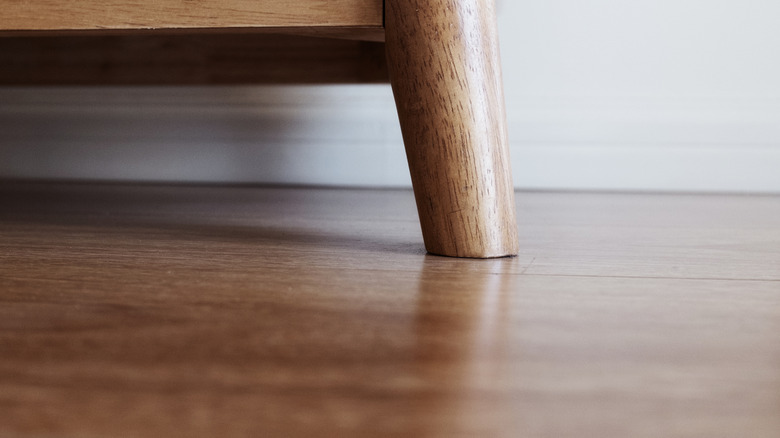
If you've got hardwood floors in your home, you know the struggle of trying to protect your hardwoods from scuffs and scratches. Whether it's from the daily movement of dining room chairs being pushed to and fro or from the ever-so-slight movements of heavier furniture items like your couch or bedroom dresser, your hardwoods are at constant risk of damage. It's a major consideration for some people when deciding between hardwood flooring and carpet. Unfortunately, most furniture items aren't made with protecting hardwood floors in mind. This means it's up to you to find ways to keep your furniture from scratching your hardwoods.
Furniture pads are a must-have item in homes with wood floors. These pads are generally made of felt and are made to stick on the bottom legs of heavy furniture so they don't scrape against the floor. A common issue, though, with these store-bought furniture pads is that they tend to attract hair. This can be a big problem, especially for pet owners. Fortunately, making your own furniture pads out of leather is a DIY hack that solves this problem so you can have clean and scratch-free floors. This hack could make great use of an old leather belt or a leather pocketbook you are no longer using.
How to DIY leather furniture pads
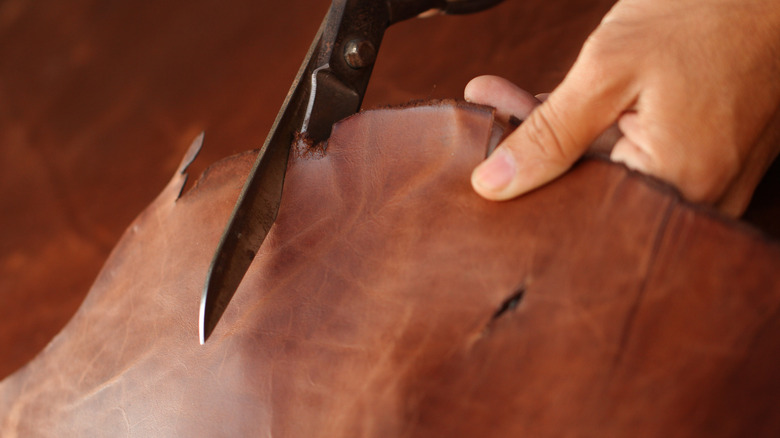
Making your own leather furniture pads to help keep your wood flooring looking like new is easy and takes little time. All you need for this DIY project is a razor, contact cement, scissors, and some leather. To start, you will need to turn your furniture on its back or side and remove the existing felt pads, if applicable. A razor will help you remove any glue left over on your furniture from the sticky side of the pad. Then, you'll need to measure the bottoms of your furniture legs and cut out leather squares to be slightly larger than you measured. (The extra is to make sure you've got complete coverage and will be trimmed later on in the process.)
Next, you will apply contact cement to the bottoms of your furniture legs and to the inside of the leather pieces you just cut, and wait about 15 to 20 minutes. When the contact cement is partially dry, press the cement side of the leather pieces onto the bottoms of the furniture legs. Since pressure will need to be held for seven days to ensure the seal is permanent, you can return the furniture item to its normal upright position. After the seven days have passed, you can turn your furniture on its back or side again and trim the excess leather so that it looks nice and neat. After applying some leather balm to ensure your furniture glides smoothly, you're all done.