The IKEA DIY That Will Give You A Japandi Wall Lamp
We may receive a commission on purchases made from links.
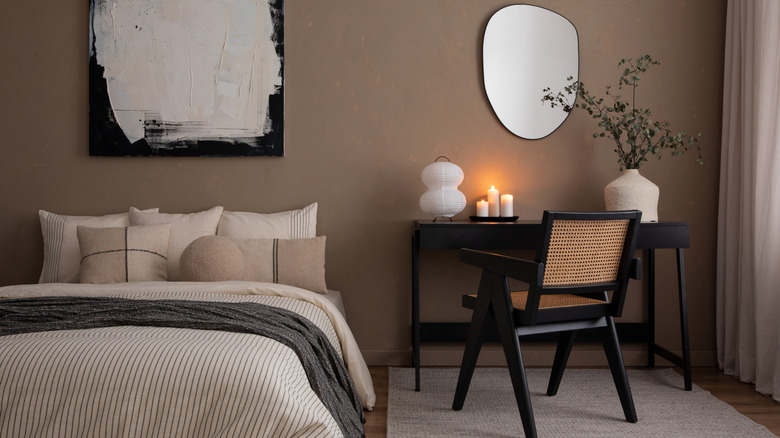
If you're not already initiated, "Japandi" is a portmanteau of "Japanese" and "Scandinavian," used to describe the blend of these cultures' interior styles. Pair the warmth and coziness of Scandinavian style with the natural materials and simple functionality of Japanese design, and you have Japandi. If these elements sound appealing and you want to know how you can use Japandi style in your home, start by trying a trend with a low-risk commitment, such as a lamp. You can light up your home with a stunning wall sconce that has a Japandi vibe on a budget, made from just two IKEA items.
For the base of the lamp, you can use IKEA's OMBONAD tray in walnut wood. And for the light itself, the choice is the small FADO table lamp. Sadly, for U.S.-based shoppers, this version of the FADO is no longer sold. But for a similar size, look, and price, we would consider this $15 LED globe light from Home Depot. You could also opt for the FADO lamp that is in stock at American IKEAs. But just note that it is more expensive at $30, and its larger size will change the final look of the project. The OMBONAD tray is $40, which may seem like a steep price for a tray. But even paired with the more expensive FADO lamp, the overall cost of the DIY comes in way under similar, ready-to-buy options.
Assemble and mount your Japandi lamp
To assemble your lamp, first mark on the tray where you want the light to sit. To truly embody Japandi style, opt for an off-center placement that plays with balance and creates intrigue. And once you know the placement, it's time to actually attach the light.
If you choose the large FADO lamp from IKEA, you can screw the base directly to the tray. But for a lightweight option like the LED globe light, an easy mounting alternative we suggest is interlocking Command strips. They will easily hold the weight of the lamp when attached to the tray, plus they are reusable. With this option, you can easily access the USB port on the underside of the lamp to recharge it whenever necessary.
To mount the assembled lamp to the wall, you can use a Flatirons Disc Plate Hanger on the back of the tray. Then, the loop of the hanger is hooked onto an adhesive picture frame mount, similar to the Command Jumbo Universal Picture Hanger. However, if you are using one of the glass light options, you may consider mounting your Japandi piece to the wall with screws instead of adhesive. Learning how to use and remove wall anchor screws for hanging decor will not only make the new addition to your home safe, but it will go a long way in helping you complete future DIYs.