Reuse Cardboard To Create A Unique Coffee Table On A Budget
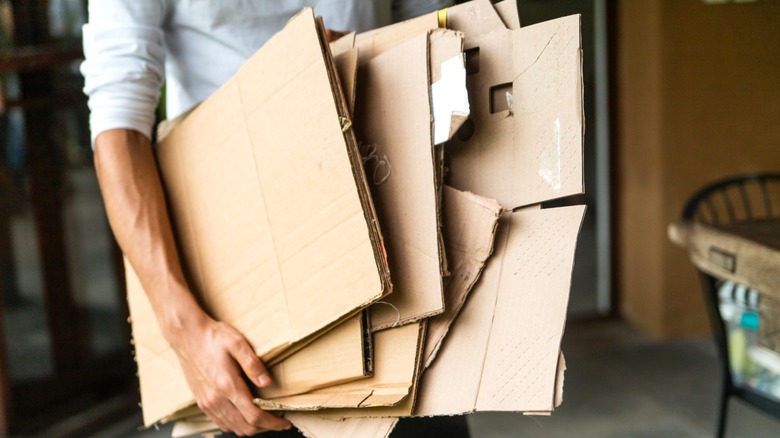
No matter your lifestyle, almost everyone has to manage an overflow of cardboard boxes at some point. And it's likely the ubiquity of the issue that has led to so many cardboard DIYs to make stylish decor, storage accessories, and other helpful household additions. Even after you exhaust those smaller projects, you always have the option to dream bigger. Corrugated boxes are easy to break down but also extremely sturdy, making them a surprisingly reliable foundation for full-blown functional furniture, like a fashionable cardboard coffee table!
Take your pick on how to approach this fun DIY. You can make it simple by putting four cardboard panels together, forming an empty box with a tabletop on it. Or, you could try a more versatile approach and sandwich several upright cardboard panels together to build a solid raised surface.
Here's a project for when you're overloaded with excess cardboard, like when you need a smart way to repurpose boxes after a move. Combining upright pieces creates a blank block you can sculpt into any shape, with a solid core making it extra-strong. A single wall of corrugated cardboard can generally hold at least 20 pounds. The capacity increases significantly as you add more walls, so you can imagine how sturdy it will be with dozens of panels glued together. After combining your pieces, you just have to shape and decorate the table for a stunning final product.
How to build a stylish cardboard coffee table
If you want to construct this DIY, make the sides with the legs first, and add the rest of the table between them. Say you want a table 18 inches high and 30 inches deep. Cut several panels into rectangles with those dimensions, and glue them together by spreading PVA wood glue or hot glue over the surfaces. One set of glued panels will form the front and back leg for one side.
Glue enough panels together to reach the desired table leg thickness. Then, use a bandsaw, reciprocating saw, or a jigsaw to cut out the leg shapes. Repeat the process for the legs on the other side. Finally, add a table surface between them, making the tops flush for a smooth surface.
What's great about this design is that you can customize it in several ways. For instance, you can cut notches in the legs to fit in a piece of plywood as a shelf underneath the tabletop for extra storage. Then there's all the decorative possibilities. You could cover the exposed cardboard with papercrete (a mix of paper pulp and cement) or papier mâché for unique textured finishes to paint over. Contact paper is another easy addition, or you can simply paint the panels. Finish with a glass sheet or waterproof spray on the tabletop to protect against spills, and you can get started on an expensive-looking DIY end table made from cardboard to match!
