The Hand Tool That Will Help You Achieve A Flat Base For Laying Tile At Home
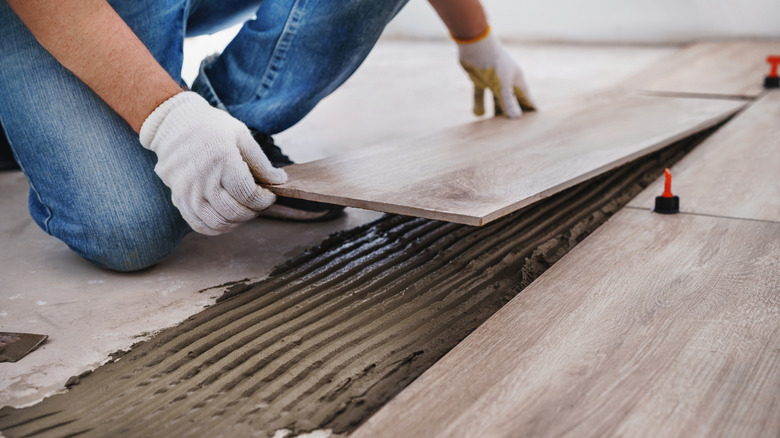
Tiling is one of those home improvement projects with specific steps that are relatively straightforward, so you might feel encouraged to attempt it on your own. But homeowners quickly find out there's more to a perfect tile floor installation than spreading adhesive and squishing tiles into it. Tiling is a precision job where the details matter. That includes which tools you choose for the job, and one of the most important tools for creating a flat base for tiles is a notched trowel.
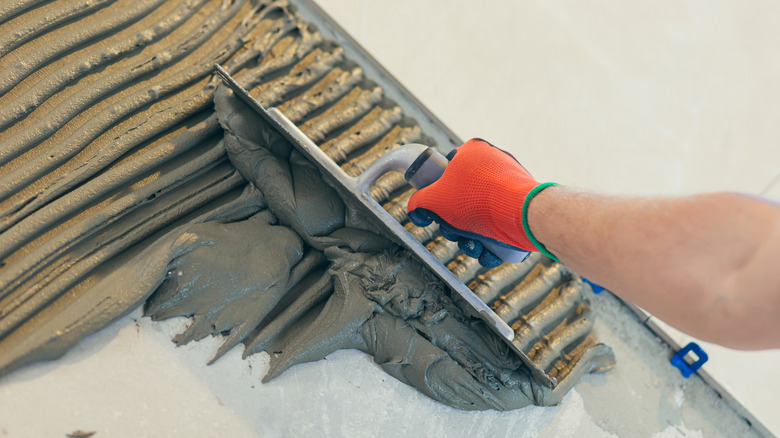
The simple hand tool features a flat metal base with two notched sides, and the handle lets you control the tool. You use the flat surface to scoop up the adhesive and the notched side to spread adhesive onto the surface you're tiling. The notches create straight, even, level ridges in the thinset, which provide a way for air to escape as you press the tile in place.
Why does the trowel you choose matter? It helps spread the thinset into a consistent layer of the same height and thickness across the surface. Having that consistent level of adhesive creates a level foundation for each tile. It's a big part of getting a smooth, level finished tiling job (along with having a sturdy, level substrate, of course). It's also important to choose the best notch shape and size for your tile job to ensure you get the right amount of thinset on the surface. Using the incorrect type of notched trowel could leave too much adhesive, which creates a big mess, or too little adhesive, which could keep the tiles from adhering properly.
Choosing the right notched trowel for the job
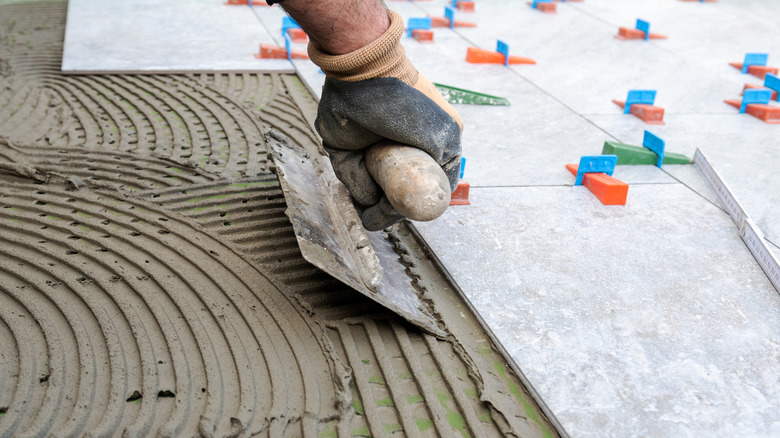
The type of tiling job determines which notched trowel you need. Trowels are described by the shape of the notches with options including U, V, and square notches. Square-notched trowels deposit the most thinset because of the large, straight-edged notches. V-notched trowels leave the least amount of adhesive because of the smaller, triangular-shaped openings. U-notched trowels fall in the middle with straight vertical sides but a curved top.
V-notched trowels are typically only used for smaller, lightweight tiles that you're installing on a wall. This includes small mosaic designs and glass tiles. They don't need as much thinset, so if you use a different trowel, the excess will likely squish out and make a mess. You'll want a different trowel for tiles that are larger than 4 inches by 4 inches.
When you install floor tiles or larger wall tiles, you typically need a U-notched or square-notched trowel to ensure you apply enough thinset to secure the tiles. The main difference is the shape of the top of the notch. They're both ideal for tiles that are larger than 4 inches and most floor tiles. You'll get slightly more adhesive with square-notched trowels, but the ridges created by U-notch trowels typically spread more easily and evenly. That's important for avoiding air bubbles and getting secure adhesion when you're laying natural stones or larger tiles. You can use the trowel to apply thinset to the floor or back butter your tile when you're working with larger pieces.
Size matters on your notched trowel
Choosing the wrong size trowel is one of many mistakes to avoid when tiling. The size is often described using fractions of an inch. If the trowel lists two fractions, the first tells you how wide each notch is and the second tells you how high or deep it is. When the notch has the same width and depth, the trowel may just list the fraction once. Some notched tiles use metric measurements represented in millimeters.
When you're installing tile, check the packaging for recommendations on the ideal size and shape of notches. You usually need larger notches for larger tiles because bigger tiles need more adhesive than smaller tiles. For tiles that are 16 inches or larger, you typically need a ½-inch trowel. A ⅜-inch trowel works well for medium-sized tiles ranging from about 8 to 16 inches. For smaller tiles between 4 and 8 inches, look for a ¼-inch trowel. Tiles that are even smaller might require a ⅛-inch trowel.
You can test your trowel to make sure it's the correct size by doing a test run and a visual inspection. Spread enough adhesive for a single tile and lay the tile as you normally would. Then, lift it up to see what happened to the thinset. You should no longer see distinct ridges in the adhesive and both the substrate and the tile should be covered with the thinset. Large areas that aren't covered in adhesive indicate that you need larger notches to apply more thinset. If lots of excess adhesive squishes out from the sides, you may need a smaller notched trowel.