The IKEA Hack That Fills Narrow Gaps And Adds Extra Storage

We may receive a commission on purchases made from links.
Just a few extra inches of storage space can go a long way toward increasing the functionality of your home, whether it's in your garage, attic, or utility room. The same holds true in regards to your closets since they tend to keep a wide array of your belongings within reach, including everything from your favorite clothes to your collection of cleaning supplies. If your closet has a narrow gap along one of its sides, you might want to think about how you're going to make the most out of this space. If you store items there, they might end up being difficult to reach later. Should you decide to rearrange your closet to eliminate the gap, you'll end up needing to complete a major decluttering project. Instead of doing either of these things, you might want to try installing a slide-out organizer for your closet with a pair of IKEA SKADIS Pegboards.
To ensure that your SKADIS pegboards are accessible, simply use a pair of drawer slides to mount them to the wall. Then, you can customize your pegboard arrangement with your choice of IKEA's SKADIS shelves, storage baskets, and hooks. This concept can also be used in a laundry room as a place for keeping mops, dusting supplies, and vacuum accessories organized. While this is undoubtedly one of the best budget-friendly ideas for organizing your closet, you could use it to fill just about any narrow gap space.
How to build a pegboard organizer for the gap in your closet
In addition to getting two IKEA SKADIS pegboards and a pair of drawer slides, you'll need to purchase drywall anchors, two mending plates, and a handful of no. 10 screws, wing nuts, and washers. You should also get the SKADIS accessories that align with how you're going to use the organizer you're building. The first step is to connect the two pegboards together with the mounting plates so that the boards' longer edges meet. Use washers and wing nuts on the side with the mounting plate to hold the screws in place. Next, measure and mark your wall where you're going to install your drawer slides. Note that each drawer slide should sit in the middle of one of the pegboards. Use a box level to make sure the marks are straight. Then, pre-drill the holes in the designated locations, and gently tap in your drywall anchors.
Next, detach the two halves of your drawer slides. Install the cabinet profiles on the wall and the drawer pieces onto the back of the pegboard. The distance between slides on the pegboard should match the distance between the corresponding components on the wall. This time, the wing nuts and washers you're using can face outwards, on the side without the mounting plates. Now, all you need to do is slot the pegboard into place and install your accessories. A few SKADIS Hooks and SKADIS Storage Baskets are a great place to start.
Exciting ways to use your pegboard organizer
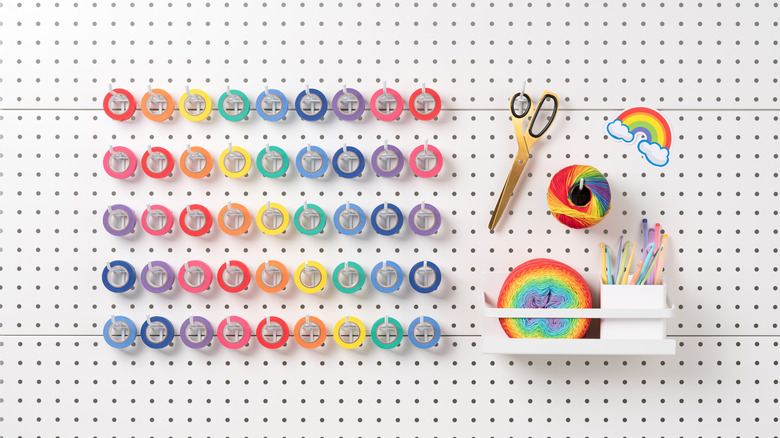
There are plenty of ways to put your organizer to work so that it makes your space feel less cluttered. One option is to use the board's hooks and shelves to store craft materials, such as ribbons, scissors, or acrylic paints. Alternatively, you could use your pegboard for shoes, bags, and other clothing accessories to ensure that they're easy to find when you are getting dressed in the mornings. Have lots of clutter in or around your home office desk? You could use your organizer to stow away items from this space that you're not using daily, such as your collection of highlighters, or that pile of spare USB cords that always seems to be a tangled mess. G.CORE Pegboard Bins could be particularly helpful for this use.
If you have an arrangement where the pegboard is going to slide into a gap right next to your washing machine, it could also be a smart idea to use your new shelves and hooks for storing laundry supplies, such as dryer sheets, extra hangers, or detergent pods. You could even use a pegboard to keep your kid's toys neat and organized. Pegboards can sometimes be a viable option for storing tools in your garage, but since your drills, hammers, and wrenches tend to be quite heavy, you might be better off building a French cleat tool holder instead.