DIY Window Clings Make The Perfect Decor For Any Season
We may receive a commission on purchases made from links.
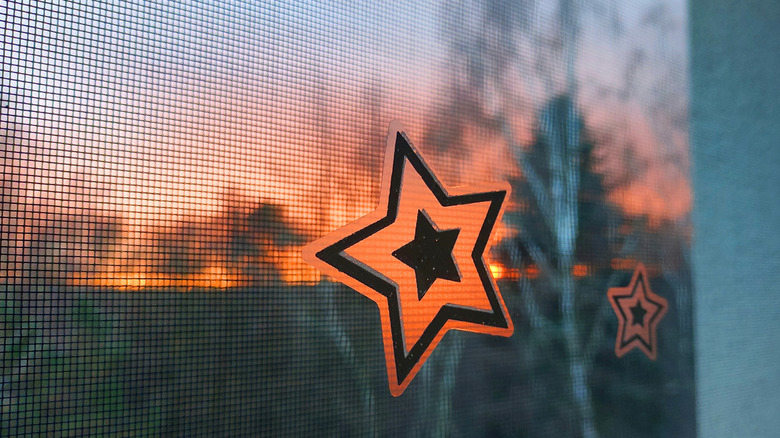
Window clings are a fun and low-stakes way to decorate your home. Typically, they're seen as kid-friendly, but they can be just as exciting for adults, too. These temporary decorations let you switch up the decor in your home to match the season. For spring home decor, you might opt for bright flowers or daisies, and swap it for snowflakes in the winter. Most people buy ready-made clings or use products like this Toyli Window Glitter Paint Kit. But there is also a great way to DIY your own window clings at home.
For this fun DIY project, you only need a few supplies: Some dish soap, some $6 Elmer's Multi-Purpose Liquid Glue, a bit of food coloring or washable paint (like these Crayola Washable Paint Set), and a Ziploc bag. You probably already have a lot of these on hand, and if you do, this DIY can be very affordable. If you need to buy the supplies, it will cost between $25 and $30, but they will last you for many rounds of decorating.
For this DIY, you'll use these supplies to make a colorful paste with which you can draw all sorts of designs. Once dry, the designs that you made with the paste will adhere to the window without any additional adhesive. They're non-permanent and a really fun way to decorate windows for any season.
How to decorate with DIY window clings
To make the paste, mix 3 tablespoons of glue with ¼ teaspoon of dish soap. Separate the mixture into different bowls and add your color of choice to each. Using a paintbrush, draw your design on a Ziploc bag. Once the window clings have dried, you can remove them by hand and stick them on the window. It's really that easy!
The key to this DIY is that you can switch it up as often as you want and truly adapt your decor to the season. You can use different paint colors to match your current vibe, and even mix them up to create a gradient. You can freehand designs, but if you'd like something sharper, use scissors to cut the edges of your shape. That will allow you to make clean shapes like diamonds, triangles, and squares. Another option is to use stencils to make really intricate designs for your window clings. To do this, print or draw a stencil on paper and then insert it in the Ziploc bag. This works particularly well with black paste to create sharp lines, which you can also use to keep colors separated and add a beautiful stained glass effect to your home decor.
No matter which design you choose, this is a low-stakes DIY. If you don't like it, you can remove and repurpose the window cling and start over! You can get rid of any residue left behind by simply wiping it off with water and a sponge, or using a bit of vinegar for stubborn marks.