Combat Kitchen Cabinet Clutter With An Affordable DIY Addition For Extra Storage
Nothing is worse than a cluttered kitchen, often getting in the way of your daily tasks from cooking to cleaning. If your countertops and cabinets are feeling a bit too crowded, it might be time for a storage upgrade that can revolutionize your space. Whether you want to create a small surface for your mugs or a bit of room to properly store your spices, this DIY shelf is the perfect way to utilize the dead space under your cabinets. And it can be an excellent recycling project to use any scrap wood that you might have lying around.
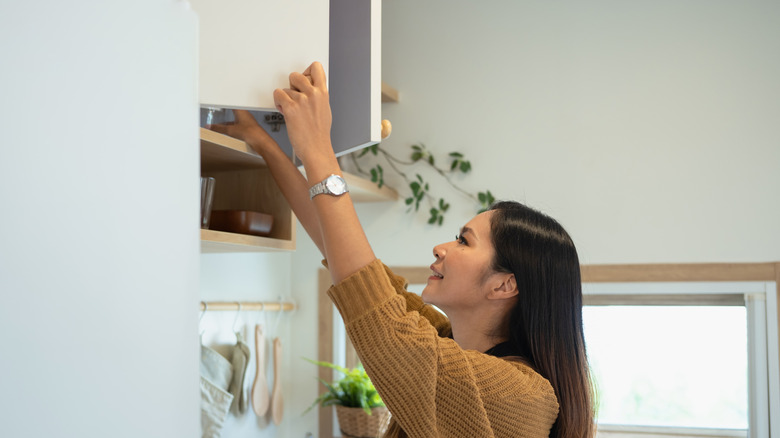
Adding under-cabinet shelves can be a game-changer when organizing by ensuring that every inch of space is utilized. Whether you raising your kitchen cabinets or already have enough space between them and the countertop, these shelves create additional surface area for decorations and storage. Using ¾-inch pieces of plywood, which cost around $24 for a 2 foot by 4 foot board, you can assemble a shelf that fits directly under any existing cabinetry. If you're aiming for a simplified version, also pick up mounting brackets. IKEA's SANDSHULT wooden brackets make the perfect under-mounted supports for a DIY project and can be customized to match the stain or paint on your shelf. If your kitchen leans a bit more industrial, you can opt for a metal bracket like KROKSHULT. These shelves can seamlessly integrate into your existing decor, either with a splash of paint or wooden decorative elements. An affordable storage solution doesn't need to be overly complicated and might just require the installation of some shelves.
Building your own shelf
The first step in creating a bit of additional storage around your kitchen is determining whether or not you will need to create the necessary space for your shelves. If your cabinets already sit high on your walls, you can skip this step completely. Otherwise, you may need to raise your cabinets to the ceiling in order to make room for the installation of your shelves.
There are a number of ways to tackle this project, ranging from simple shelf designs to a more built-in approach. Depending on the length of your wall and the complexity of your shelves, you'll want to grab yourself a few pieces of ¾-inch plywood. Add edge banding to cover the front. Secure your brackets to the wooden boards and ensure that they are completely level before mounting to your walls.
If you're aiming for a more built-in feel from your kitchen cabinets, ditch the brackets and instead create a floating wooden box that sits under your cabinets. Start by cutting your wooden planks, with the side pieces measuring the desired height of your shelves. The top piece of wood that connects to the bottom of the cabinet should have a ½-inch overhang on the front. Drill several pocket holes into each board and secure them with 1.5 inch screws. Cut two strips to a 1½ inch width that will serve as your back support on the top and bottom of your shelf. Ensure that your piece is level before securing it to your wall and the underside of your cabinetry. A final option is to DIY stunning floating shelves for kitchen supplies.