Embrace The Mushroom Decor Craze With A Unique DIY Jar Candle Holder
Of all the '70s trends that have come back, mushrooms as part of decor is by far the cutest. You can jump on the bandwagon with a high-end mushroom candle holder that will set you back a few hours' worth of wages. Better yet, get the satisfaction of a DIY that costs pennies. Made with an upcycled jam jar as a stem, a bit of paint, a tealight, and some plaster or clay, you can whip up a handmade mushroom candle holder that any Smurf would love to live in. This clever way to reuse an old glass jar also requires little in the way of skill, materials, or time.
For this adorable mushroom decor DIY, grab a small to medium-sized glass jar, some plaster of Paris, a paintbrush, two or more colors of paint, a hot glue gun, and a tealight candle that comes with a metal, plastic, or glass base. It's also wise to set aside a tube of glue to reinforce the bond between the mushroom cap and the jar's lid.
To mold the mushroom's cap, find a plastic bowl or silicone mold that has a diameter about 2 inches wider than the jar. If you're repurposing a plastic container, make sure its sides are flexible enough that the plaster cast will slide out easily. This will give you a very smooth, even surface for your cap. If you want a more organic look, swap the plaster of Paris and mold for air-dry clay; you can mold it into a more natural shape just with your hands.
Mold a cute-as-a-button mushroom jar
For the plaster of Paris method, remove your tealight candle from its cup base, and set the base upside-down inside your mold. Hot glue it in place temporarily. Mix your plaster of Paris according to the directions, pour it over the tealight's base, and fill the mold to the rim. Press the top of the jar's lid into the surface of the plaster, making sure to center it well. Let the plaster dry for the amount of time suggested for the product.
Hand-sculpting air-dry clay doesn't require much in the way of artistic ability. To try this version, break off a chunk of clay that's about the same size as the jar. Work it into the shape of a mushroom cap, and carefully press the tealight base and jar lid into the top and bottom of the clay cap; you'll probably have to touch up the cap's shape a bit afterward. Let the clay dry according to the product's directions.
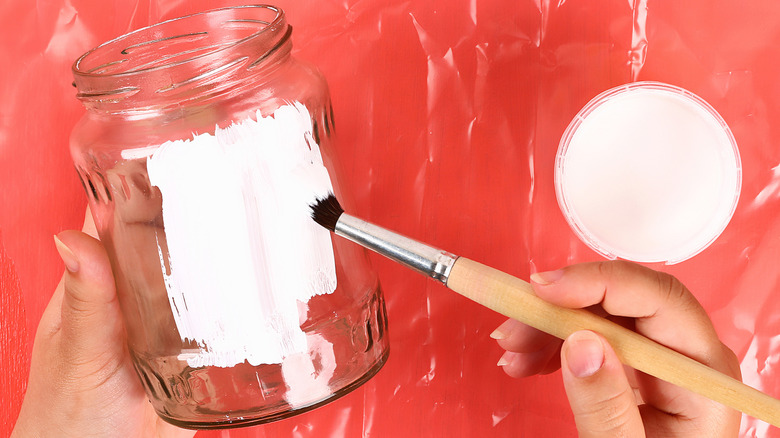
Once your cap has dried, reinforce the edges around the jar's lid with a bit of glue. Either Gorilla Glue or E6000, two types of glue you should have on hand, are great for bonding two different materials. Give the jar a good coating of a light-colored paint. White, tan, or cream are convincing hues for a mushroom stem. Coat the cap in brilliant red, deep orange, yellow, or orangey-brown, and finish it off with spots made from the color you used on the jar. Set a tealight into the top, and light up your creation. You can also place small matches inside the jar.