Mistakes To Avoid When Installing A Single-Handle Shower Faucet
Of all the mistakes anyone could make installing a single-handle shower faucet, rushing through the essential prep beforehand is probably the biggest one. With a badly planned installation, you could be looking at leaks, low water pressure, or, worst of all, having to pay someone to come in and fix your mistakes (ouch).
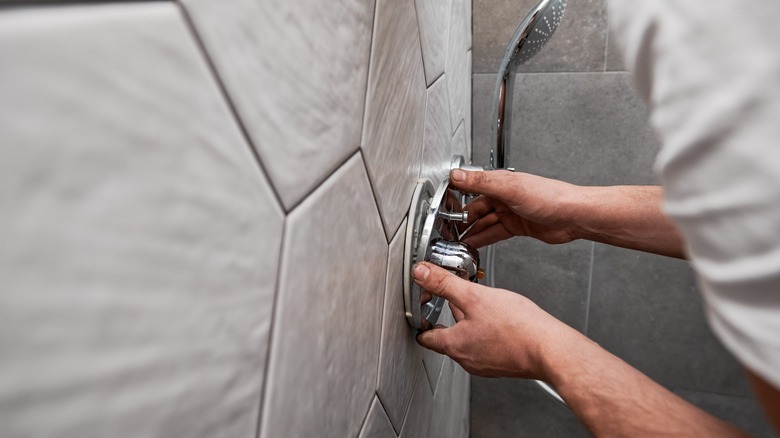
So before you even think about getting out your handy tool kit, you need to start by assessing your existing plumbing situation. First and foremost, make sure your new single-handle faucet is even compatible with your shower valve. If it's not, you could be looking at a full valve replacement, too. The distance from the shower wall's finished surface to where the hidden plumbing starts is another crucial thing to consider because if the valve is set too deep or too shallow in the wall, the handle may not function properly.
And of course, make sure to turn off the water supply before you even start working. "Duh!" we hear you say, but many DIYers have learned the hard way that an indoor waterfall feature isn't quite as lovely as it sounds. Also, if you're replacing your faucet because of a leak, remember that there are five possible reasons your shower faucet is leaking, and you should address these issues before making any changes to avoid more costly repairs down the line.
Skipping crucial installation instructions
Not taking the time to properly measure, secure, and seal components is another common mistake that can lead to serious problems, and one key misstep is failing to ensure the valve body is secure. An unsecured valve can move within the wall over time, leading to leaks, loose fittings, and other problems down the line. Additionally, when making any valve replacements or adjustments, ensure that the tile is flush with the plaster guard — this will help prevent any misalignment issues as you don't want to have to retile later.
Similarly, using the wrong tools can also lead to unnecessary damage. Use an adjustable wrench, not a regular wrench, for securing fittings. Make sure to use Teflon tape, or plumber's tape, to prevent leaks in connections and create a watertight seal, a step that shouldn't be skipped if you want to ensure your new faucet's longevity.
Also, be mindful of how much of a twisting force (also known as torque) you use. Putting on the fittings too tight can damage threads and crack the plastic components, and under-tightening can result in leaks that may not be noticeable until it's too late and damage has already appeared.
Not waterproofing

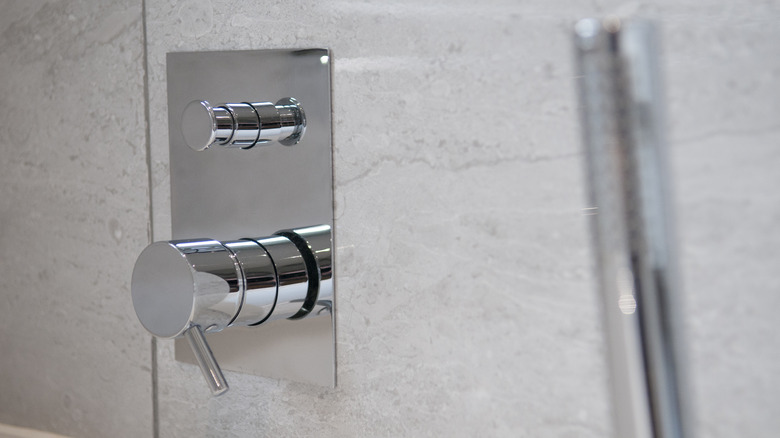
Even if you're skilled enough to install a shower faucet without a hiccup, you'll still fail without properly waterproofing the job. Any water that seeps behind the wall will lead to mold or even structural damage. To seal it properly, apply silicone caulk around the escutcheon plate (or the decorative cover that surrounds the handle). Be sure to use 100% waterproof silicone rather than standard household caulk, which can break down in wet environments. Waterproofing the job will save you from pesky leaks and other moisture problems, leaving you to figure out how to clean pink mold in your shower.
A properly installed shower faucet isn't just good functionally — it's all part and parcel of creating a comfortable and enjoyable shower experience. So if you're looking for more ways to create the perfect peaceful shower space, consider installing a new shower head and hanging some plants for a relaxing spa-like vibe at home.