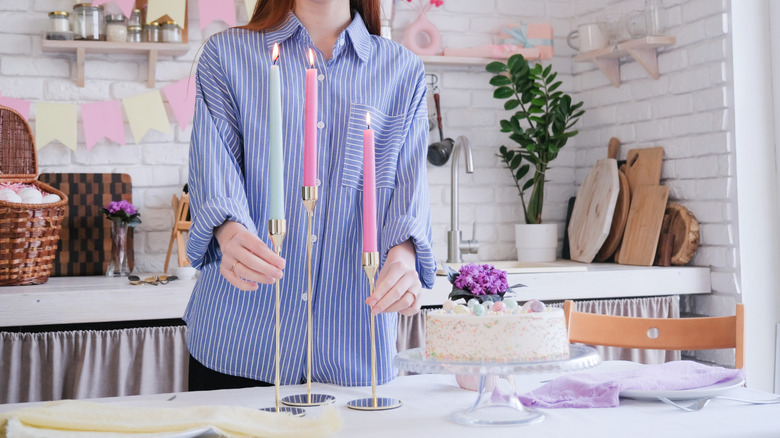
DIY The Most Stylish Easter Candlesticks
We may receive a commission on purchases made from links.
If you're hosting family and friends this year, you might be looking for some unique ways to decorate your home for Easter. After all, you'll find common decorations, such as traditional wreaths and bunnies everywhere, literally in every home on your block. But what about stylish candlesticks to give your mantelpiece, dining room, or other decorative surfaces some extra oomph? To DIY an Easter candlestick, you'll need two wooden rounds, a dowel, and a few plastic eggs in your favored shade and pattern.
Not only is this DIY hack incredibly simple but it's also quite budget-friendly since you don't have to spend money on expensive supplies. Case in point, you'll most likely find plywood rounds, a pack of two wooden dowels, and jumbo marbled eggs at your local Dollar Tree. The best part, though? You have ample opportunity to customize based on your tastes and interior design scheme. For instance, if you're not a big fan of circles, get a wooden base in a square or oval shape. Similarly, you can experiment with the material and colors of the eggs, such as swapping plastic eggs for Styrofoam. You'll also need some strong wood adhesive or hot glue and paint or stain per your preferences (although this is optional and you can stick with the original colors and design if you want).
How to make a chic Easter candlestick
Once you have all your supplies, you're ready to DIY a gorgeous elevated candle holder on a budget. Start by painting (or staining) your wooden rounds. Remember, you'll need a couple of coats to hide their humble origins and make them look high-end. In case the edges are raised and rough, you might want to sand them first to ensure they come out smooth. After the rounds are ready, determine their center and drill a hole. You can eyeball it if you're confident or use a ruler (a measuring tape works, too) to ensure you don't drill a hole that's too far off. Otherwise, your candlestick will be lopsided and unfit for placing candles.
Next, grab your eggs and drill two holes at either end. If you're using Styrofoam eggs, use a skewer or chopstick to create a hole through the middle to avoid damaging them. Now, lightly place the dowel in the hole in one of the wooden circles and slide eggs on it before putting the other wooden circle on top. This will help you understand how tall you want the dowel to be since you don't want any stick to peek through. When you have the measurement, use a hand saw to cut off any extra length. Once you're satisfied, glue the dowel to the wooden bases and you're done. Seems like too much work? Simply glue the eggs together and omit dowels. However, you'll need a sturdy material or the eggs will squish together once you place candles on top.
Ways to decorate and customize your Easter candlesticks

Painting the two wooden circles isn't the only way you can decorate your Easter candlestick. Take advantage of the eggs and paint them as well. You can even draw designs and patterns on them to customize your candlesticks. If you don't want to change the eggs' appearance drastically, dip a toothbrush in paint and use it to speckle them with different shades to give them a little personality. Alternatively, if you like things a little bling-y, pour a little Mod Podge glue into a flat dish and add your favorite shade of glitter to it. Mix the two well and use a paintbrush to apply it to the eggs. You don't have to stick to one hue, either. Use a different-colored glitter for each egg or candlestick for a bespoke finish. You could also use decorative twine or ribbon to bring a little pizzazz to battery-operated candles, like Biyanuo's Plastic Flameless Pillar candles, or use a handy paper napkin trick to turn basic candles into a statement piece.
Pick paper napkins that are in line with your Easter theme, like ones featuring bunnies, wrap them around the candles, wrap them again with wax paper, and melt the design onto the candle using the high-heat setting on your hairdryer. If you want to use the candles beyond Easter, pick napkins with spring flowers on them. After you're satisfied with these decorative touches, your candlesticks are ready to be displayed.