The Hot Glue Gun Hack That Will Add Texture To Any Vase
We may receive a commission on purchases made from links.
A vase is one of the most versatile home decor items out there. You can use a vase in its traditional sense to display flower arrangements or go outside the box and fill the interior with something like decorative rocks or even flameless candles. If you want to DIY a vase into something totally new, you should consider looking at what you can add to the outside rather than the inside. There's a hack that allows you to add texture to a vase and it only requires one main item: hot glue. All you have to do is cover the outside of the structure in layers of glue to give it a unique texture that's easy to paint and customize.
Consider these helpful tips to maximize your hot glue gun experience and make sure your DIY vase is a success. For example, be sure to let the glue fully heat up before trying to apply it and only leave the gun plugged in while it's supervised and you're working with it. You can also wear protective gloves and eyewear while using hot glue if you want to take extra precautions. If your tools are a bit old and outdated, grab a Gorilla Mini Hot Glue Gun Kit for this project.
How to use hot glue to DIY texture on a vase
The first step for this DIY textured vase hack is to lay down a protective cover of some sort over your workspace. This can be anything from an old towel to heavy-duty crafting paper. Next, take your vase and wash both the interior and exterior with a mixture of baking soda and warm water (aim for a 2:1 ratio). Let the vase soak in this solution if you're dealing with cloudy buildup. Be sure to let it dry thoroughly.
Now it's time to get started working with the glue and this is where you can let your creativity truly shine. If you're comfortable freehanding the design, dive right in and start gluing. However, it can be helpful to follow a guide and trace over the design. For example, if you're working with a clear or light-colored glass vase, slip a piece of paper inside that has the design on it. Now you'll be able to follow the patterns without the stress of having to draw free hand. If you're just looking to add general texture and a clean final look to your DIY vase, try adding even rows of glue around the exterior and double up on them for even more depth. When you're finished adding glue, let it dry completely before moving on to customization.
Ways to bring your DIY textured vase to life
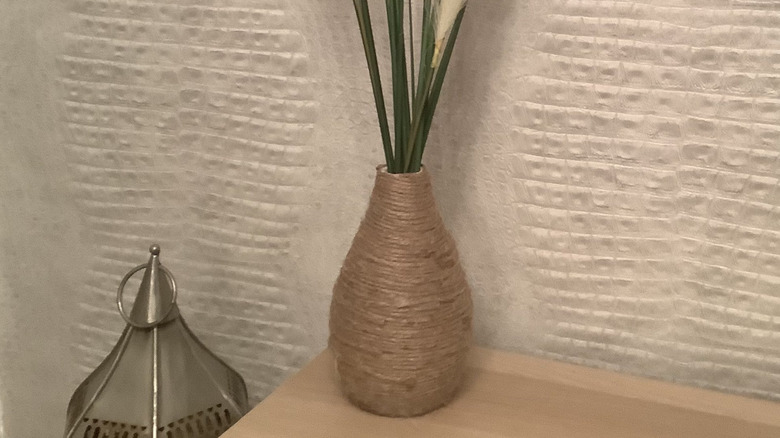
While you can leave your vase as is once the glue dries, adding a touch of color and personality can help match it to your existing decor. Spray painting is an easy way to cover the entire vase in one color and takes just a few minutes to complete. Start by heading outside and shaking your can of paint for at least one minute. If you're dealing with cooler temperatures, try soaking the spray paint can in warm water to make sure you're left with an even finish. Use as many coats as necessary to achieve complete coverage and a whole new look for the textured glue.
Take the vase's texture to new levels by applying your chosen paint color with a small sponge. This application method is known to boost the appearance of different textures (sponge painting is also a great way to hide mistakes). Try to use a blotting motion to apply the paint to small areas and dab to spread it out as needed. When dry, you can add even more customization elements like adding a waterproof coating or even a light layer of glitter paint for a sparkly finish.