Add A Custom Workbench To Your Garage With A Wood Pallet DIY
We may receive a commission on purchases made from links.
Pallets are a terrific resource for making a host of useful, low-cost items for the yard and house. Arguably one of the best budget-friendly wood pallet DIYs for the beginner enthusiast is a custom workbench for your garage. So, let's look at how to do that.
I'm House Digest's expert carpenter and remodeler. I've had a number of workbenches over the years, so I reckon I have a pretty good idea which features are important. Also, while I have an extensive toolkit now, I remember when I didn't. So, I'm going to make this simple, using as few tools as possible. If you've done even a little work around the house, you will probably already own most, if not all, of them.
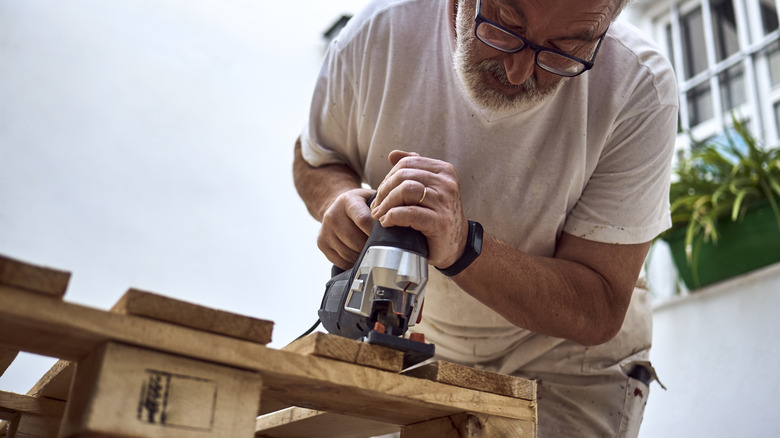
For the basic DIY pallet workbench, you'll need a hammer, a drill/driver, a saw, a tape measure, a straightedge, and a pencil. A circular saw or jigsaw will make life easier, but a hand saw will do. A sander would also be useful, but a sheet of sandpaper wrapped around a scrap block of wood will get the job done. You'll need some 1-½ inch wood screws (or thereabouts). Of course, you'll also want to check out some of the places to find free pallets near you, or you can reuse old wood pallets you may already have. For the deluxe version of the workbench, you will need a sheet of 1/2 inch or 3/4 inch plywood or MDF and some heavy-duty casters, like the Ashgoob 3-inch Castor Wheel Set.
Building the custom wood pallet garage workbench
Our custom workbench uses four pallets. Pallets often have a tough life, so when you're out collecting old ones to reuse, try to choose some in reasonable condition. They aren't difficult to repair, but it shouldn't be necessary. If the pallets you find at one location are junk, move on. There should be plenty around.
Once you have your pallets, check that there are no nail heads exposed. If there are, hammer them in so you don't catch yourself when you're working. Put the pallet with the best upper surface to one side. That will be your benchtop.
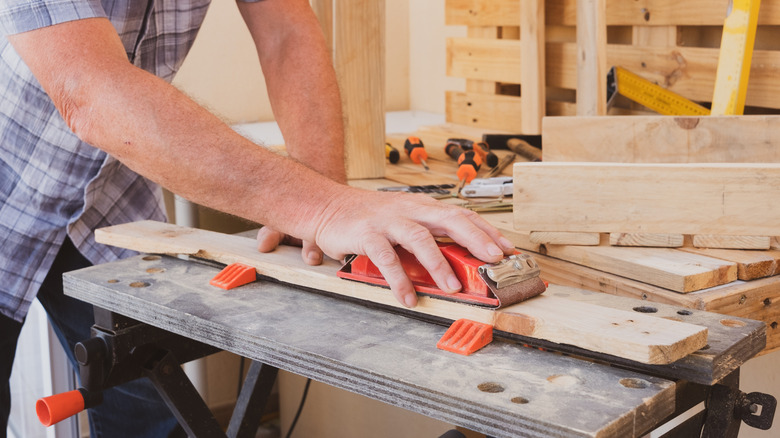
To make the two sides, cut away all of the boards on one side of the pallet between the end and middle support blocks. Next, measure the thickness of your benchtop pallet. Mark that distance on the sides, opposite where you just cut the pieces out. Measure down from the edge back towards the middle. Saw through the remaining boards. You should be left with an "L" shape. Now. place the sides vertically so that the remaining blocks are at the bottom, facing inwards. Rest the final pallet between them, on top of those blocks, then put your benchtop pallet across the middle blocks. The top should line up with the top of the "L." Use three equally spaced screws through the sides, into each of the blocks of the horizontal pallets. Voila! You have a sturdy workbench for your garage. Run some sandpaper over any rough edges so you don't get splinters.
A few extras to make your custom workbench even more useful
A few additions will make the DIY pallet workbench even more useful. Currently it offers great strength, but it's not easy to move around. Screwing heavy-duty casters onto each corner will solve that problem. Choose those with a built-in foot brake so it stays in place when you're working, but can easily be moved from the garage to the yard if you want to.
A solid top would be better than those slats, so cut a piece of plywood or MDF to size and fix it down with screws at the corners. MDF tends to be less expensive and is smoother. However, it's not quite as durable as plywood as a work surface. Either way, the top can be regarded as sacrificial: when it gets too worn, you simply replace it.
The final upgrade is to add tool and accessory pockets to the ends of the workbench. You may be able to use up offcuts, or you might need another pallet. Cut pieces to length, then screw the edges together to make an "L." Decide how many dividers you need, cut and screw these into place, and add ends. If you screw on the front, it will make fixing it to the bench awkward, so screw the back of the "L" to the end of the workbench first, then add the front. Job done. Now, you're ready to take on some unique small wood pallet projects for your home and garden.