Give That Unused Entryway Nook A Purpose With A Little DIY Magic
We may receive a commission on purchases made from links.
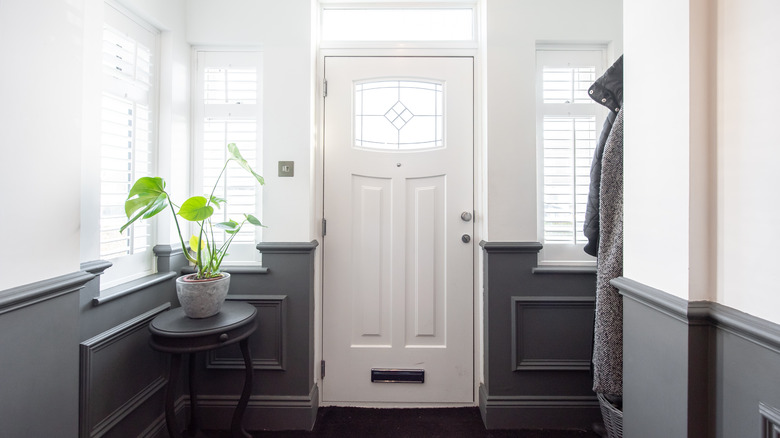
When you are designing or decorating your entryway, it's essential to balance appealing aesthetics with functionality. Since it's the first room that your guests will see, the space should look inviting and provide a pleasant introduction to the rest of your home's design. But to give your entryway a neat appearance, you'll need furnishings and fixtures that offer practical value and make the most of your square footage. A built-in mudroom bench is an installation that looks amazing but also increases the functionality of your space. The under-seat shoe storage, overhead cabinets, and coat hooks of such an arrangement aid with organization and are the kind of features you'll use every time you leave and enter the house. If you have an unused nook near your door, this could be the perfect opportunity to build such a mudroom setup from scratch.
You can break down the process of turning the unused nook in your entryway into a stylish DIY mudroom into three main parts. First, you'll need to remove the baseboards within the space and build the mudroom's bench with two-by-four boards. Then, you can install a neat accent wall using shiplap panels. Finally, put up overhead cabinets and crown molding, and then paint everything to match. This DIY will surely make keeping your entryway clean and organized easier than ever.
Planning your DIY mudroom and building a bench for it
Start your mudroom by measuring the dimensions of your unused nook space and removing the baseboards from it. The easiest way to do the latter is with a product like the Goldblatt Trim Puller. Determine how tall you want your bench to be and how much space you'll have between the top of your bench and the bottom of your overhead cabinet. You can leave space between the top of the overhead cabinet and the ceiling, or build your cabinet right up to the ceiling instead to maximize space and ensure your mudroom looks more built-in.
Begin building the bench by constructing a frame for its base. To do this, nail together a set of two-by-four boards in a rectangular formation, with just enough room on either side of the frame for the bench legs. Measure and cut a supporting panel leg for the middle, and add a block of wood on either side of it within the base frame to hold it upright. Then, attach upright two-by-four lengths in the corners of the frame for the legs, and fasten them to your wall studs. Next, cover up the base frame and the legs with sealed plywood to create under-seat cubbies. Always cut holes in your plywood around outlets to keep them accessible. Next, create a face frame for the bench with poplar boards. Don't install the bench's top panel just yet.
Putting up shiplap panels and building an overhead cabinet

After assembling the core components of your mudroom bench, it's time to install your shiplap accent wall. The panels should be cut to fit between the top of your bench's legs and the bottom of the overhead cabinet. Before you put them up, find your wall studs without making holes with the help of a stud finder. Then, apply a layer of construction adhesive to the back side of the panels. Liquid Nails Paneling & Molding Adhesive is an excellent choice for this step. Finally, nail your shiplap into place, and cover up the holes with wood filler. To give this project an even more built-in look, try putting shiplap along the side walls of your nook, up to your bench's edge.
The next step is to build the frame for your overhead cabinet. Start by adding pocket screws to the cabinet's top and bottom panels and rabbet joints on the edges of the side panels that will face the wall. Use bar clamps, such as WORKPRO Quick-Release Ratcheting Wood Clamps, to hold the project in place while you're drilling together the sides. Check the sides of your frame are square before affixing the back panel to the rabbets with wood glue. Then, countersink the back panel and adjust your clamps to hold the joints in place while the glue dries. Finally, build and install a face frame for the cabinet, and install hinges and doors, if there are any.
Installing your cabinet and adding the finishing touches

Once you're done assembling your cabinet box, you'll need to put it up on the wall. Once more, use a stud finder and mark where your studs are. Then, measure the back of your cabinet to find out where it's going to meet these studs and pre-drill holes in such locations for your mounting screws. Next, use your mounting screws to attach the cabinet to the wall. You can use a box level and the top of the shiplap as a guide to ensure that the fixture is installed as straight as possible. To make this process a bit easier, use a laser level to free up one of your hands. Once the cabinet is up on the wall, check the sides and the top for gaps. You'll need to cut cabinet filler boards for larger gaps, but if these spaces are small, you can sometimes just caulk them.
To complete the mudroom's look, put up crown molding above your overhead cabinet, and fill in the gaps once more with a paintable caulk. Next, reinstall the baseboards and fix blemishes with more caulk. Apply a few layers of white primer, followed by two layers of your preferred color of paint to the entire mudroom arrangement. Then, install coat hooks onto your shiplap panels. Lastly, place your bench seat. A pre-stained butcher's block panel should work perfectly.
How to style your home's mudroom
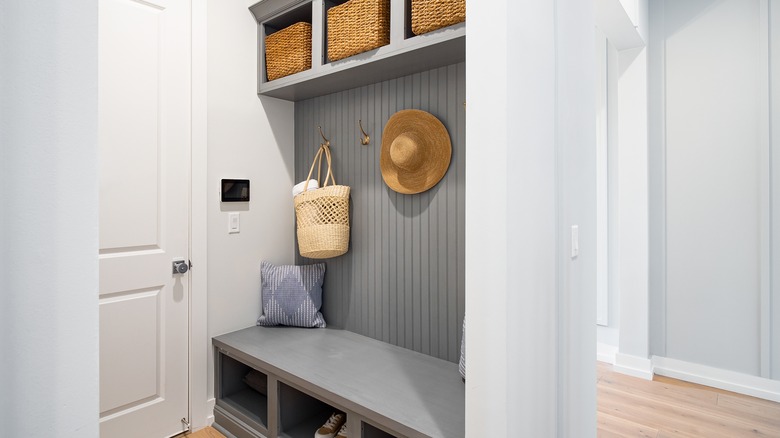
There are plenty of exciting ways to spruce up the decor in your new mudroom to make it an even more inviting space. A few throw pillows with chic covers could provide a splash of color and will make the bench a more comfortable place to sit when you're putting on your shoes. A set of Kevin Textile Neutral Decorative Throw Pillow Covers could be a nice choice if your home relies on a rustic or farmhouse interior design style. An outdoor rug can also transform the visuals of your mudroom and will help with keeping dirt and water out of the other rooms in your house. A cute set of organizer baskets or cubes could also be a wonderful addition to your mudroom's cabinets and cubbies. These items are great for storing the things you usually reach for when you're about to walk out the door, such as gloves, pet leashes, or reusable bags.
A framed piece of wall art that matches your mudroom's primary paint color could go a long way toward linking your newly restored nook with the rest of your home decor. Alternatively, putting up a mirror in place of the artwork could give your space a luxurious appeal and still serve a practical purpose. Entryway chandeliers that look cool and modern are another solid option for boosting both the form and function of the area just beyond your door.