Mistakes You Don't Want To Make When Painting Popcorn Ceilings
We may receive a commission on purchases made from links.
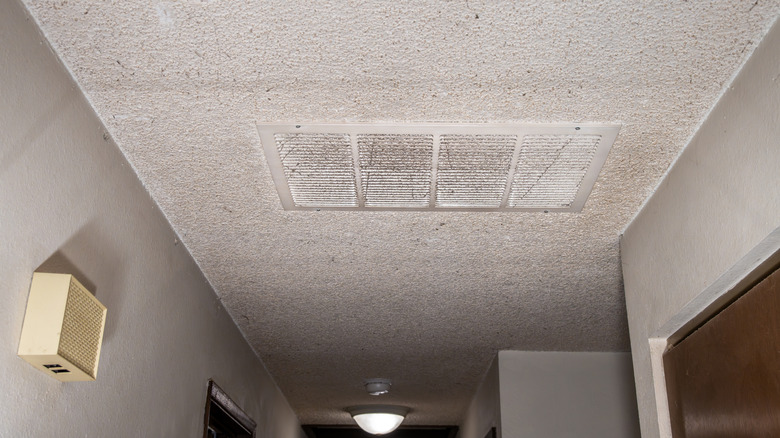
Popcorn ceilings, otherwise known as cottage cheese ceilings, may seem like a relic of the past. Yet they're still present throughout various homes, particularly in properties dating from the mid-1940s to the 1990s. With their textured dimpled surface, these ceilings were a cheap choice for home builders, plus let them quickly hide any defects in the drywall. Nowadays, some homeowners may want to remove their popcorn ceiling, but one alternative is to paint the surface instead. The mistakes you don't want to make when painting your popcorn ceilings include skipping your primer, using the wrong paint finish, oversaturating the paint roller, and neglecting ventilation. If you haven't previously tested the ceiling for asbestos, skipping this step is also a big error.
Opting for paint over the removal of your popcorn ceiling is a cost-effective and less time-consuming way to give your space a new look. Keeping the textured surface also lets you enjoy the noise reduction properties they offer, which comes in handy in shared spaces, such as a condo. Best of all, you can easily paint the ceiling yourself, provided you have the right materials and process. If painting your popcorn ceiling is next on your DIY project list, make sure you avoid these crucial mistakes.
Neglecting primer and using the wrong paint or technique

Primer is essential when you prepare to paint your popcorn ceiling, just as it is for painting a wall. Using a primer lets the paint adhere to the textured surface, which is vital, as a popcorn ceiling requires at least two coats of paint for adequate coverage. The primer effectively blocks the ceiling's dimpled surface from absorbing too much paint. After treating your ceiling with primer, you can easily apply the paint smoothly and evenly. In addition, if you have a stained ceiling, a stain-blocking primer helps seal and prevent the stain from reappearing. Various paint manufacturers offer stain-blocking primers, but the KILZ Restoration Primer is formulated to cover marks from nicotine, fire, and other stain causes.
After you've primed your ceiling, you must select a paint with the right finish. Flat or matte finishes are best suited for popcorn ceilings because they don't reflect light, unlike satin finishes, which could highlight any imperfections. Before you begin painting, though, be mindful of your technique, especially if using a roller. Avoid coating the roller with too much paint, and wipe off any excess on your paint tray. Using too much may result in an uneven coat, plus it can cause the texture to flake off from the paint's weight.
Forgoing ventilation and asbestos testing
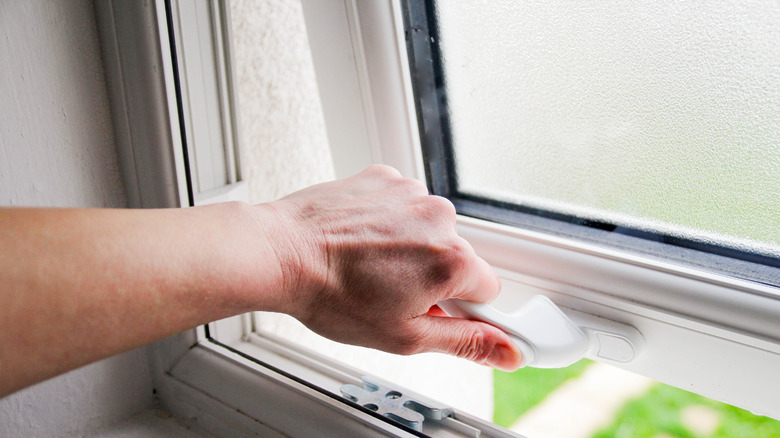
Painting without proper ventilation is a major health hazard. Some paints release volatile organic compounds (VOCs) causing adverse health effects and reducing air quality. Breathing them in may cause dizziness, nausea, headaches, and respiratory discomfort. Opening your windows and using fans to air out the space while painting helps disperse the VOCs to reduce the effects. Having good ventilation also helps paint dry faster and more evenly, so you have a smoother finish on your ceiling.
Not testing your popcorn ceiling for asbestos is a major error to make when painting. Asbestos fibers were commonly used in these ceilings' texture creation, thanks to their affordability and sound-dampening qualities. The material was also believed to make homes safer in a fire with asbestos' heat-resistant nature. However, disturbing asbestos, like while painting, can make fibers airborne and at risk for inhalation. Inhaling asbestos increases the risk of developing cancers, such as mesothelioma and lung cancer. Due to their microscopic size, the fibers are invisible to the naked eye. You may unknowingly release asbestos in the air when painting, which is why it's crucial to perform an asbestos test if you haven't already.