Keep Stinky Shoes Organized And Hidden With IKEA's Popular BESTA Units
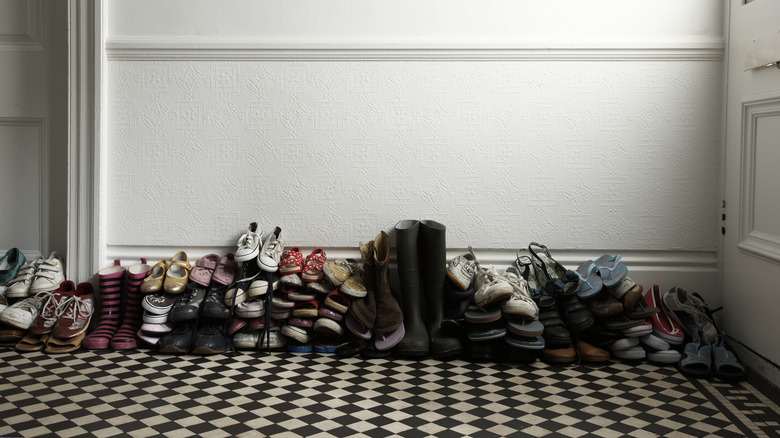
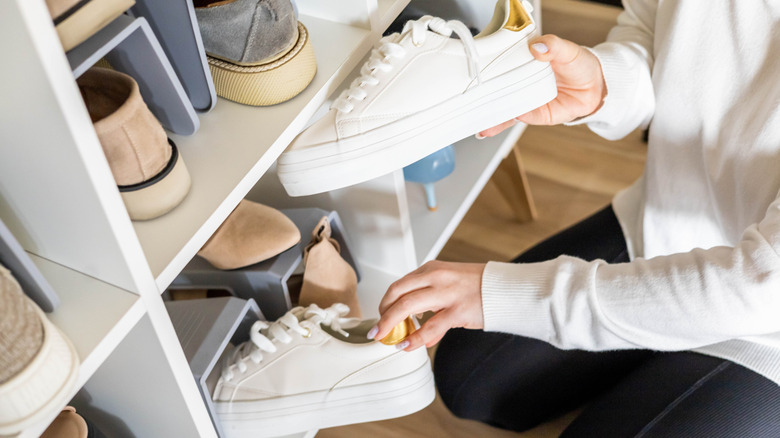
The entryway or mudroom in your home can quickly fill up with clutter if you don't have a way to look after its organization. Oftentimes, the items that can make the biggest mess within these spaces are your shoes. If you're tired of tripping over them every time you walk through the door, you might want to put together a shelving unit or two to keep them in order. A set of IKEA BESTA shelf units could be the perfect choice, especially if you pair them with a handful of MURVEL shoe organizers from the same store. By putting your footwear away in the cabinet, you'll also be able to prevent any offending smells from affecting your space. Plus, a functional shoe storage system will help ensure that you'll never have to waste time looking for that pesky missing sneaker the next time you're in a rush to leave the house.
IKEA's BESTA storage units are versatile enough to match the size and shape of just about any entryway, and can fit in wherever you have open wall space. They also come in a variety of colors and can align with many interior design styles. Putting together a neat shoe organizer with these fixtures is as straightforward as it gets. You can even add a pair of coat racks and a BESTA top panel above the cabinets to give them an elegant finish.
How to assemble a neat mudroom cabinet with BESTA units
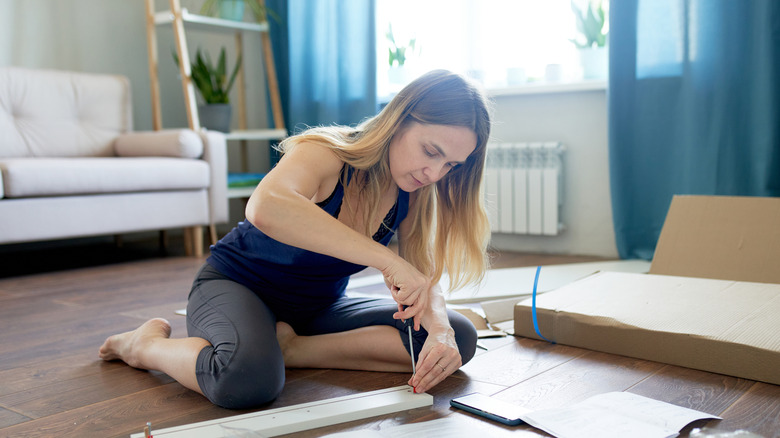
To create a shoe organizer and coat rack combo, you'll need to purchase three of IKEA's 25 ¼-inch tall BESTA cabinets, plus a 70 ⅞-inch long BESTA top panel with an oak veneer. You'll also need a total of 24 MURVEL shoe organizers so that you can have four of them on each of your cabinet's shelves. To begin, assemble your BESTA units according to their directions and place them next to one another against an open wall in your mudroom or entryway. Then, apply the mounting adhesives included with your wood panel to the top corners of the cabinet, and fit the panel into place.
As a final step, put two NORDLI add-on clothes rails on the top of the cabinets. To install these fixtures, you'll need to drill the provided screws into the back of your BESTA units so that the NORDLI's backplate stays in place. If you're having a tough time finding this product, you could install a clothes bar onto the wall behind your organizer instead. An IBUYKE Industrial Pipe Clothes Bar Rack, for example, could be a fantastic place to keep your coats and might add a bit more character to your space. Once you've added a clothes rack above your cabinets, you can complete the look by filling up your BESTA shelves with shoe organizers.
How to make building an entryway organizer with IKEA BESTA units more affordable
Although this finished shoe organizer looks incredible, it can be a somewhat expensive project for homeowners to recreate. Just the three 25 ¼-inch tall BESTA units, plus the wooden countertop plate that fits above them, will collectively cost you over $300. To build a more budget-friendly storage solution for your mudroom or entryway, you might want to consider using 15-inch tall BESTA units instead, which are slightly less expensive. Organizing all of your shoes and getting rid of the pairs you don't wear anymore might also be essential since doing so will reduce the amount of storage space you need.
Further, instead of purchasing a metal coat rack, you could just as easily install a row of hooks on the wall near your fixture. A pair of Optish Coat Rack Wall Mounts are an elegant yet inexpensive choice that suits just about any interior design style. With your coats up on the wall rather than hanging above your organizer unit, the tops of your cabinets will be free for storing more items. A couple of stylish containers, such as OIAHOMY Woven Baskets, could be both practical and visually satisfying, and they'd be a great place to keep things like hats, gloves, and purses. Plus, with these containers, putting the BESTA top panel product on top of the unit might not be necessary for creating a neat-looking arrangement.
Upgrading your BESTA shoe organizer unit
If you're looking for a way to make your shoe storage unit even more functional, you could build a bench around your BESTA cabinets with a few sturdy pieces of wood. First, measure and cut two panels with dimensions equal to the sides of your cabinets. These will serve as legs for your bench. You could also make more of these panels and fit them between each of your cabinets for extra support. Next, cut and fit a sturdy wood plate for the top of the bench. Attach all of the new components to each other, and to your BESTA units with both wood glue and wood screws. Finally, seal and then stain your project. A can of Varathane Early American Fast Dry Wood Stain should give your BESTA bench a rich yet natural appeal. Now, you'll have a place to sit when you're putting on your shoes or taking them off.
Don't feel like building an entire bench, but still want to transform your cabinets to make them more luxurious? You could install a pair of IKEA OSARP legs, which are specifically designed for BESTA units and come in a shiny brass finish that catches the eye. By elevating your cabinets, you'll open up a bit more storage space below them. If you're going to keep shoes there, you might want to get a Stalwart All Weather Shoe Mat, or a similar product, to keep dirt and water off your floor.