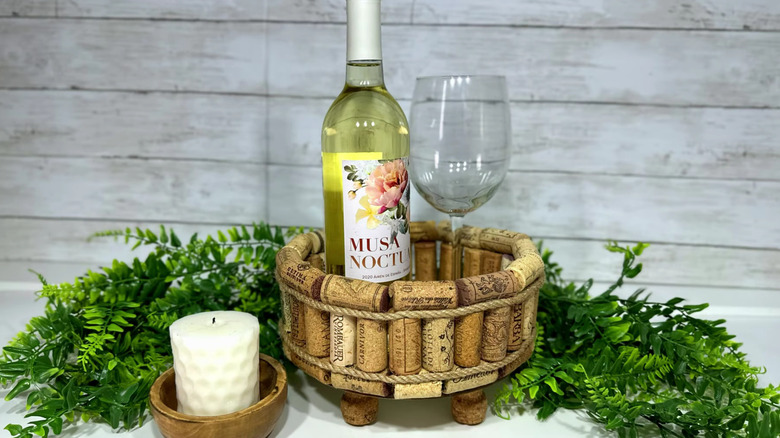
Upcycle Old Wine Corks Into A Gorgeous Countertop Display Tray

We may receive a commission on purchases made from links.
Do you love your wine but hate the waste of spent bottles? Recycling isn't as easy of a solution as it may seem in many areas, and if your municipality won't take glass recyclables, it's either landfill-bound or ready for repurposing around the home and garden. A two-part problem, you have to find clever reuses for both the bottle and the stopper. You may already know some of the ways to repurpose wine corks around the house. But if you run out of ideas without running out of corks, you can try out at least one more fun and fashionable upcycle using a bunch of corks and a lot of glue but little else — a decorative tray DIY. With a sturdy base, corks lend their effortless aesthetic to a stylish yet splendidly simple project.
A fun bit of eco-friendly, eclectic decor, the basic idea of this tray translates to almost any setting. Turn it into a dining room centerpiece, fill it with skincare essentials in the bathroom, or make a serving surface to complement the living room ottoman. A few modifications can make the design work in any room with any style, solving your storage, decor, and wine-stopper overflow problems all at once.
Materials you'll need for an upcycled wine cork tray
Corks can make a cool-looking surface, but using them as the structural base of your tray won't give it much hope for survival. Start with a rigid base, like ¼-inch plywood cut to your tray's dimensions. You'll then need your king's ransom of upcycled wine corks and an adhesive to glue them to form a tray.
While a quality high-temperature hot glue can supply a sure hold, its brittleness may make you want to opt for another craft adhesive. If you keep E6000 glue in your home for DIYs, this is a great use for it, as the slower set time can give you a bit more time to adjust your pieces in the desired position. More heavy-duty glues, like Gorilla Glue Clear, offer another fast-acting, clear-drying option. You could also use standard wood glues, but the longer drying times might make it tricky to stack corks if you want to form them into tray walls.
With those materials, you can assemble the basic cork tray structure and, if you're all crafted out, call it a day. When you want to elevate the look from serviceable to sensational, grab some twine, ribbon, and other embellishments to make this DIY look its best. You could also make it a fun painting project or leave it natural with a protective sealant to give it a sheen and maintain its looks.
Assembling your countertop display tray
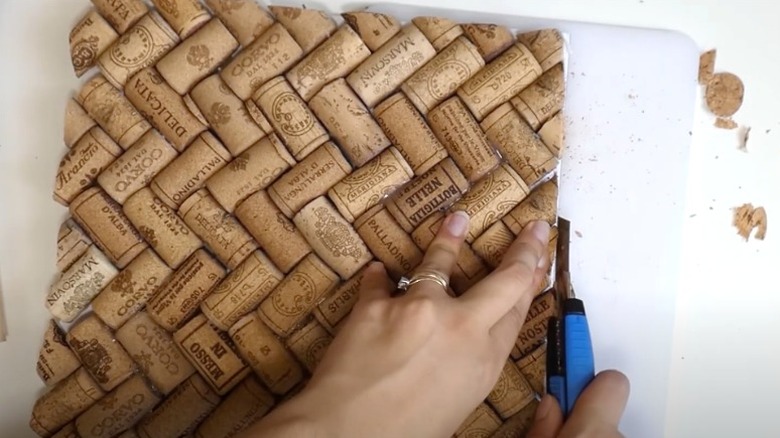
Corks can work their way into your tray in several places. Use them for a patterned base, side walls, or even legs to give the tray some height. It may help to lay out the pattern you want for your corks so you can determine the proper size for the foundation, which only needs to be a thin sheet of wood to give the tray rigidity. Lay out the pattern, measure it, and cut your board to match. As far as those patterns for the base go, you can borrow ideas from the various paver layouts that add interest and texture to patios, like herringbone or basketweave.
Glue the whole corks down, or stretch each one a bit further by slicing them into coins or cutting them in half, since only the top side will be showing. For cleaner, easier cuts, boil the corks for about 10 minutes before cutting into them. Once dry, adhere the corks to the base, and wait for the glue to dry.
You can then add more corks as a wall to go around the tray's perimeter if desired. Do a dry run with the corks in the pattern you want around the edge to see if they'll fit cleanly together or if you should cut any of them down. Glue these in place, and let the adhesive cure. After that, you can get to work decorating by hot gluing on wraps, adding paint, and installing functional handles.