Easily Upcycle Thrifted Tissue Holders Into The Cutest Cordless Wall Sconces
We may receive a commission on purchases made from links.
Do you envision the walls of your home giving off a cozy glow from wall sconces, but don't want to invest in a hardwired fixture? A project with electrical work like installing a traditional wall sconce can be intimidating for some DIYers and feel like an out of reach project without professional help. Instead of forgoing the design dreams you have for your space, you may be able to find the secret to a cordless wall sconce right at the thrift store. This upcycle hack involves reusing thrifted tossed box holders combined with battery powered lights as a way to create wall sconces free from any electrical wiring.
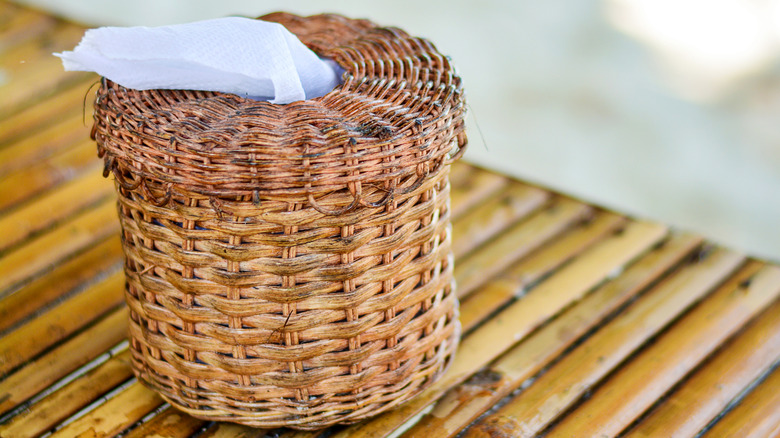
One of the perks of this tissue holder DIY project is that it only requires a few materials to create these cute sconces. Before starting, you'll want to head out for an afternoon of thrifting in search of some tissue box holders. Nearly every style can be adapted for this hack, but versions made from material like wicker are visually appealing while allowing the light to shine through the small openings. You'll also need battery powered lights with a remote for convenience, like Amazon Basics LED Puck Lights. In addition, be sure to have a hot glue gun and chosen method to attach the sconces to the wall.
How to turn tissue holders into cordless wall sconces
The first part of this upcycle is to plan out the how and the where for these cordless wall sconces. You can use one box if you want a small light fixture that doesn't draw too much attention, or you can take reusing tissue box holders to the next level and use two (or more) together for an elegant statement piece for your home. If you're using multiple, you'll need to decide how you want to attach them together. Tie them to one another using something like hemp cord for a non-permanent option. A hot glue gun is another method, though may be a bit more difficult to disassemble.
You'll also need to set up the lighting portion of these sconces. This involves installing batteries in the lights and using hot glue to secure each one to the bottom of the tissue holder. Be sure to let the glue dry fully. Now you can move on to the final part of this weekend DIY project: hanging your new cordless sconces! There are several ways to approach this step, but the best method will depend on your goals. Looking for a renter-friendly option? Stick a Command XL Heavyweight Picture Hanging Strip on the back for a removable method. If you're not as concerned about removal and want a quick installation, just pop a nail or two into the wall and hang the sconce from them using the holes in the wicker.
Ways to customize your new cordless wall sconce
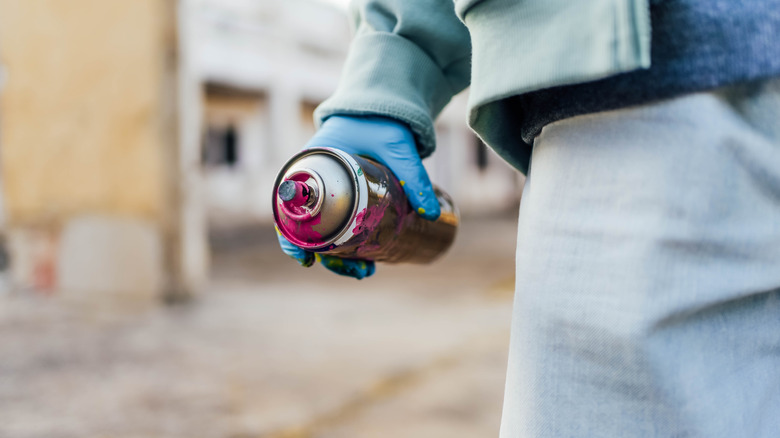
While you can reuse your thrifted tissue holders in their original state, it's always fun to customize an item with your unique style. DIY painting is an easy project that gives you freedom over the final look of your wall sconce. You can choose a neutral color to match with any type of decor, or go outside the box and choose a bold hue to draw attention to your creation. If you don't want to switch up the color, think about how you can change up the outside appearance in a temporary fashion. For example, consider stringing thin fairy lights, decorative vines, or ribbons through the small openings in the wicker for a fun addition.
You can also experiment with the lighting inside the sconce as a way to change up the glow it gives off. Using a cool toned light will create brightness in a space and help it to feel larger. Warm toned light, on the other hand, is ideal for relaxation and creating a cozy atmosphere. Choose the one that best fits your goals for the space, no matter the time of day.