Raise Your Too-Short Curtains To The Ceiling With A Budget Trim DIY

While measuring length before buying curtains for your home is one of the tips for choosing the perfect curtains for your space, sometimes things happen that are just out of your control. Perhaps you were busy and remembered the wrong length, or you moved, and now they are a bit too short. Whatever the reason, there are times when you just want your curtains to magically be longer. Thankfully, with a few hours to kill and some extra fabric, it's possible to add a little length to get your ceiling-length curtains, and no one has to know they weren't meant to look like that in the first place. You can just manually sew the remaining length you want onto your curtains. All you need is basic sewing equipment and a little fabric to get started.
This method will save you a lot of money, as buying custom curtains can cost you upwards of $300 per window. However, most fabric you will come across won't set you back much more than $20 per yard (a common unit of measurement for fabric), and you don't need anything fancy for your curtains. The first step is to measure. Determine your desired length on your wall, and then subtract the fabric you have from that to see how much you need to buy. Since you will be creating seams, you will have to account for an additional quarter to half an inch of length for every seam and hem you make.
Get creative with the fabric you choose to add
When choosing a new fabric to add length to your curtains, you don't want to try and match it to look as close to the original as possible. In fact, this may make it more obvious that your curtains were adjusted and make your DIY stand out like a sore thumb. Instead, take the chance to add some personality to your curtains.
If you're hesitant in your ability to choose something that will look good with your curtains, don't be afraid to take one (or a little from the bottom for a sample) to the store with you to see what works well together. Before you create your final masterpiece, you may also want to buy a little of the fabric and see how it actually looks in your home when attached to your curtain. Sometimes, things don't look quite the same in your house as in a store.
Additionally, while adding new fabric to the bottom of your curtain is the easiest method, it's not the only one. If you're willing to sew a couple more seams, you can put fabric in pretty much any part of the curtain. Add it near the top of the curtain or somewhere in the middle. You can even cut extra length from your curtains to add a few different fabrics. If your curtain is patterned, pick matching or complementary colors to create color blocks, or choose patterns and different fabric types to make something really fun.
Learn basic sewing skills and take your DIY a step further

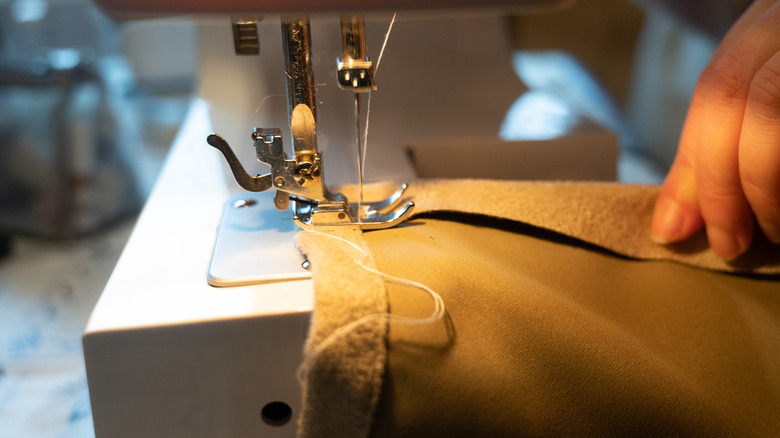
Sewing can sound pretty intimidating, but it doesn't have to be. Machines handle a lot of the actual work for you, so long as you take the time to pin the fabric in place and ensure your hems are even and line up like they should. If you don't sew much, you might not have a sewing machine to use.
Thankfully, there is a potential way to work around this. If you own a library card, consider calling or visiting your local branch to see if they have one you can borrow. Most people associate libraries solely with books, but many offer plenty of other items you can borrow. Sometimes, there are even classes to teach you how to use certain equipment, so you don't feel overwhelmed.
While you are sewing the extra fabric on the bottom, you can also consider adding some decorative trim to the side. If they feel old, this is one of the creative ways to give your outdated curtains a modern upgrade. Once you've sewn one layer on, another might not be too hard. And adding some extra fabric isn't the only way to make your curtains look nicer. Now that you're feeling bold with your sewing skills, consider improving your handyman abilities as well with this one missing step that will make your curtains look more professional.