How To Insulate A Finished Garage Ceiling (And Common Mistakes To Avoid)
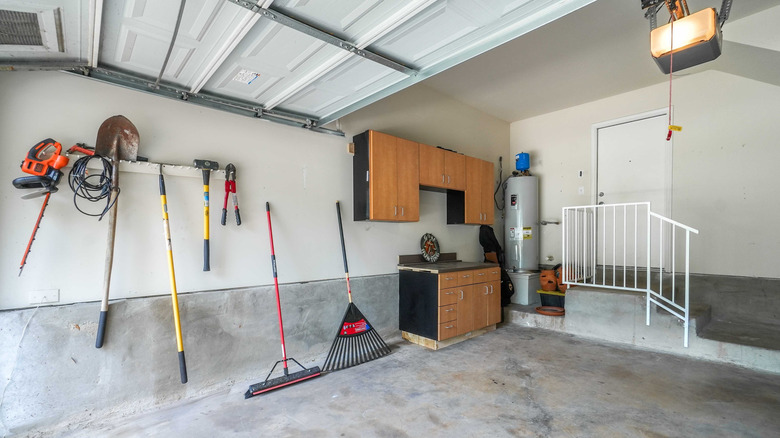
For a lot of people, a garage is more than just a place for parking cars. Many homeowners also use their garage for home improvement and gardening projects, and some of us use the space to store items like bicycles and bulky paper towels. Finished garages can provide not just storage but also additional living space, extending the usability for purposes ranging from home gyms to cozy man-caves. It's easy enough to heat your garage with a portable heat pump or infrared heater, but adding insulation can improve energy efficiency and lower costs, especially during the colder months. According to construction expert and contractor Kevin Keen, owner of Keen's Buildings, there are four excellent options when it comes to insulating your finished garage ceiling, but, in order to avoid common mistakes, two of them you should probably leave to the professionals.
Along with providing optimal conditions for paints and glues you may be storing in your garage, a consistent temperature protects lawn tools and equipment, car batteries, and any electronics from extreme heat or cold damage. "It's a bit more complicated to insulate a finished ceiling, so I would always recommend hiring a professional to come assess your garage, and advise you based on your specific situation, budget, etc.," Keen told House Digest in an exclusive interview. He went on to advise, "When hiring a professional, make sure to shop around a bit. What I mean by that is you shouldn't automatically go with the very first company you find. You'll want to get multiple quotes, and read plenty of reviews before making your choice."
Choose the right insulation type before getting started
Your first step is to choose the right type of insulation for your garage. In his exclusive interview with House Digest, contractor Kevin Keen explained how to insulate a garage ceiling with rigid foam board, mineral wool, spray foam, and blown-in insulation. "You can add rigid foam board insulation directly onto the ceiling," he said. "You'll need to apply adhesive caulk on one side of each board and then press them firmly against the ceiling, making sure they fit nice and snug between any joists," Keen explained. Then, you'll need to seal the edges to prevent any leaks.
"Another material you can use is mineral wool," Keen said. Unlike rigid foam board, this fire-resistant product also provides some soundproofing benefits. The installation process is similar to rigid foam board. "You can use an adhesive, or mechanical fasteners, to stick it on the ceiling," the contractor explained.
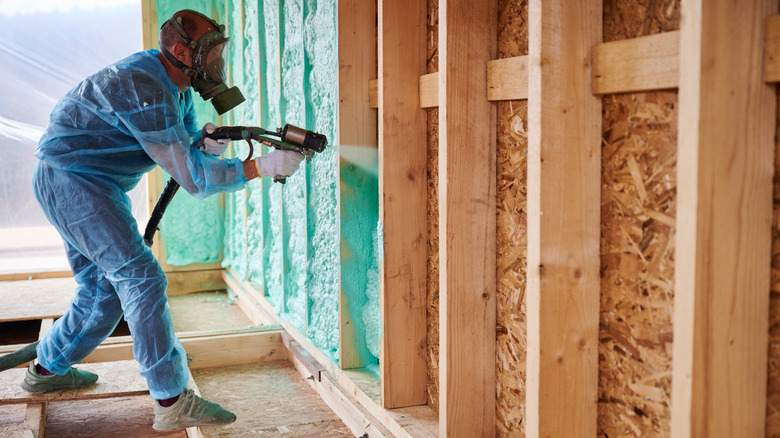
According to Keen, two other options are better left to the pros: spray foam and blown-in insulation. "If you want a truly airtight seal, you might want to opt for spray foam," he said. "This method involves spraying foam into the ceiling space ... But over-expansion can occur and cause damage." He also cautioned that blown-in insulation, which typically uses cellulose or fiberglass, requires specialized knowledge and equipment. "This is a good option if the garage ceiling doesn't have an access point, but should be left for the professionals," he said.
Avoid common mistakes that can cause harm to your family
For an experienced DIYer, insulating a finished garage ceiling yourself can be a cost-effective way to climate-control your space. According to Kevin Keen, it comes down to preparation. "My advice is to always start with a detailed plan (and preferably professional advice), so that you can avoid any costly errors," he exclusively told House Digest, adding, "Please don't just jump in – especially if you're a DIY fan without any real construction experience."
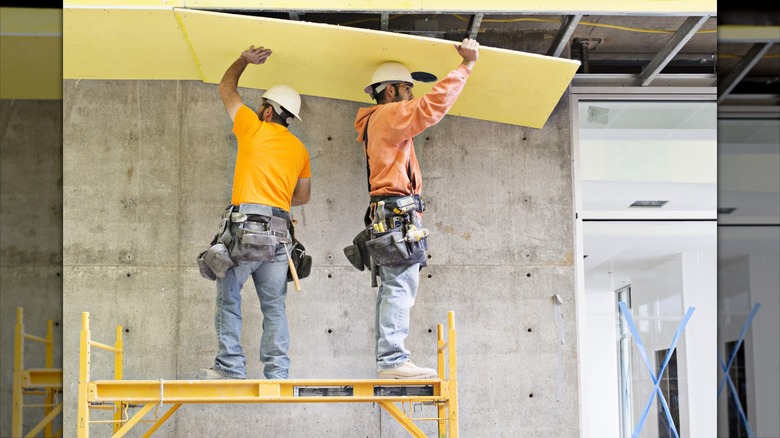
Along with the major mistakes to avoid as a new DIYer, according to Keen there are some common mistakes even more experienced people make when insulating a finished garage ceiling. "Forgetting to cut holes in the insulation to accommodate an electrical box can interfere with the electrical system, and it's a fire hazard," he warned us. Another common mistake is using a ladder instead of scaffolding. "Scaffolding will give you much better stability, and make access to the ceiling easier," Keen explained.
Finally, you must leave room for ventilation. "You have to leave a gap between the insulation and the underside of the roof sheathing, otherwise moisture will get trapped causing mold and mildew," Keen told us. He recommended leaving a gap up to two inches. It's especially important to remember this because forgetting can cause condensation that leads to serious mold issues that can wreak havoc on your family's health.