Everything You Need To Consider Before Installing Double Pocket Doors

We may receive a commission on purchases made from links.
Pocket doors can be something of a mystery. We make an elaborate effort to obscure the inner workings of most house framing, and it feels like pocket doors – by their nature hidden when open — are doubling down on the obfuscation. It's easy enough to see how a hinge works, and how a hinged door relates to the door jamb and the wall it's set into. But to the uninitiated, a pocket door just disappears into the wall like nothing else in our daily experience of walls.
Perhaps because of this weirdness, it can be difficult to parse the list of things that have to happen to install a pocket door. There are definitely some gotchas to be aware of if you're considering a pocket door, and a double pocket door takes even more planning.
In the end, it's well worth the trouble. Pocket doors can help to solve certain space challenges. And, as the quality and reliability of the doors has improved, there has been a shift from the use of pocket doors out of necessity to use based on architectural design goals and aesthetic preferences. These days, the best places in your home for pocket doors aren't just necessarily tight hallways and small bathrooms. The emergence of simpler pocket door kits has also made things easier, as they've evolved from basic track and roller systems that required a skilled finish carpenter or a millwork supplier to full assemblies that require very little effort to put together and install.
The ins and outs of installing pocket doors and framing
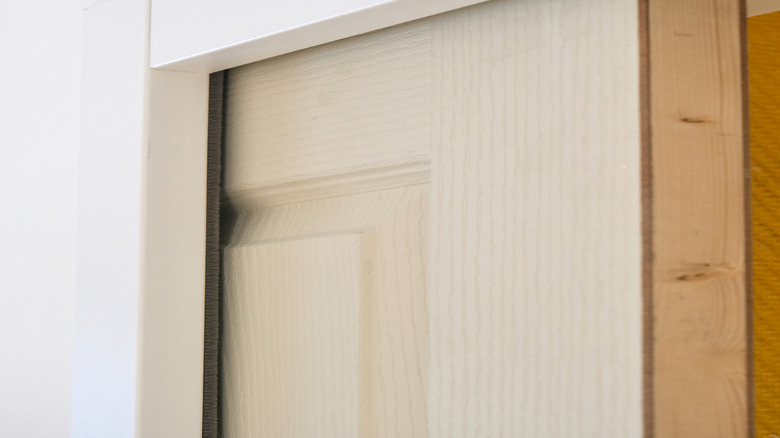
The easiest way to wrap your brain around a pocket door system is to work through its installation from scratch, where no wall existed before. The process, in brief, is to install mounting and lock hardware to your doors. You then size the track, if applicable, and mount it to a header above the door space. If the pocket door frame isn't integral to the kit, you'd install it at this point. Locate and install limiters (which keep the doors from moving beyond their intended range), the roller carriages your doors ride on, and any soft-close mechanisms, then hang the doors. Typically, you'd install the door on one side, then do the other.
Kits vary in completeness and complexity, requiring different degrees of carpentry to install, from driving a few screws to building the frame from scratch. Materials also vary. Pocket door frames often make use of aluminum or steel framing to provide strength and rigidity without the thickness of dimensional lumber. Aluminum frame can usually be cut to size and installed using normal woodworking tools.
As you plan for installing the track, it becomes clear that you must have room for the doors, so think the process through before starting. Formulas vary slightly, but the full framing width is generally twice the width of the doors, plus one or two inches per door. Vertical space can also occasionally be an issue, but usually only when installing pocket doors in an existing wall.
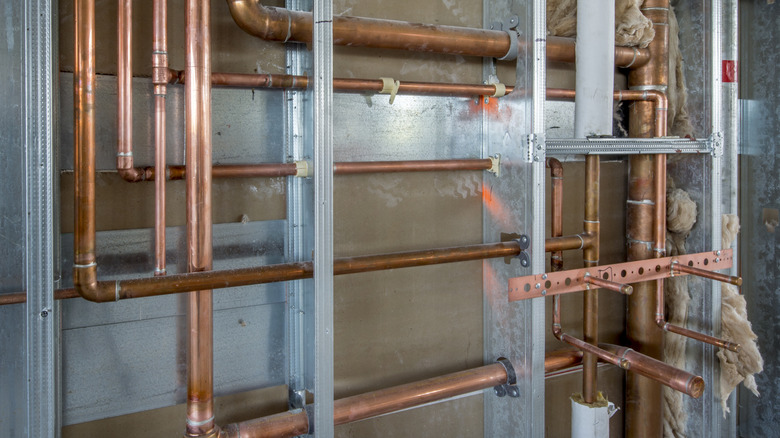
Plumbing or electrical might get in the way
When installing into an existing wall, you will likely be replacing some or all of the original framing. So, after planning, demolition, and accounting for any wiring or plumbing that has to be dealt with, the installation process is largely the same as for a new wall. But let's not speed past the planning stage, since there are a few major potential complications lying in wait there.
You must determine if you have enough space for both doors, if the wall you're replacing is a load-bearing wall, and if there is any wiring or plumbing that has to be either moved or removed. We'll come back to the load-bearing issue in a moment, but the presence of electrical devices or plumbing is often a deal-breaker for pocket door locations. Moving switches and outlets is often the domain of licensed electricians, and even with that help it can cause you to fall from the grace of code compliance. Moving plumbing can be even more of a non-starter, since water and waste infrastructure is rarely as flexible and forgiving as electrical wiring. If you're determined to push through with your pocket door installation, consult with the right professionals to help you do it safely.
Some walls are bearers of bad news
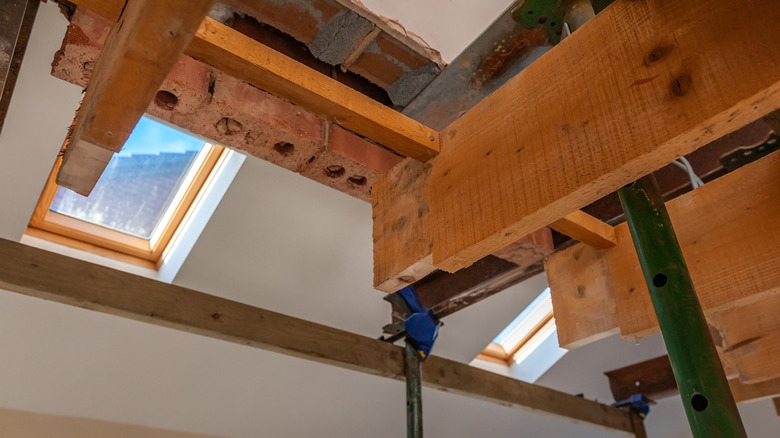
Moving wiring and plumbing is daunting to be sure, but tearing out a load-bearing wall and replacing it with a pocket door ought to give even residential construction pros pause. While you can generally tell if a wall is load-bearing by the direction of ceiling joists — joists running perpendicular to your wall can indicate the wall is responsible for more than just itself — there are times when a secondary load is placed on a wall, or the weight of the roof is being transferred down to an otherwise non-load-bearing wall. This weight transfer can take the form of a floor or wall structure resting on part of the wall in question, or it might be as simple (and as difficult to spot) as a single board transferring weight from above.
It's best to thoroughly inspect the wall from above to determine if any support structure is depending on the pocket door wall. This is easiest to do in an unfinished attic space where you can see the home's structure clearly. Exterior walls are always load-bearing, but it's unlikely you're planning to install a pocket door in an exterior wall. You should be targeting partition walls that are used to (you guessed it) partition interior space without additional structural responsibilities. Walls in the center of a house are often load-bearing. Look for walls that are continuous vertically across multiple floors. Load-bearing walls can be removed, but only with the expensive and complex installation of columns or sturdy beams to redirect the weight from above down to the home's foundation.
Make sense of light and sound issues
It's not something everyone is concerned about, but there obviously can be some downsides of installing pocket doors, from the way traffic flows within a home to the amount of light that carries through from windows to how much sound makes its way from one room to the next. A new wall and pocket door can dramatically change the light in a space, so plan accordingly. In some cases, it might be possible to use a glass door to mitigate the loss of light from added pocket doors, but usually you'll have to consider different or additional room lighting to make up for it.
While adding pocket doors to a formerly open space can sometimes help with sound problems, they are often a liability compared to a wall and standard door. Pocket doors tend to be lightweight and don't fully contact the floor or the walls, and you can't insulate the wall that the door slides into. And while there are some simple methods for insulating your interior doors, they often won't apply to pocket doors. It might help to use a solid-core door, and to use a sound-dampening product like QuietRock rather than normal drywall.
Finish carpentry can un-finish your pocket doors
There are a lot of ways that the finish carpentry required for pocket doors can be a source of problems for the long-term functioning of the door. For example, split jambs — which are ripped from standard jamb material and tend to warp over time — can interfere with the door's movement. Similarly, a track that isn't centered properly when it's installed can cause split jambs of equal width to bind. Wet-setting split jambs can help. Wet-setting involves temporarily attaching split jambs to the leading edge of the door using blocks of wood. This creates a uniform space between the split jambs and the framing, which can then be filled with a stable, non-expanding, non-shrinking adhesive like Liquid Nails Heavy Duty Construction Adhesive.
Most pocket door systems will hold the two walls that form the cavity and the correct distance from each other, but it's important to keep an eye out for anything that might interfere with the door's function. Use short screws when attaching drywall, since longer screws can interfere with door movement. If you add nailers to a pocket door frame, keep in mind the propensity of some furring or strapping to bow over time, potentially interfering with the door. All-aluminum construction can reduce or eliminate sagging that can cause a door to be unbalanced over time, perhaps causing it to open or close on its own.
Level and plumb all along the way

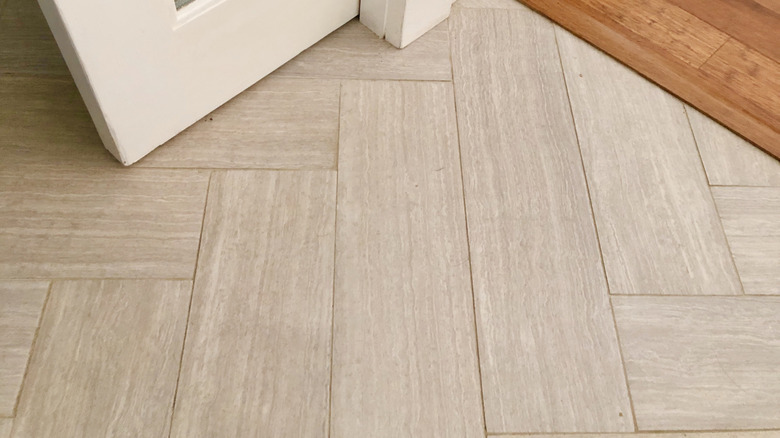
That habit of pocket doors (or any doors, really) to open and close of their own volition is a common problem, and it's usually caused by not properly leveling or making plumb some part of the door mechanism, framing, or flooring at the base of the wall. Level the floor if at all possible, and use a good, long spirit level to make sure every aspect of the existing structure and the pocket door frames are level, plumb from top to bottom, and square to each other. A laser level can be a great help when keeping things properly in line while installing pocket door frames.
Other consequences of construction that isn't level and plumb can include doors that get closer or farther from the floor as they move and, in fact, they can even scrape the floor in extreme cases. It can also cause double pocket doors to not meet properly. Where you'd normally just shim the strike side of a door opening for a single pocket door, double pocket door hardware must be fully adjustable so that doors that meet can be flush with each other.
Maintain your doors' serviceability
Unless you've done a spectacularly bad job of installing them, your pocket doors will have moving parts, and even the best moving parts will wear out over time. The most vulnerable parts of a double pocket door, like the roller carriages, can usually be removed from the easily accessible center of the track, but there are other potential maintenance issues with pocket doors that require access to the inside of your new wall. Since maintenance is always a potential issue, it might be a good idea to invest in more costly, easy-to-maintain products. Some even include trim that is easily removable via spring fittings that hold it in place.
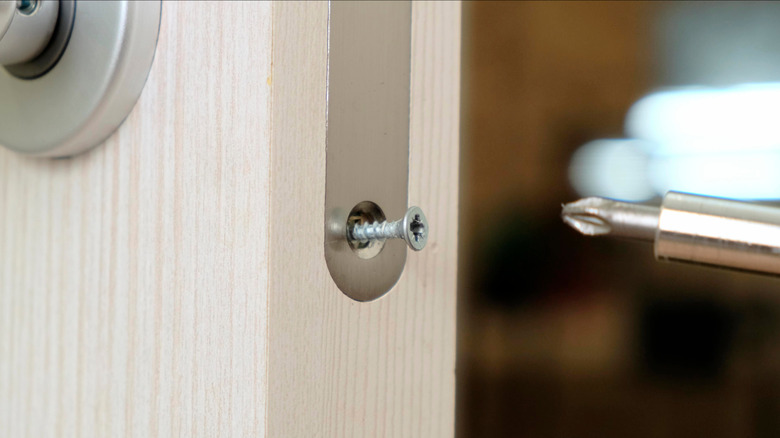
At a minimum, maintenance issues are a superb reason to take great care when installing the track component, which is the element most likely to necessitate your disassembling the wall later if there's a problem. And use screws whenever possible for attaching jambs, casings, and other elements that might interfere with maintenance later.