Keep Cabinet Shelves Neat And Tidy With A Creative Dollar Tree Shelf Riser Hack
We may receive a commission on purchases made from links.
Your cabinet shelves are essential storage areas within your living space, but because they're so easy to reach, they can quickly fill up with clutter if you're not careful. Instead of rummaging through what feels like everything you own whenever you go looking for one small item, you might want to think about how you're going to get things organized. One of your best options could be to pick up a few shelf risers. These fixtures effectively help you divide up the inside of your cabinet into sections, so that you can sort things with ease. They're particularly fantastic for collections or sets of items, such as paints, spices, or hygiene products. This is especially true if they have a tiered design.
To build a tiered shelf riser at home, all you'll need are a few Readi-Board White Foam Boards from Dollar Tree and a basic craft knife. The best part is the project can be completed in just a few minutes. Simply cut out three triangles from your foam boards, and then cut three equal-height notches onto the longest edge of each triangle. Next, use your knife to make three rectangular shelves that slot into the triangles' notches. While this DIY can help you keep just about any cabinet organized, it could definitely be a good place to start decluttering your kitchen. Plus, it's easily customizable, and can be set up at a height that perfectly matches what you want to store.
How to DIY a tiered shelf riser for your cabinet
To begin putting together a DIY shelf riser, cut two equal-sized squares from your foam board with your craft knife. If you don't already have such a tool, you could pick up a Fiskars SoftGrip Detail Craft Knife, or just use a utility knife instead. The dimensions of the squares should be consistent with how tall you want the finished product to be. Next, cut your squares in half diagonally. Three of the resulting triangles will be the base for the riser. Measure and cut three grooves into your triangles along the hypotenuses that run parallel with the triangle's bottom edge. Make sure that these grooves are at identical heights across your three triangles, or the shelves on your riser will be crooked. A set of ZICALSO Quilting Rulers with Non-Slip Rings will help make the measuring process much easier, and might be worth investing in for other DIYs.
To complete the project, cut three equal-sized shelves for your riser from your remaining foam board. Then, simply fit these pieces into the grooves on your three triangles, and you'll have the perfect organizer for all the small items in your cabinet. If you'd like to give the shelves more character, you could easily cut them in a half moon shape instead. You could also give your riser more stability by using hot glue wherever the boards meet.
Customizing your new DIY shelf riser
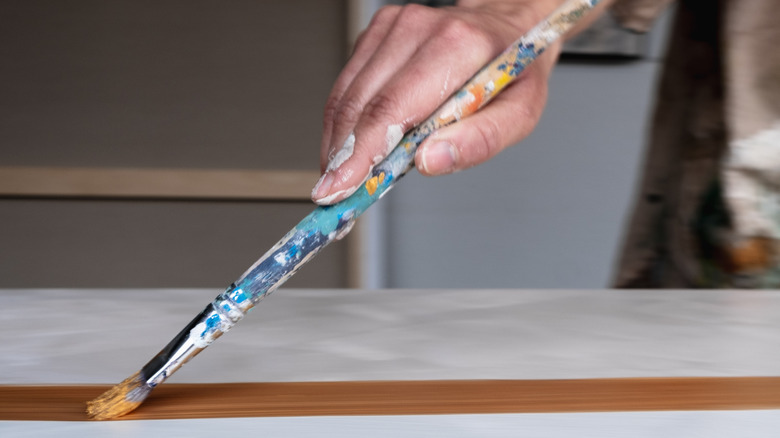
You can easily alter the size and shape of the tiered shelf riser to make it better fit your available cabinet space. If you want to make your riser a bit smaller, for example, try reducing the height of your triangles and cutting grooves for only two shelves. Conversely, you could use bigger foam boards to add a fourth shelf if you're storing a larger collection of items. Not a fan of the clean white look of the foam boards? You can use just about any shade of acrylic paint to customize their appearance, provided that you won't be using your riser to store open food items. Painting inside your kitchen cabinets could also give the space around your organizer a bit more color.
If you want to give your shelf riser a bit more stability, you could attach another piece of foam board to the bottom of the project's triangular supports, to function as a base. To upgrade the fixture's durability completely, you could build everything with wood instead. To do this, you'll need to replace each foam board piece with plywood, and make the relevant cuts with a table saw or a handheld router. You could then use wood glue to hold the riser together, and wood stain to give it a unique color. To further declutter your home, you might also want to think about storage ideas that utilize the space above your cabinets.