These Budget-Friendly DIY Wall Sconces Add Rustic Charm To Any Room
Decorative touches in a home aren't just for people with disposable income or highly skilled artsy types. With the help of an unexpected Dollar Tree product and virtually no skills, you can turn inexpensive items into beautiful sconces for pennies. The crafter behind the YouTube channel, the Daily DIY, assembled pieces of wood, one as a backing and the other as a shelf, and decorated it with part of a Dollar Tree plastic fence. The results are a couple of small sconces to hold a flameless candle and other decorative elements, and they cost just a few dollars each.
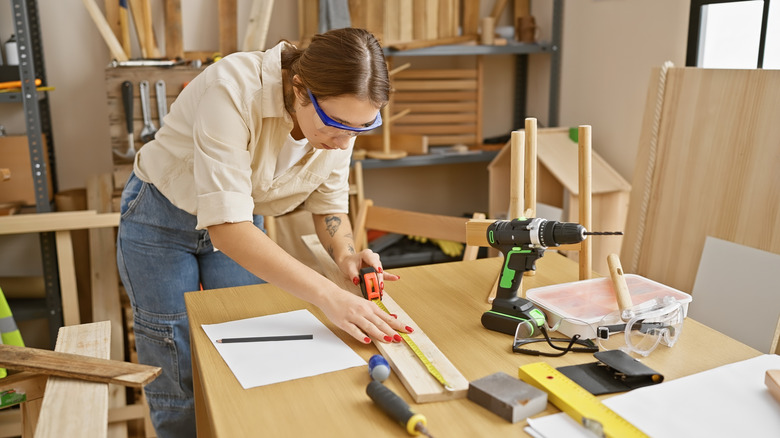
For this ultra-simple project for a pair of sconces, purchase a section of Black Garden Fence from Dollar Tree. Head to the hardware store for 1 ¼ inch wood screws, sandpaper, and 2-foot pieces of both a 1-inch by 8-inch board and a 1-inch by 4-inch board. If you find a shorter 1-by-4, go for it; you'll need less than one foot for each sconce you make. It's also worth looking into whether your local lumberyard or hardware store gives away wood scraps for a reduced price–or even for free.
To hang the sconces, pick up a set of sawtooth picture hangers that you hammer into the back of the sconce. Lastly, purchase paint in one or two colors of your choice. Raid your tool chest and craft hoard for a drill, paint brushes, a saw, a tape measure, a pencil, a hot glue gun, and a pair of heavy scissors or tin snips.
Prep and paint your pieces
Use your heavy scissors or tin snips to cut apart each arched section of the plastic garden fence. They can be challenging to cut without damaging the arches. If you have a soldering iron, set your scissors aside; with a screaming hot iron, melt your way through the connecting piece until you've separated the sections.
Measure, mark, and saw two 12-inch sections of the 1-by-8; these will be the vertical bases to mount on the wall. For the shelf portion of the sconces, measure, mark, and saw two 7 1⁄4 inch-long pieces of 1-by-4. Sand the surfaces and rough edges of the wood, and hammer the sawtooth picture hangers onto the back of the vertical piece. For an essentially free and eco-friendly option, forgo the sawtooth hanger and tack a soda can pull tab to the back piece instead.
Give the wood a coat or two of paint. At this time, you can also paint the plastic arches if you choose to. Making them the same color as the sconces will give a subtle effect, but a slight or distinct color contrast could be attractive, as well. Check out this effective dryer sheet hack to make painting plastic easier.
Putting together your DIY wall sconce
Once the paint is dry, use wood screws to connect the shorter piece perpendicularly to the longer piece, about 1 ¾ inches from the bottom. Using hot glue, adhere the piece of garden fence just above the shelf onto the sconce's face. The lower edge of the fence piece should touch the smaller wood piece.
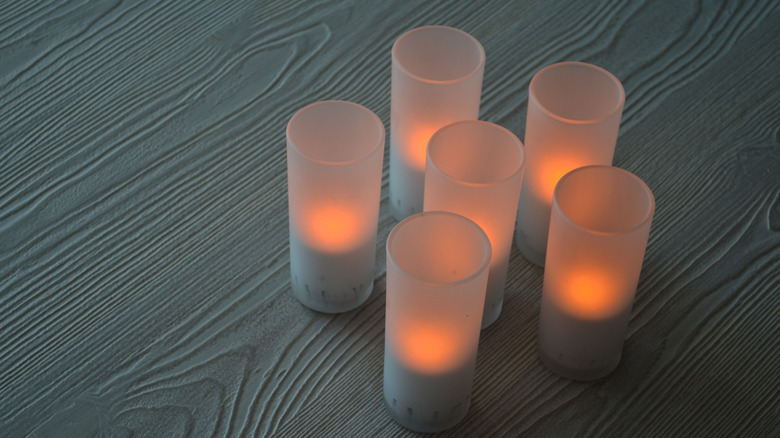
Make turning the lights on and off a breeze with battery-operated lighting that comes with a remote. Set these Mookray Remote Control LED Tea Lights inside glass candle holders for a flickering effect. These YLXS LED Puck Lights may be a better source of light than a faux candle, and they are dimmable, as well. Combine alluring lighting with convenience with Albelt LED Fairy Lights. Keep them in a coil and slide them inside a small glass jar or a colored glass globe. Hang your sconces as part of the perfect gallery wall to add interest and dimension. You also can't go wrong with them flanking a door, window, or mirror for a classic look.