Organize Your Closet On A Budget With DIY Closet Clothing Rack Dividers
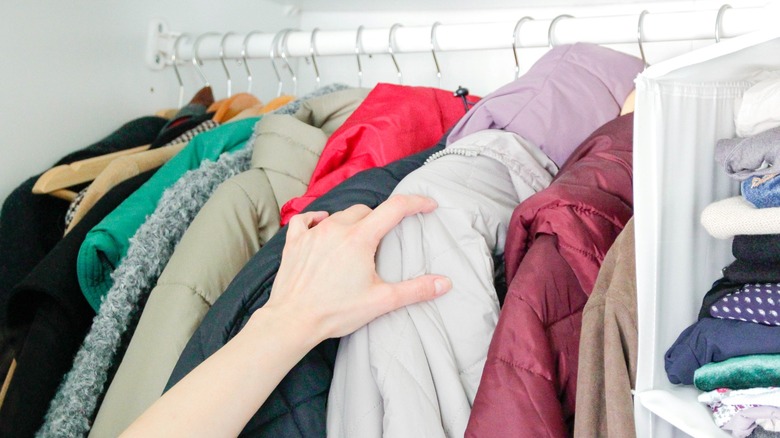
Simple changes can make a world of difference when they help you on a daily basis, like keeping a more organized bedroom closet. An organized closet makes the morning routine less stressful and more efficient. Although there are many genius closet storage ideas to make better use of the space, hacks don't get much easier (or cheaper!) than DIY closet clothing rack dividers. With hassle-free dividers, you'll save tons of time finding the right garment and putting away your laundry. Great for locating items in hard-to-see areas on closet rods and making sense of baby clothes and shared kids' closets, you'll appreciate how these additions make every day feel more fluid.
Making these organizers is simple enough with basic materials. Still, you can cut a couple of corners using ready-made hangers around the house. For instance, maybe you have some leftover door hangers. Repurpose them into workable clothes rack dividers. You'll only need to attach a few labels with these, allowing you to organize your closet and make it easier to shop in a matter of minutes. Otherwise, you can start from scratch with some thick cardstock and packing tape! Toss in a few creative embellishments, and this simple project can give you a delightful highlight to enjoy every time you pick out the day's outfit.
How to make DIY closet clothing rack dividers in no time
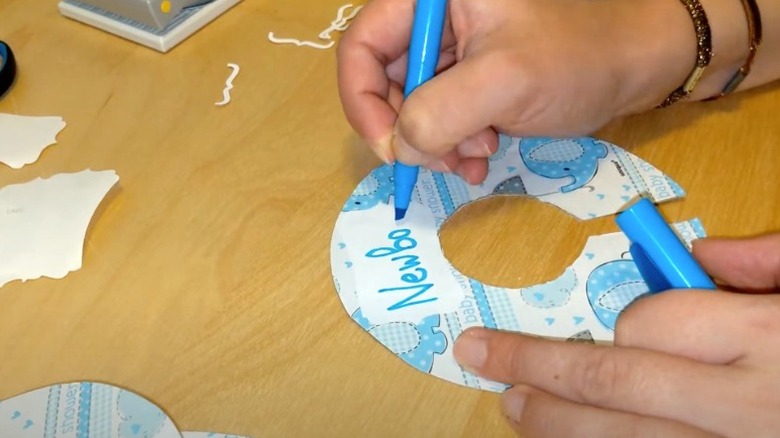
For this project, you'll want thick, sturdy paper cut into small rectangles (e.g., 3 inches by 5 inches) or circles to hang on your clothes rod. Index cards work well for this, or you can cut down cardboard from old cereal boxes, shoeboxes, or other packaging. If needed, you may bond multiple pieces of paper together to create a thicker piece. Use double-sided tape or craft glue to attach them, choosing an adhesive that won't warp or wrinkle the paper.
Write your label at the top of the divider on both sides or along the divider's side edge sticking out from the hangers. You can then wrap the divider with carefully laid strips of clear packing tape. The plastic tape essentially laminates it, protecting the paper from damage and making it last longer. After sealing the divider, you just have to cut out the hanging features. Draw a circle just below the label (so it's roughly two-thirds up the divider if you're making a rectangular hanger) as a template for the hole that will sit around the closet rod. Starting from the bottom of the divider, cut a slit in a straight line leading to the drawn circle. Then, cut out the hanging hole and start making a more practical organizational scheme for your clothes.
Tips and ideas for creative clothing rack dividers
They may stay hidden for most of the day and mainly serve a functional cause, but that doesn't mean you can't have an enjoyable time making unique dividers. Rather than rely on simple hand-written labels, print out your clothing categories in decorative fonts. Color coding the dividers can add another design layer, adding attractive highlights that make each section easy to identify.
Taking this project to the next level, consider how you can apply scrapbook paper, repurpose wrapping paper, or make clever use of leftover wallpaper. Trace the divider outline onto the paper and cut out the shape. Glue the design onto the hanger, carefully lining up the edges. Weigh the divider down with a book or other heavy object as the glue dries to prevent warping and wrinkling. If desired, you could then go over the whole surface with Mod Podge, spray sealant, or other protective coating for a smooth, protective sheen. Take it in all kinds of creative directions from there. Attach bows and glittery embellishments. Stencil on themed shapes that add to the organization, like snowflakes for winter jackets and suns for summertime tees. Better closet organization is the result, but the fun of crafting these budget-friendly DIY closet rack dividers is what makes this project truly worthwhile.