Expand Your Kitchen Storage By Raising Hutch Cabinets To The Ceiling

Hutches seem to be having their comeback moment, emerging once again as the optimal organizational tool for dishware and decor. One problem that a number of homeowners seem to be encountering is the awkward space at the top of their hutch, which is too small to install an additional row of cabinets yet too big to simply ignore. However, there is a simple way to tackle that unused space — raising your hutch cabinets. The finished result works wonders to curate a cohesive feel from your hutch, regardless of the space. It can be a genius way to gain a bit of extra counter space around your kitchen, providing additional room for cooking and storage in the process.
Raising your built-in hutch is a surprisingly versatile solution to your kitchen storage needs, especially in a smaller kitchen where every inch of space needs to be utilized. The process maintains the high-end, built-in look of your hutch while adding a bit of necessary storage space. The process of raising your hutch might seem simple on paper, but it requires a bit of woodworking knowledge and experience. It involves removing your upper cabinets from their fixed position and mounting them higher up on the wall, a potentially dangerous situation for an inexperienced DIYer. However, the process isn't finished upon installation, as you will need to use a backsplash to completely change the look of your cabinets, which could be made of medium-density fiberboard (MDF) or wood laminate. Finally, you can add any wooden detailing to help maintain a cohesive design throughout your kitchen, whether it has a rustic aesthetic or something a bit more contemporary.
Eliminating the space above your kitchen hutch cabinets
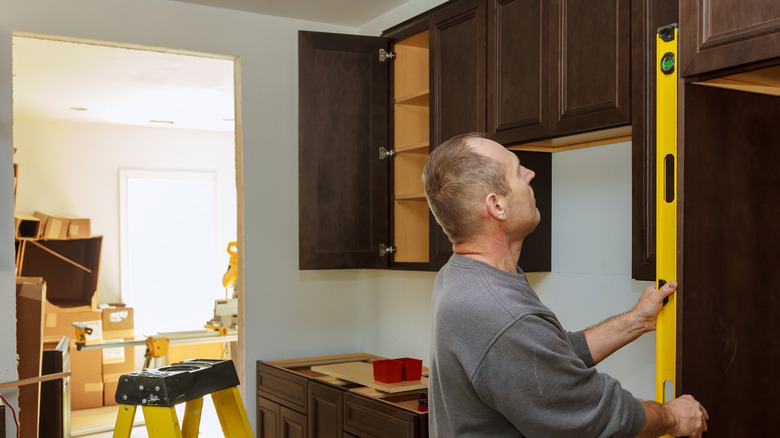
The first step in raising your built-in hutch cabinets is removing any trim and caulk that currently holds it in place. Score along the edge of each seam between the walls and cabinets using a utility knife. Locate and remove any screws or brads that attach the cabinet to your walls. With the help of a few people or a ledger board — a piece of wood secured directly to the wall to help support the weight of the upper cabinet — raise the hutch to your desired height. With the previously removed screws, secure the upper cabinet back into place in its new position. It is crucial when you install cabinets yourself that they are mounted properly to maintain the safety of your piece and its weight capacity. With your upper hutch secured, you're ready to add the finishing touches.
Depending on the height of your raised upper cabinets, there are a number of custom-built storage solutions to make the most out of your new space. Installing a set of shelves using 1-inch by 8-inch wooden planks cut to length can be a great way to incorporate more storage. For a more cohesive design that frames the lower cabinet space, you can use scrap wood to create detailed brackets on either side of your hutch, giving it a more traditional look. Additionally, install paneling to serve as a backsplash, using MDF, laminate, or tile. Once all of your wooden pieces are secured in place, give them a solid coat of paint to further integrate them into your kitchen design.
Tackling a standalone dining hutch

The process of raising your kitchen hutch isn't exclusive to built-in cabinetry. Whether you're raising a vintage piece or a newer find, it can be a surprisingly effective method to get a bit of extra storage out of your standalone hutch. The first step in raising your standalone hutch is determining whether it is a single unit or if the upper and lower portions are separate pieces of furniture. Most traditional hutches come in two parts, making it easier to adjust the space between them. Singular units can be raised using furniture lifters, or they will need to be cut in half to create the desired storage space under the upper portion.
If your hutch is two separate pieces, start by removing the upper half from the lower portion. Create a wooden platform for the base of the top half using 1-inch by 12-inch wooden boards. With a drill, create pocket holes to secure the base to your piece, driving wood screws into each hole. Then you'll want to cover those holes using several pieces of 1-inch by 4-inch wood, cut to length. For this you can use 1-inch brads and a nail gun — or a hammer and nails work just the same. To create a more polished final result, you can install a few pieces of molding to the corners of your base. Depending on the height created under your upper portion, you can install a small shelf to hold additional kitchen essentials or additional decor. You can also install some laminate paneling at the back of your newly raised hutch to curate that built-in feel.