Use IKEA Curtains To Transform A Plain Bench Into A Textured Design
We may receive a commission on purchases made from links.
Never underestimate the power of a storage bench. An understated furniture piece, the humble storage bench is such a versatile item to have around the house as it adapts to so many spaces in its own specific way. Given its basic shape — it's essentially just a bench with shelving options underneath — there is no lack of incredibly easy DIY storage bench ideas you can build for your space. One idea is to combine IKEA's DALHOLEN bench and a pair of HÄGGVECKMAL plaid-patterned curtains.
This enjoyable DIY involves a bit of upholstering and sewing, which shouldn't intimidate you — all it requires is a staple gun, curtains, a needle and thread, and the most basic sewing skills. The hack results in a storage bench personalized to your liking. Although preppy plaid print curtains are used in this tutorial, you can definitely use any textile that matches your room's existing color scheme or aesthetic. The addition of a ruffled bottom creates an area that not only stores clutter but hides it from view as well.
Upholster the bench and create a skirt
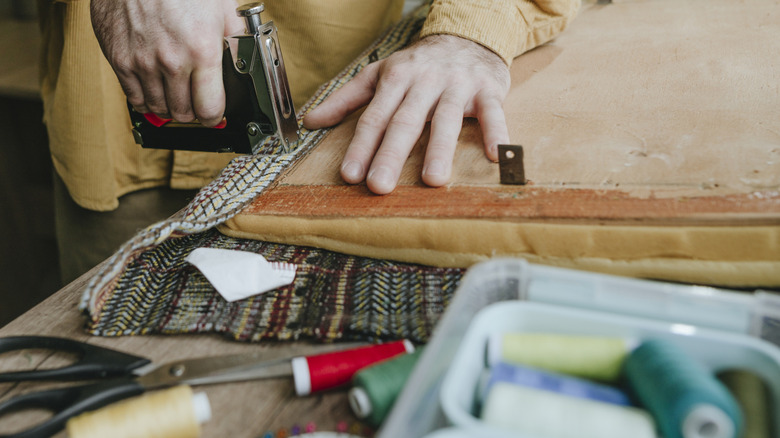
Once you've picked out the bench and curtain set, begin by cutting off the strings attaching the seat's buttons on its underside. To get the perfect wrinkle-free look, iron or steam your curtains first before measuring out enough fabric to cover the bench seat, adding several inches of excess cloth on each side for tacking it in place. Staple the curtains at even intervals along the length of one side first, pulling it tightly across the surface to repeat the same process on the other end, then folding over the edges to create neatly stapled corners.
After trimming away the excess fabric, it's time to reattach the seat's buttons. Push the threaded buttons from the top of the seating to its backside through the original holes, then firmly lock them in place by pulling and stapling the thread in a taut zigzag pattern across the top and bottom of the hole. To create the skirt, cut the fabric to the same length as the bench's legs and loosely sew a gathering across the top, enough to create gentle pleats.
Prepare enough skirted fabric to completely cover the entire bench, but you can add splits at the corners. This makes it possible to flip the cloth over the top of the bench, enabling you access to the bottom part as storage. All that's left to do is staple the gathered area to the underside of the bench, reattach the legs, and proudly display your newly upholstered and skirted storage bench around the house.
Further personalize the IKEA storage bench
As with all DIYs, this project gives you the freedom to play around with colors, fabrics, patterns, and uses. Curate your chosen fabric's material to fit the aesthetic you're going for: Use chiffon, satin, or velvet for a sumptuous boudoir-style room; a damask, plaid, or toile pattern to embrace cottagecore; or go for simple cotton fabric in neutral colors for a minimalist look. The addition of decorative fabric trims along the bottom of the skirting can spark more visual interest, as can switching out the original buttons for something more colorful or striking, like these OWNMY Rhinestone Crystal Buttons.
We love this DIY as it serves as a decorative and functional piece of furniture in any room. By the entryway, it can serve as a comfortable seat for guests to sit on while putting and removing their shoes — and the shoes can easily be stored underneath the skirted bottom. Position it in the bedroom using the space underneath the bench as a clever linen closet storage alternative right at your bed. Push it against a low window in the living room or extra bedroom to use as a reading or sitting nook, storing books behind the skirted edge. It's also a great way to hide any bulky items from full view, from that voluminous yoga mat to the excess cushions you have lying around the house.

