The Unconventional Flooring You Can Use As Backsplash (And How To Do It Right)

Kitchen cabinets and countertops usually get all the attention during building or remodeling. While this is understandable — the cabinets and countertops can and do change the look, feel, and functionality of the kitchen – your backsplash should not be forgotten. Not only does it protect your walls from splatters and spills, but it's also a chance to inject personality, texture, and style into your space. There are so many creative backsplash ideas for your kitchen that finding one that suits your personality shouldn't be difficult. And if you really want the unexpected, laminate flooring might just be the shocking answer to your backsplash needs.
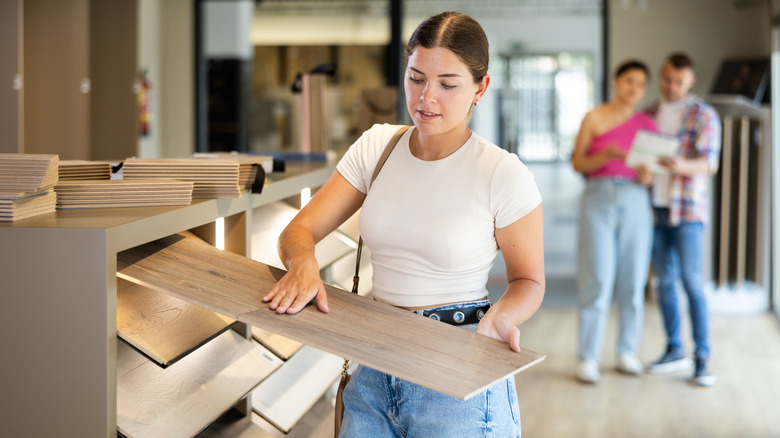
Yes, you read that correctly: laminate flooring as a backsplash. Forget about tiles for a moment. There are compelling reasons why these floor panels can be a great choice. First, laminate is easy to clean, which is necessary because kitchen walls take quite a beating from grease splatters and sauce spills. Thanks to its smooth surface, this material can be easily wiped down to handle any splashes. Also, it's way more affordable than the popular tile backsplash. Tiles are the most commonly used material for backsplashes, and their costs range from $1 to $65 per square foot, depending on the type of material you choose. However, laminate floor panels typically cost $1 to $6.50 per square foot. Even their installation is affordable and easy to do. That's why laminate backsplash is one of the stylish kitchen backsplash ideas you can DIY. Plus, you have a variety of design options with laminate.
Dealing with possible issues of a laminate backsplash
While laminate flooring is a great choice for backsplashes, a few challenges might come up when you install one. One major concern is that this flooring is at risk of water damage. Laminate panels comprise four layers: the wear layer, the decorative layer, and the water-susceptible wood layer before the backing. While the wear layer at the top is very durable and designed to increase the panel's water resistance, the backing is not, and moisture gets in from there. Since the kitchen is a high-moisture area, your laminate backsplash stands the risk of bowing and buckling. However, you can rectify this by sealing between the joints to prevent moisture from soaking through the seams into the boards. Note that sealing some laminate panels can void the manufacturer's warranty. Also ensure to work with moisture-resistant laminate flooring made specifically for areas with high humidity.
Laminate flooring also undergoes expansion and contraction with temperature changes that can cause lifting or warping. That can be an issue when used as the backsplash in kitchens. However, using spacers to maintain expansion gaps during installation will ensure the panels have enough room to expand or contract. Another tip to prevent your laminate flooring from lifting due to heat is installing a heat shield just behind your stove to reflect radiant heat away from the backsplash. Finally, leave your panels in your kitchen for 48 hours before installing so they can acclimate to the temperature and humidity levels and prevent buckling.
Preparing for your laminate backsplash installation

For this project, you'll need a caulk gun and adhesive caulk, a nail gun, a marker, a tape measure, a spirit level, a table or circular saw, a hammer, brad nails, a tapping block, a roller, and laminate boards. You can use an extra-wide laminate board and cut it down to size for your backsplash, or simply use the standard floorboards. You'll have to calculate the square footage of your backsplash to know the amount of laminate panels you'll need.
Measuring your kitchen backsplash can be tricky because, unlike walls, backsplashes are usually not a single rectangular area. A helpful tip is to break up your backsplash into smaller rectangles. Multiply the height and width of each rectangle in inches to get the area of that section. To get the square footage, divide the area by 144. Follow these steps for each rectangle to get their specific square footage, then combine them all to find the total square foot measurement of laminate boards you'll need. Laminate flooring is typically sold in cartons containing 20 square feet, so your final calculation will determine the amount to buy. You should add some extra panels as a waste factor to cover for any mistakes.
There are a few things to note before installing your laminate backsplash. The wall must be vertical and not sloping, or the panels won't stay in place. Next, the surface must be smooth and clean to let it adhere properly. If necessary, sand down any rough patches, then clean the wall surface and let it dry. Next, find your wall studs and use a marker to note their location.
Installing your laminate backsplash
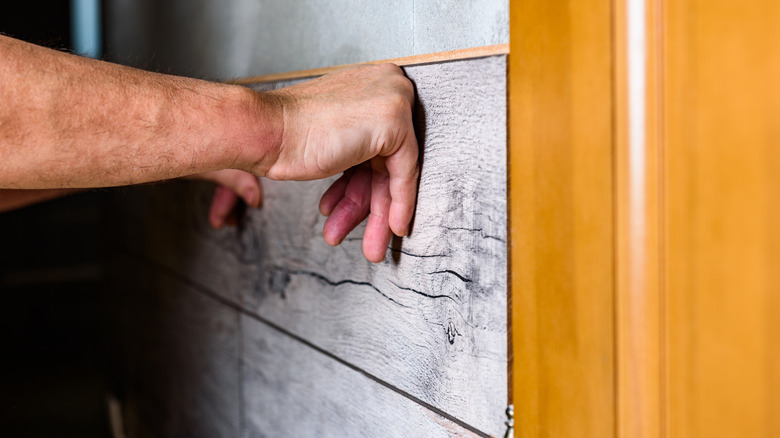
Starting from the bottom, install the first panel. Use the caulk gun to apply adhesive on the back of the laminate board and install 1/8 inches above your countertop, leaving that space as an expansion gap. You will need to fit in spacers at even distances around the outer edge of your installation to maintain these gaps. Ensure that the board is level with your countertop using the spirit level. Also, make sure the groove of your laminate board faces upward. This makes it easier to tap the boards into place above it. Use the nail gun to drive brad nails through the laminate and into the wall studs for better purchase.
After applying adhesive caulk on the next row, tap the tongue of the board to lock it into place with the groove of the first and nail it into the wall. You will need a hammer and tapping block for this. Repeat this for all the other rows, ensuring that they fit with the previous rows and remain level. For the last row, you might need to cut off the groove at the top with your saw before installing. Don't forget to leave an expansion gap between the board and the cabinet above. Once you're done with the installation, use a roller or your hands to smooth out the laminate and prevent any bubbling. Finally, using your caulk gun, apply sealant to the space between the backsplash and countertop, as well as to other joints.