Simple Steps To Give Orange Oak Wood Furniture A Chic Whitewashed Finish
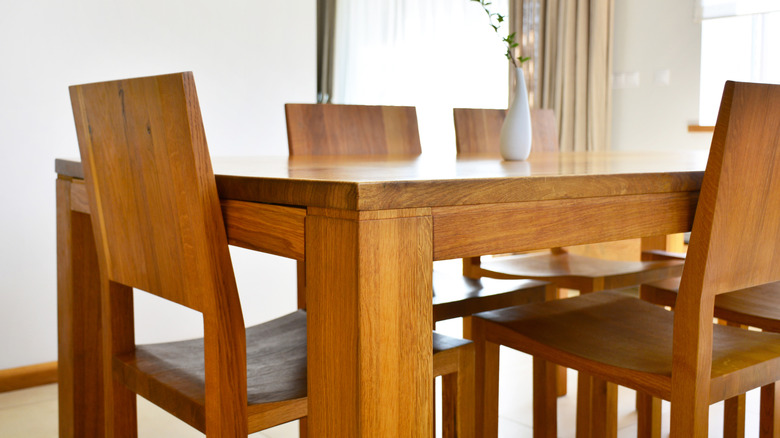
If you are not going for a traditional or retro aesthetic, orange oak wood furniture can be a pain to decorate with in your home. If it is not your preferred look, the warm orange color can ruin even the loveliest table, chair, or cabinet. Whether you are a serial furniture flipper or an aspiring DIYer with a few dated orange oak wood pieces, there is a simple DIY you can try out to update old wood furniture to better fit a coastal, farmhouse, or rustic aesthetic in your home. It does not require too many materials, and the process is pretty foolproof. All you need to do is remove the varnish, apply a diluted mixture of water and paint made with chalk and clay, and seal it all in place with a top coat. Plus, there are many ways to tailor these steps to get the perfect end result.
To give your furniture a whitewashed finish, you will want eye protection, a respirator, and gloves with a solvent-use rating for safety. For the other materials, you will need sandpaper, acetone or another chemical stripper, water, paint that is clay-based and chalk-based, a paintbrush, a rag or a paper towel, and a top coat sealant. You may choose to mix multiple paint colors to get the look you want, but make sure that they are not oil-based, as you cannot dilute them with water. A white paint can be mixed with the top coat for a glazing effect. Finally, having an electric sander that works on wood can be beneficial.
How to give your table a whitewashed finish
This DIY has only three simple steps: Prepare the table, paint the table, and apply a top coat. First, you need to know how to prep furniture before refurbishing it. Acetone, chemical strippers, or sanding will remove varnish and old top coats from the furniture. Be sure to use your eye protection, respirator, and gloves when using these. Then, sand the table until you have a smooth and even surface. For this DIY, there is no need for primer.
Next, you will mix and apply your paint. For the best results, mix a paint that is both clay-based and chalk-based with water. Experiment with different paint-to-water ratios until you achieve a runny, wash-like consistency. You may like around 3 parts paint to 1 part water, or equal parts paint and water, depending on your paint. Once you have the right consistency, apply it in thin layers using a paintbrush in the direction of the wood grain, working in small sections. Wipe the section with your rag in the direction of the grain to evenly distribute it and remove excess. Apply multiple layers for more opacity.
Finally, apply the top coat. For more of a white finish, add a few drops of white paint to your clear top coat. To apply the top coat, use a paintbrush to spread the coat in the direction of the wood grain. Be careful not to go over it too many times. You will probably need to apply at least two coats, especially for a heavily used item like a dining table.
Tips for a successful DIY
There is a lot of flexibility when choosing a paint color for this DIY, especially because you can adjust the opacity throughout and add another layer of white with the top coat. You can opt for a white or off white, or you can choose a slightly darker tan color. Light gray can look more modern, while a warmer off white looks more naturally weathered. If you are concerned about neutralizing a particularly strong orange tint, you can try color correcting by choosing a paint color with a hint of green in it. If you start to apply your paint and do not like the color, take advantage of the forgiving nature of this DIY by adding more water or using your rag to scrub the wash into the wood until it is no longer visible.
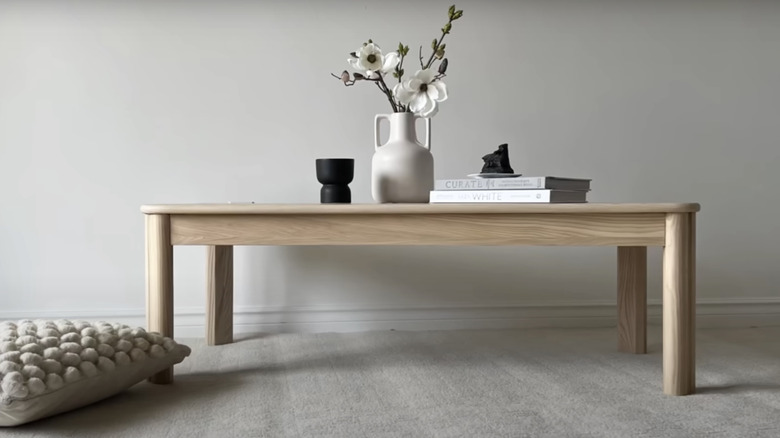
With three simple steps, your table will be looking perfectly lived-in and modernized. To keep your DIY in the best possible shape, make sure you use the best ways to clean whitewashed wood cabinets and furniture to avoid any damage.