The Key To Grouting, Caulking, And Sealing Fireclay Tile For A Flawless Finish
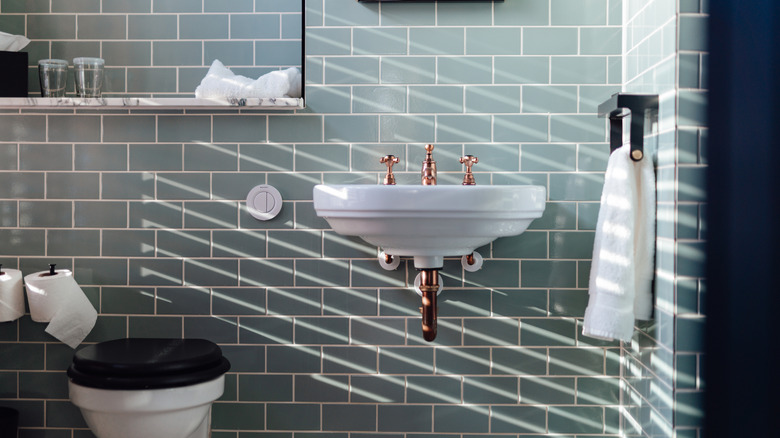
With rich textures, vibrant colors, and interesting shapes, the right tile can completely transform any given room. But deciding on the perfect tile for your space can be a challenge, especially if you're trying to hit all the marks. One tile that seems to stand out among the rest is Fireclay Tile, a brand known for its handcrafted tiles in a variety of shades and shapes. Installing these chic additions requires careful preparation, as proper caulking, grouting, and sealing are necessary to ensure longevity.
Fireclay Tile is a U.S.-based company that produces sustainable, artisanal tiles. Because they are handcrafted, each tile carries subtle differences. This is one of the key points to keep in mind, as these variations will affect how you lay and space the tiles. Additionally, using the right grout and caulk is essential, as darker colors can potentially stain the tiles.
As an expensive investment for your space, it is important to avoid racking up costly tiling mistakes during this process. For a proper grouting, caulking, and sealing, you'll need a few tools, including tile spacers, two 5-gallon buckets, a sponge, a rubber grout float, a few clean rags, caulk, sealer, and a light-colored sanded grout. With the proper tools in hand and these specific challenges in mind, here's how to perfect the installation of your Fireclay tiles.
Perfecting your tile
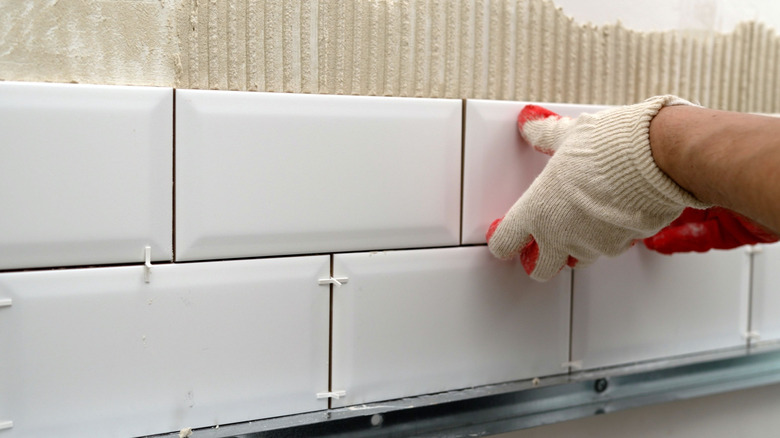
The first step in properly installing your Fireclay tiles is choosing the right grout. Opt for a sanded grout in a natural color or one that matches your tile. As mentioned, avoid any colors that are significantly darker than your tile, as this can stain the tiles in the process. Using tile adhesive and spacers, properly lay your tiles on your desired surface. During this step, you can account for any variance in size and shape to achieve a uniform install. Allow your adhesive to dry while you mix your grout. Once the adhesive is set, remove your tile spacers and wipe down the tile with a lightly damp sponge.
Scoop a generous amount of grout onto your rubber float and apply it diagonally across your tiles. The grout should lay deep between the tiles, continuing the process until the grout lines are completely filled. Maintain a small gap between your tiles and countertop or flooring. Take a soaked sponge and again wipe diagonally to the grout lines to remove excess grout. Ensure that you don't remove any from the grout lines themselves in the process. Wait until a film appears on the tile (up to 45 minutes), and wipe it again with your sponge. At the seams of your tile — either corners or the gap between the floor and countertops — apply a line of caulk, smoothing with your finger. To avoid any grout sticking or staining your tiles, you will need to employ a grout release for unglazed and glazed tile variants. Finish your project up with a generous coat of sealant and bask in your newly installed tiles.