Revamp A Ceiling With Picket Fence Planks For A Rustic Design
Wooden-paneled ceilings can be a beautiful way to make your room seem larger and your ceilings higher by adding extra interest up top that draws the eye. In a world of bare and cookie-cutter ceilings, wood paneling makes a room bend toward a number of styles, from more rustic and cabin-like interiors to lighter or distressed wood that adds texture and dimension to farmhouse spaces. Unfortunately, a wood-paneled ceiling can be costly to create in a remodel and can often be difficult to install without professional help. A recent hack shown off by content creator @lovenida_ on Instagram, however, shows how to make a stunning wood panel ceiling on a budget using inexpensive fence pickets from a local home and garden center.
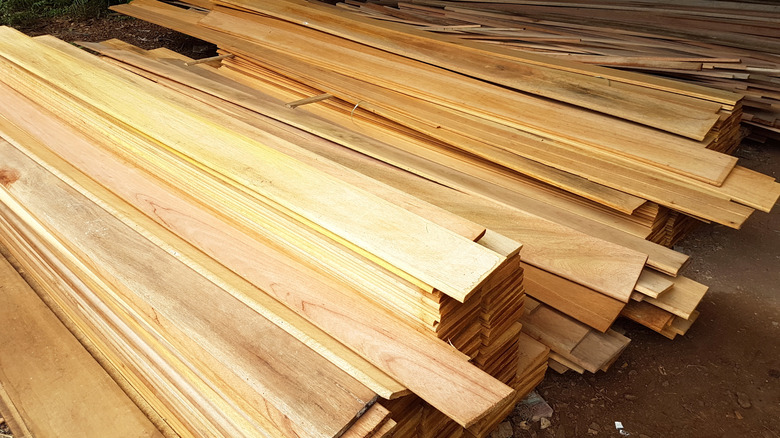
These cedar fence pickets, which are usually $2 to $5 per piece at places like Lowe's and Home Depot, come in a number of sizes, including lengthy 6-foot ones perfect for the ceiling. Fence pickets are usually less expensive than other cuts of lumber made from cedar. Pickets are typically not pressure treated with chemicals, which makes them good for indoor use. While these planks typically have dog-eared or rounded ends, they can be used on the ceiling as long as you saw off the uneven ends. The boards are thin and lightweight enough to attach by nails to most plaster ceilings without damaging the surface. Use them to add interest to your existing ceiling or to cover up popcorn ceilings on a budget. You can also use fence pickets to build a ceiling out from the joists after you have insulated them.
Preparing the wood planks
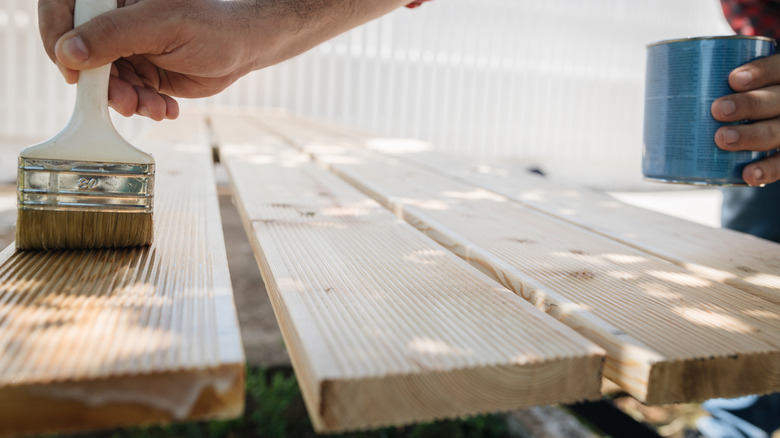
Begin by preparing the wood slats, removing the end of the fence pickets if necessary, and sanding the wood. When choosing your fence pickets, weed out any that are imperfect or crooked. These pickets may also shrink slightly as they dry out. Leaving them outdoors to dry for several months before working with them should help pre-shrink them, though placing them in direct sun may cause graying and discoloration of the original finish. Staining and painting the boards can also reduce shrinkage. If you still worry about them changing form after installation, particularly in a space with moisture fluctuations, like a bathroom, paint the ceiling underneath black to make any gaps that emerge less visible.
While you can sand each board individually, a planer will save you considerable time if you have access to one or can rent one. You can also work faster if you sand and stain only the surface that will be visible from below, since the top and sides will be hidden from view. While many prefer the natural beauty of wood pickets to be visible, you can also paint them. White is especially great for a coastal or cottage-inspired look, whereas options like black or charcoal gray work well if you want a more modern and less rustic aesthetic.
Installing the wooden planks
After the stained planks are dry, locate the ceiling joists with a stud finder and mark their locations. You can add tape along the joists to guide you as you place your boards. You may have to adjust placement for sagging or migrating joists, which should be marked out and addressed before you start. When ready, begin in the middle of the ceiling and work outward, using spacers between to ensure even placement, since the boards, unlike shiplap or a tongue and groove ceiling, do not lock together. This should be a two-person job; you'll need someone to help hold the pieces in place as you use a nail gun to fasten the wood planks.
This technique works for an existing drywall or plaster ceiling, but for an unfinished ceiling, the task is even easier. You don't have to look for the structural members, since they're in plain view. Simply attach the fence pickets directly to the joists after insulating and applying the vapor barrier. The space beyond the joists is open, so you will want to ensure a tight placement between boards with no gaps.
Adding faux beams to your picket wood ceiling
To create DIY faux beams that span the planks, decide how wide and chunky you would like them to be. The content creator used longer, 8-foot pickets to create U-shaped hollow beams that are purely cosmetic. If you want thicker beams, use long 2-by-6 or 2-by-4-inch boards. Fasten one board to the ceiling joists with screws, then create a casing that will slip over it snugly. To fashion the casing, use a miter saw to create a 45-degree angle on the sides of three planks, placing them together in a U-shape, then attach them together with wood glue and nails. This hollow beam will allow you to add bulk without the extra weight of a large structural beam on the ceiling. Affix this casing over the plank you've already installed on the ceiling with screws or nails.
You can also vary the width of your wood to achieve thicker or thinner decorative crossbeams depending on the size of the space and the desired visual impact. For thinner, more delicate beams, add single pickets over the top and running perpendicular to the others along the joists. You may also want to add framing or molding around the borders of the room, which can help eliminate any gaps caused by differences in picket length or imperfections in your existing ceiling as you reach the outer edges of the room.