Change The Color Of Your Tile Grout In A Snap With A Simple DIY

We may receive a commission on purchases made from links.
Choosing the right grout color can be intimidating, and sometimes you don't get it right on the first try. The thought of trying to change it, though, might seem overwhelming. Whether you've just finished up a DIY tile job only to realize you chose the wrong grout color, or your dingy old grout needs a refresh, there may come a time in every homeowner's life when you want to change the color of your grout. The good news is you don't need to scrape it all out and start over. There are inexpensive products that can help you change the grout color without actually replacing the grout. It's as simple as painting your grout with one of these products and then doing a bit of clean-up.
If you can squeeze a bottle and use a small brush, this DIY should be easy for you to get done in a few hours, depending on how much tile you're tackling. DIYs don't come much simpler than this, and there are a number of products that can help you transform your grout. Mapei's UltraCare Grout Refresh will run you about $23 on Amazon, or for a few more dollars, you can buy TEC Grout Colorant. For roughly $17, you can even get a pair of Grout Pens from Rainbow Chalk Markers and you may not need a brush at all, making an already easy project even easier.
How to use grout colorant
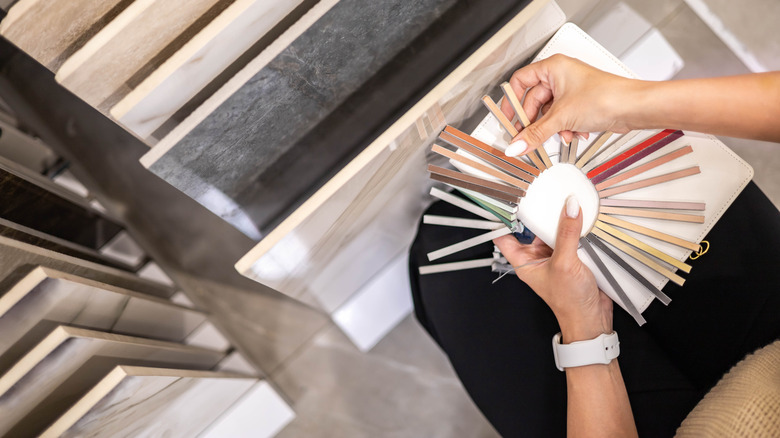
All of these products come in a wide variety of colors. Whether you want to go darker or lighter, there is probably an option for you — though some colors may require more coats, especially if you are lightening the color. Take your time and keep in mind the potential for stains when choosing a grout color. This project may be easy, but you don't want to have to redo it right away.
Since the grout pens more or less speak for themselves, let's focus on how to use the colorants that come in bottles. TikTok's @jen.wahlbrink demonstrates this quick, easy process using Grout Refresh. You'll want to clean your grout first to get the best results, especially for older, dirtier grout in high-traffic or wet areas. Mapei even makes a product specifically for cleaning grout before recoloring it.
Once that's done, apply a thin coat of the colorant product to your grout using a small brush, like a toothbrush. It's going to get on your tiles, so be sure to read the instructions first, as the prep may vary for porous stone. There are also different removal methods. You can either clean it off the tiles with a damp cloth while it is still drying, or mist water onto the tiles after the colorant has dried and then wipe it away.
More tips for coloring your grout
While this project may be easy, there are a few more tips from people who have used it that can make it even easier. For instance, reviewers say the nozzles on the bottles have a tendency to clog and the product dries quickly, so you may want to keep something like a paperclip nearby to clear it. Another reviewer trimmed the bristles off the side of a toothbrush to make a perfectly sized applicator, while others found small artist brushes the best option. Additionally, users with natural stone tile should proceed with caution. If the tile is not sealed, the colorant could sink right in. Even if it is sealed, it may be smart to tape off the grout lines to provide added protection.
Choosing the right tile and grout can make or break a space, especially considering how much abuse some tiled surfaces, like a shower floor, can take. No matter what surface you're working on, you'll want to keep the colorant dry for at least 24 hours after application. Allowing the product to cure properly will ensure success.