DIY A Budget-Friendly Room Divider That Doubles As A Sleek Storage Solution
Room dividers are a practical way to add privacy and define spaces in an open layout, but traditional panel styles can feel bulky or visually overwhelming, especially in smaller rooms. With this, some types of freestanding dividers take up valuable floor space without offering additional functionality. Instead of sacrificing privacy or struggling with a screen, you can create a DIY room divider that also serves as a stylish storage solution. By constructing your own shelving unit that attaches to a wall or even repurposing an existing bookcase, you can maximize your space and help to improve functionality while staying on budget.
The main elements needed to build a room divider storage unit are some wooden boards for the shelves themselves, a wooden pole, brackets, and some fasteners to hold everything together. To keep this project affordable, opt for leftover wooden scaffolding boards or check your local home improvement store for this type of board. In addition to these materials, you'll need a saw to cut materials to size, a level, pencil, and power drill, as well as floating shelving brackets. It will also be helpful to have sandpaper on hand to smooth the wood surface (and edges after you make the cuts). If you prefer to keep things simple, transforming an existing bookcase into a renter-friendly room divider won't require as many power tools — just a bit of creativity.
How to DIY a room divider storage shelf on a budget
Before diving into this DIY storage shelf room divider project, you'll need to do a bit of planning and preparation. First, decide how long you'd like the shelves to be and cut each board to this length. This is also the time to cut the support pole to the size needed to fit snugly between the ceiling and floor. Next, it's time to mark and drill holes in the boards for the brackets that will attach each shelf to the wall. You will also need to cut a hole near the end of each shelf for the support pole to fit through. When prepped, sand and stain all of the wood components.
Now comes the portion of the DIY where you get to put it all together! Start by threading each board onto the support pole, using screws to hold the boards in place. Once you have them at the desired height, use a stud finder to pinpoint the stud behind the drywall and mark the locations where the brackets will be anchored to the wall. Then fasten the shelf to the wall surface with screws long enough to penetrate the stud beyond. Now that you have the room divider shelves installed, you can learn how to decorate shelves for a blend of storage functionality and aesthetics that match your style.
Opt for a premade bookshelf divider for convenience
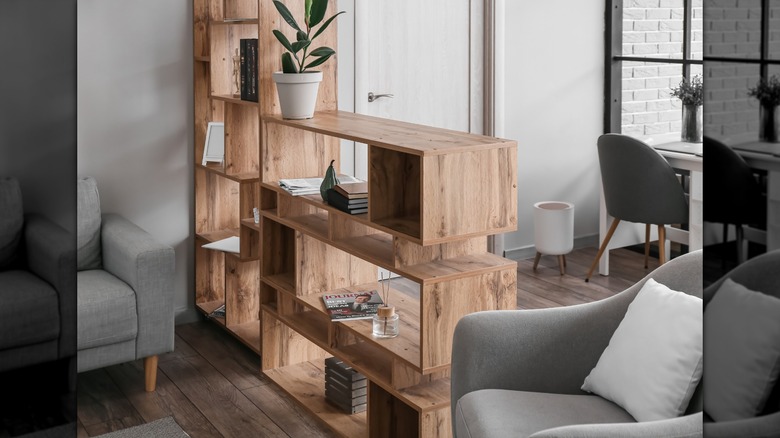
If you still want to take advantage of a room divider storage unit but need a quicker alternative to building a new structure, there are easier ways to tackle the project. For example, you can take an old bookshelf and use it as a makeshift storage shelving room divider. However, how you approach this DIY will vary depending on your goals and purpose for dividing the space. If you're working in a cramped space but still need some division, small cubby-style bookcases sitting side by side can create a short barrier without requiring a permanent installation. Avoid stacking bookcases, as this can pose a safety hazard without proper anchoring to a wall.
Another way to DIY an old bookcase that will provide storage and keep the space light and airy is to opt for a structure with a see-through design. A bookshelf without backing will allow light to travel through the space but still act as a visual divider. You can also paint the bookcase a light color to help the room feel bigger on each side. No matter which route you choose for your room divider, the way you style the storage shelves once they're up will have a big impact on the room's aesthetic.

