Elevate Your Garden With A DIY Curved Retaining Wall For Expanding Flower Beds
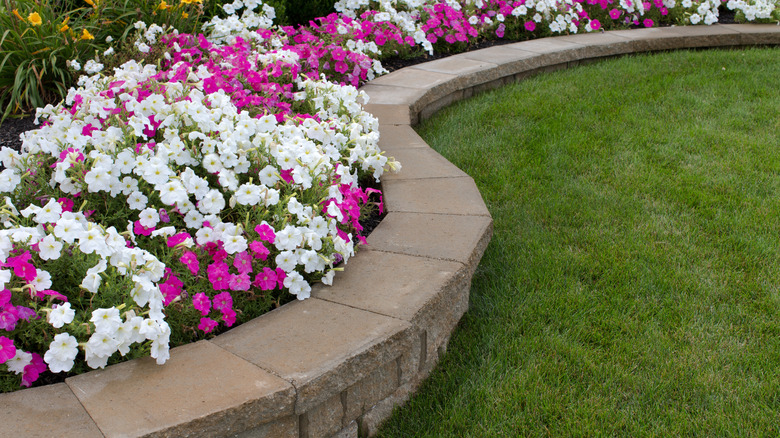
While a sloping yard can be seen as a bit of a challenge, with a little ingenuity, planning, and the right materials, you can turn it into a stunning design feature by building a DIY curved retaining wall to frame beautiful flower beds and elevate your garden. This can be especially appealing if the beds are adjacent to your house and a path or driveway is on the other side. A curved wall adds to the visual appeal much more so than a straight one. This key element makes a sloped backyard more usable and private. Once created, the bed can then be planted with lovely flowering perennials and ground covers that can spill over the edges of the wall to soften the look.
One of the easiest materials to use to build your retaining wall is cement blocks. These are fairly simple to install and not too heavy to handle thanks to the lightweight aggregate materials that are mixed with the cement to manufacture the blocks. Their size also allows you to position them in such a way as to create a really nice curve. While you could use other materials such as timber or bricks, these will make it a little more difficult to create a visually appealing curve. Before you get started, it's a good idea to mark where you want the wall to end up using some spray paint and a garden hose to define the curve. This will give you a clear line to follow.
Important points to remember while building your retaining wall

Once you have your outline marked, you'll want to install a drainage system using coarse gravel and perforated drainage pipe, just behind the first layer of blocks. It's vital that you create a nice firm base for the bottom layer to sit on by digging a trench and leveling it with either backfill or gravel which you compact with a hand compactor or a power tamper. You'll find the big mistake everyone makes when building a retaining wall is not paying enough attention to the foundation.
As you're positioning your blocks, make sure each subsequent row is staggered, much like laying bricks. This adds to the stability of your retaining wall. Also, ensure each row is set back at least ¾ of an inch so that you end up with the finished wall leaning slightly backward. After you lay each row, backfill the back and sides of the blocks using crushed gravel and compact this too. Apart from stabilizing the wall, this will also help with drainage. The finishing touch is to add some capping to the top of the wall to protect the blocks from eroding. This is usually applied using a special construction adhesive. Now, all that's left, is to fill the bed with good-quality garden soil and add your desired plants. You might even want some ideas to turn your retaining wall into a fabulous, functional vegetable garden.