We Installed A No-Tools-Required Floating Shelf To See If Its Claim Holds Up
We may receive a commission on purchases made from links.
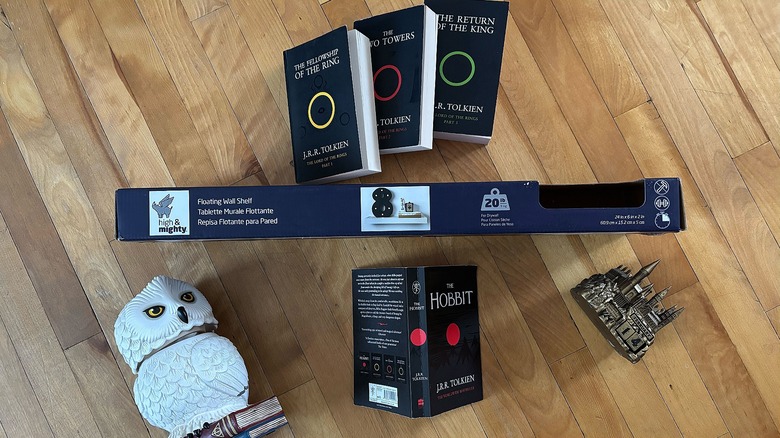
Shelves are a beautiful and functional feature in any home, but sometimes they're a pain to install. Recently, I've wanted to add a visual element to the wall in my bedroom, and I thought it would be neat if it doubled as storage. I have a lot of fantasy literature and related paraphernalia and nowhere to display them. While I'm fairly handy, juggling wood planks, brackets, hardware, and tools isn't my idea of a relaxing DIY project. Feeling overwhelmed at the prospect, I decided to look for something without too many bells and whistles to make the job easier.
In my search for a low-stress shelf, I came across the brand High & Mighty. The company sells wall hangers, hook rails, key rails, and, of course, shelves. The main claim to its products is that they require no tools to install. Imagine if all you had to do was determine the perfect height for your floating shelves and the rest was easy peasy lemon squeezy. I was more than a little intrigued and decided to give it a go.
Choosing my shelf and preparing for installation
I purchased my shelf from Amazon, but you may also be able to pick one up at Walmart. They come in a variety of sizes and styles. After some thought about which to try, I went with the High & Mighty modern 24-inch by 6-inch option in white for $47.97. This model can hold up to 20 pounds. Delivery was quick, but I noticed a small problem. I always try to minimize my carbon footprint by avoiding additional packages. I didn't realize the High & Mighty box has a cutout in the front. This is fine in a store, but not on my doorstep in the snow. I recommend requesting the exterior packing box for extra protection if you go the online ordering route. With the product in hand, I prepped the wall for installation.
I chose to put this in my bedroom, but you could also upgrade a small bathroom storage space with a simple shelving DIY like this one. I thought about putting it under my medicine cabinet, but, if we're being candid, it's way too cluttered to photograph right now, so bedroom it is. To prep the area, I washed the wall with soap and water to remove any dust that would hinder the process. I knew this installation involved an adhesive level and was afraid it might fall off. Finally, it was time to put my DIY skills to work.
Installing the no-tool shelf (with tools)
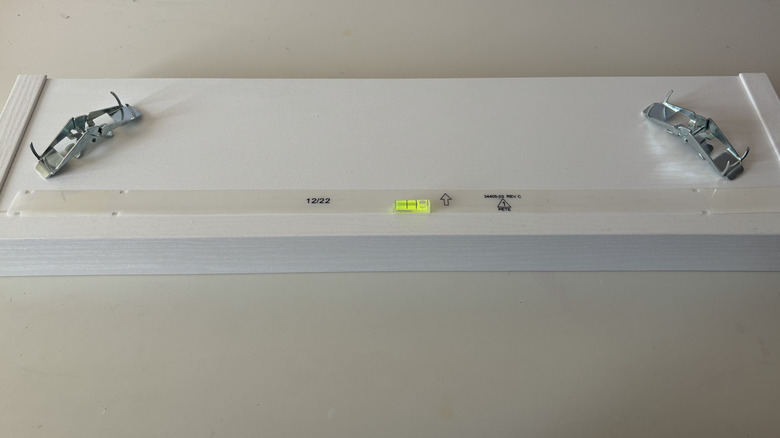
The product came with one shelf, two hinged hook devices, and a strip of plastic with adhesives on either end and a small liquid level in the center. The instructions for installation were super minimal — place, push, hang. That's it ... or was it? I began this project hoping the biggest issue I'd encounter was figuring out how to decorate the shelf, but this wouldn't be the case.
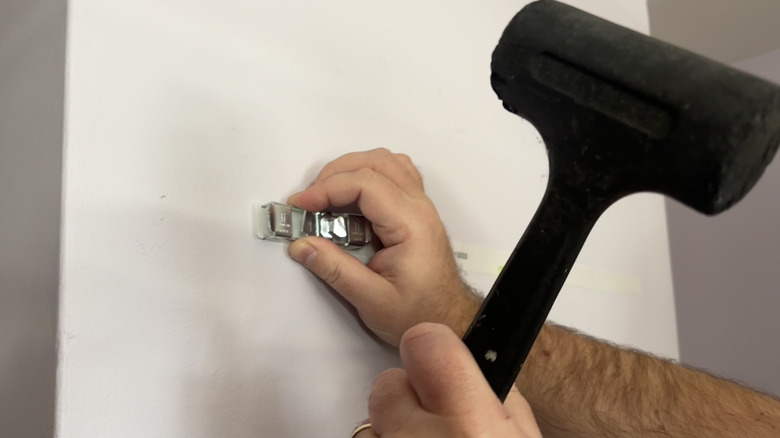
The adhesive guide level made it easy to pick an installation spot. Next, I eyed the very ominous metal hardware. The premise with these is to place the four teeth into the grooves on the guide and push them in. As you can tell by the image above, this did not go as planned (so much for no tools). I tried my best and even had my husband try. Neither of us could get those suckers in with our bare hands. I was determined to get the shelf up, so I switched gears and grabbed the toolbox.
I considered using a hammer, but I was concerned it might damage the metal teeth. Fortunately, my husband has a rubber mallet for delicate projects, and he got the hardware into the wall. Once that part was over, it was smooth sailing. I lined up the shelf below the metal bits, lifted it to touch the hooks, and pulled it down gently over them. Voila! A new floating shelf and (almost) no tools involved.
Finishing touches and reflection

After adding a few novels and some fantasy decor to the shelf, I absolutely love the finished look. Would I do it again? I would, but it might not be for everyone. The price was a little high for such a small product, and High & Mighty's claim that no tools are needed wasn't true in my case. One thing to consider before installation is how many layers of paint the metal prongs on the mounting hardware will have to get through. I live in an old house, and my bedroom has seen many coats of hardened paint over the years — hence needing a mallet. A newer home might not have this issue, and the hardware could likely be installed using only your thumbs.
Despite the minor tool issue and my earlier-mentioned packaging problem, I can see why many people like this product. It also might be one of the best shelves for renters that won't damage your walls. The teeth are narrow and the holes should be easy to fill after it's removed. Compared to a shelf with multiple screw holes and brackets, it's much less fuss. Overall, I give this project an A- for ease of installation and an A+ for aesthetics.