Turn Affordable Pvc Pipes Into A Chic Clothing Rack With A Budget DIY
We may receive a commission on purchases made from links.
There's a laundry list of reasons (no pun intended) why having an extra clothing rack in the home can be useful. Maybe it's necessary for the guest room that lacks a proper walk-in closet, or perhaps it's for the laundry room so you can hang clothing up right after the dryer cycle completes to keep them wrinkle-free. Clothing racks can also be handy if you want to make an open closet in your home. Rather than purchasing a ready-made clothing rack that will limit you in terms of the shapes and sizes available, consider building your own chic clothing rack out of PVC pipes.
A trip to your local hardware store to purchase materials for this DIY should easily come in under $20, and if you happen to have any unused PVC pipes sitting around your garage, it will be even cheaper. All you will need is the PVC itself, two elbow connectors, four tee connectors, and four end caps. You can build your clothing rack to the exact dimensions needed to fit your space and finish it in a number of ways to give it a custom look.
Creating a standing PVC clothing rack
To get started with this genius custom clothing rack, start by collecting your materials. The amount of PVC you need will vary depending on how large you want it to be. For reference, the DIYer in the video above used 206 inches of PVC pipe to build a rack that is about 50 inches tall and 31 inches wide. Build the base by attaching two 8-inch PVC pieces to the sides of a tee connector and a 6-inch piece to the top, then repeat with the other tee connector. Next, attach tee connectors to the 6-inch top pieces with the top of the connectors facing inward, and connect them using a long piece of PVC that matches the desired width of your rack.
Once this base is complete, attach the two tall vertical pieces of PVC and top them each with elbow connectors; attach these with a long piece of PVC to create the top of the rack. Finally, pop end caps onto the base pieces. For more stability, use longer pieces for the base, or you can even fill them up with sand before you put the caps on to weigh them down. If you like the clean white look of the PVC pipes, you can leave the rack as is. However, you can also spray paint it to give it a custom look. Black will make the rack look more industrial, or opt for metallic gold or silver. Alternatively, choose a hue that complements the décor of your space.
Make a PVC clothing rack that fits your space
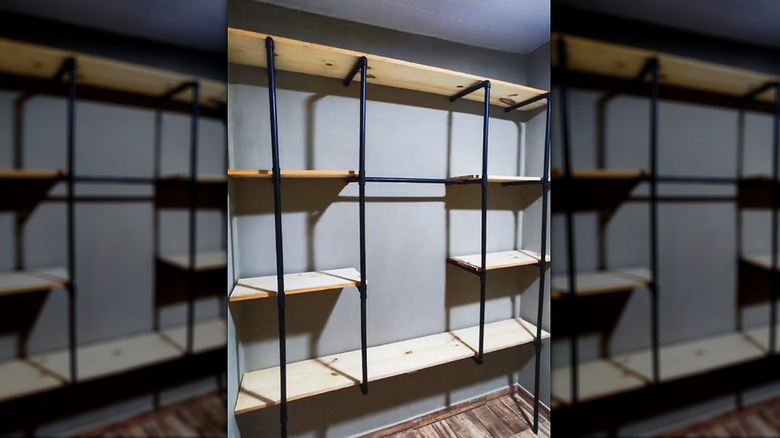
Adding a shelf to the base of your DIY clothing rack creates useful storage for shoes, bags, or stacked folded pants. You can effectively attach two standard units using additional tee connectors, then lay a piece of wood across the bottom pieces of PVC to function as the shelf. Because you can cut the PVC to any size, you could apply this method to add multiple shelves to the clothing rack, and even build a whole modular closet system.
You can also modify this build to create a wall-mounted clothing rack. To do this, you'll need a longer piece of PVC, two end caps, and a mount like this Stainless Steel Wardrobe Pipe. Another option is to use these AddGrace Shelf Brackets with a built-in hook. All you'll need to do is mount the brackets, build a shelf out of your choice of wood, attach it to the brackets, and hang a piece of PVC pipe with end caps on the hooks. Another great way to customize your DIY clothing rack is to make it mobile by attaching caster wheels onto the base using PVC wheel fittings. This can be particularly helpful if you need to transfer clothes from the laundry room to a bedroom, or simply to make it easier to vacuum behind your clothing rack on cleaning day.