How To Fix Your Rotting Planter Boxes
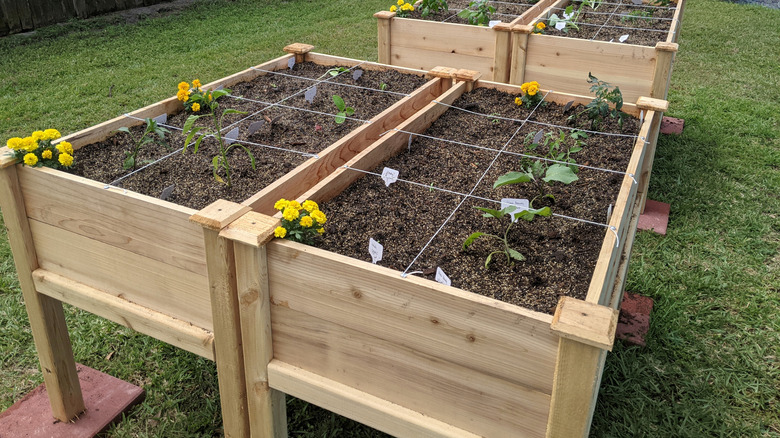
Creating your own planter box with budget-friendly supplies is a simple project to take on, especially for new DIYers — but if you're going tackle this project, you may need to be prepared to make repairs. Wooden planter boxes are subject to the effects of wind, rain, sun, and everything the elements have to throw at them. Plus, if you didn't include a liner in your original design, the soil and moisture coming from within may be hastening the decay. The good news is that with a few simple tools, you can quickly fix your rotting planter boxes by replacing the damaged wood and protecting it with sealer.
The key to making sure your planter repairs last more than one season is going beyond a simple patch job and making sure the wood is prepared for and protected from everything you — and the great outdoors — will throw at it. So, in addition to a circular saw, drill, sander, new boards, and deck screws, you will want to get some outdoor stain and/or sealer, as well as everything you need to apply it. And, if you don't already have a liner for the interior of the planter, you will want to get one to give your project the best chance at a long life possible.
Replacing rotten planter box boards
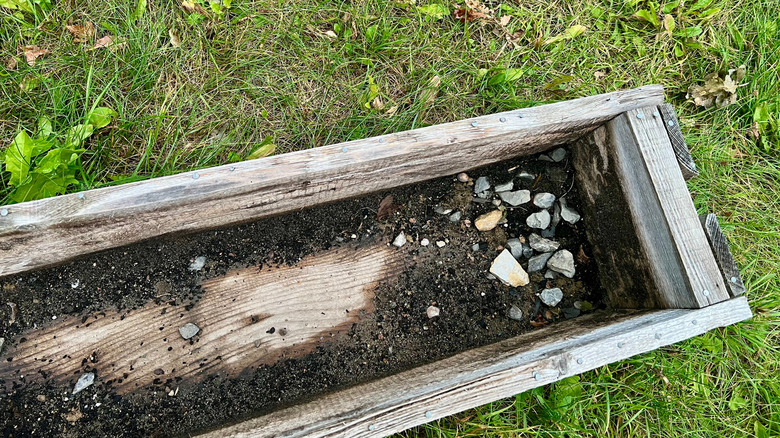
To get started, you may need to empty the planter if it's already filled with soil. For this reason, it's wise to inspect your planters for repairs before you plant for the season. Once that's done, remove any rotten boards. To cut costs, you may want to look around for scrap wood to replace the damaged planks. If you can turn old wooden fencing into DIY planters on a budget, you can surely use it to patch a problem, as long as the size is right.
Use the old board to measure the new piece of wood, making your cut line with a pencil and using your circular saw to trim the lumber to size. Pre-drill the screw hole into your new board before securing it in with place the deck screws. This will ensure the board doesn't split and possibly force you to start over again. Repeat this process as necessary for all your rotten wood planks.
Setting your planter up for success
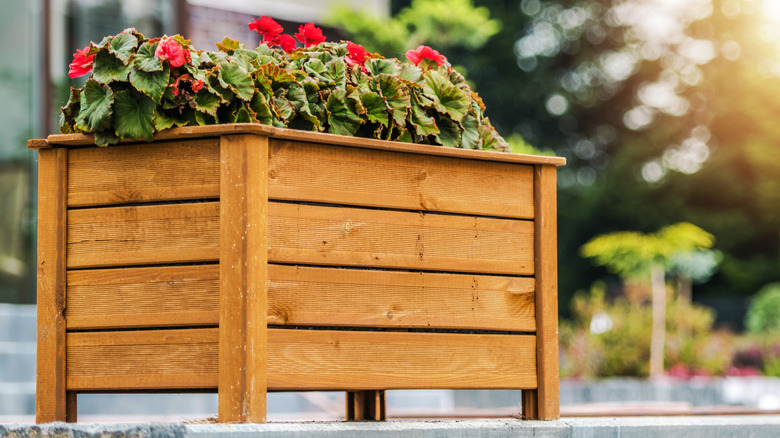
With as much abuse as your planters will take, they can use all the help they can get to survive. So, start by sanding all your boards and applying a stain and sealer combo, or use a more food-safe option, like tung oil, if you plan to grow edible plants. This will help extend the wood's life. If you used this planter last year, then it's probably pretty dirty inside, so give it a good cleaning before applying any sealer. Also, if part of the reason your planter rotted in the first place is because you didn't install a liner, now is the time to put one in.
Landscaping fabric lets excess water drain away while retaining the soil's moisture. This should help keep your planter in better shape longer. First, drill drainage holes (if you haven't already) in the center and corners of your planter's bottom. Then drape landscaping fabric inside the bed, allowing for a little extra fabric to hang around the edge. You can trim the excess away after you are done stapling your liner in place. Alternatively, you can also use plastic planter liner which will hold more moisture and offer more protection for the wood. Just be sure to drill plenty of drainage holes. Now that you're on a roll, find more DIY features to turn your backyard into a garden oasis.