Transform Scrap Wood Into A Functional Shoe Storage Solution For Small Spaces
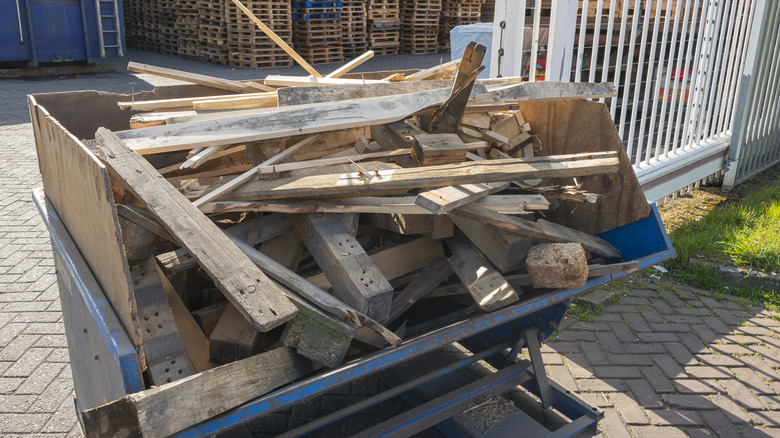
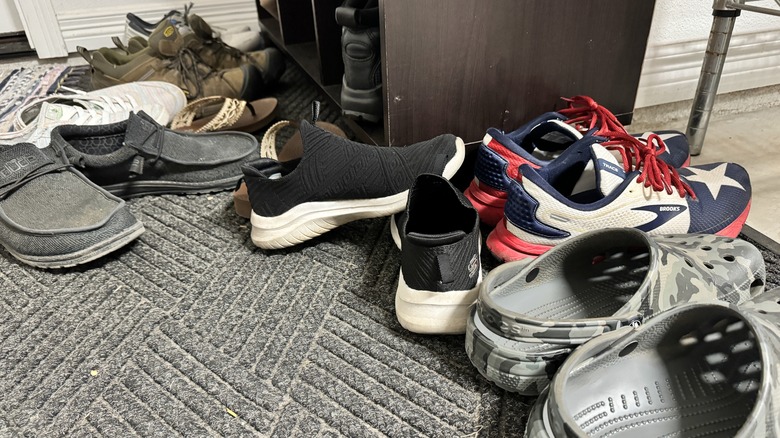
Sick of tripping over that pile of shoes by your door? If you also have some wood scraps hanging around in your basement, shed, or garage, you already have the solution you need to organize those shoes. Whether it's your entryway that could benefit from some help or you're looking for clever closet hacks you didn't know you need, building a simple shoe rack out of your old scrap wood is a cost-effective way to organize your space.
If there is a giant heap of wood just taking up space and waiting for the right project to come along, you can go wild, building cheap shoe storage solutions for every area where they are needed. The best part is that you can customize the design to fit your space and your materials. You can go with a simple wall-hung option to save floor space, or get fancier if you have the skills and tools to do so.
Measuring and cutting scrap wood for wall-mounted shoe storage
Using vertical spaces wisely is key to squeezing every square foot of storage out of small spaces, and a strategically built, wall-mounted shoe rack can help you do just that. Start by taking some measurements before diving into your off-cuts, old pallets, or whatever lumber you have lying around. Not only will you want to know how wide your rack can be, but how deep it can be, especially if there is a door nearby (you don't want to interfere with its ability to open all the way).
Now, it's time to inventory your wood scraps, and cut accordingly. If it's a mess, consider building a DIY scrap wood organizer to make it easier to see what you have. The dimensions will differ based on your space, and the shoes you need to fit. A rack for kids' shoes will need to be very different than a version for adults with large feet. Generally speaking, you will need lumber to build two to three braces across the back, two side pieces, the bottom, and the two front rails of your rack. This design should allow your shoes to easily slide down into the pocket created by your shelf. If you're dealing with rough scraps like old pallet wood, you may want to consider running the pieces through a planer, or sanding, for a smoother finish, but it may not be necessary if all you're doing is storing dirty old sneakers in the back of a closet.
Assembling and finishing your wall-mounted shoe storage
Remember, this project is totally customizable to your needs, so don't be afraid to get creative with wood and tools you have on hand. Before you start assembling your materials, you should also consider the aesthetics of the piece. If you want rounded ends or angled ends, you will make these cuts before assembly. Also, dry fit the bottom shelf to make sure your shoe will actually fit before permanently joining your pieces.
If everything checks out, you can use wood glue and clamps to hold the pieces in place while you screw or nail the finished product together. Once everything is assembled and dried, you can sand the wood. From there, raid your leftover paints or stains to give it a more polished, finished look. Of course, this step isn't necessary — it really just depends on how finished you want this to look. Once you have deemed the project done, mount it to the wall, being sure to drill into the studs or provide other support. And if this project gives you the scrap wood DIY bug, you can also create a stylish wall-hung storage solution with scrap timber.