Make The Cutest Easter Decor With Dollar Tree Clay Pots
Spring is finally here, and with it comes the promise of new beginnings, vibrant colors, and the joyful spirit of Easter. After the long winter months, your home deserves a little extra cheer, and this year, a spring cleaning alone is not going to cut it. After you get your front porch ready for spring with this gorgeous Easter decor, consider a fun DIY project that adds personality without breaking the bank. For families with kids, you could tackle this bunny clay pot craft together, but this could easily be the solo craft that you've been needing to clear your head. Best of all, you could spread the love, as this Easter decoration would make an "egg-stra" cute gift.
This playful idea is to transform simple Dollar Tree mini clay pots into adorable bunny-themed decor that captures the essence of Easter. Not only does this craft bring a smile to anyone who sees it, but it also offers endless possibilities. Use these sweet creations to hold fresh flowers, stash some chocolate treats, or even display charming notes to guide your Easter egg hunt. This craft isn't just about decoration; it's a chance to celebrate your creativity and welcome spring with a handmade touch that's uniquely yours.
Crafting your clay pot bunny
YouTuber Jessica Lynn at Home shares, "I made these cute little bunny clay pots from Dollar Tree material." To do the same, gather these supplies: mini clay pots, clay bunny figurines, craft glue, extra fine sandpaper, acrylic paint, small, artificial flowers, and tiny chalkboard markers.
If necessary, gently remove the string from your clay bunny's head and lightly sandpaper the top of the bunny's head as well as the bottom of the clay pot before dusting it off. This is only one of the genius super glue tips and tricks you'll wish you knew sooner. Next, position one of the mini clay pots over the bunny's head so the rabbit appears to be wearing it like a charming cap, and apply a generous dab of craft or E6000 glue to secure the pot. Give the glue time to set for a firm hold.
Once everything is bonded, paint the entire assembly (both bunny and pot) with a smooth coat of acrylic paint. The advantage of using a neutral backdrop, like Jessica Lynn does, is that it not only brightens the piece, but also complements any floral accents you add later. However, you are free to paint your bunnies in your desired color. When the paint dries, carefully insert the florals into the pot. Add any other decor items to the pot, such as the marker or pointers, for a fun touch. With a little patience, you too can add some spring flair to your home.
It's bunny shine time!
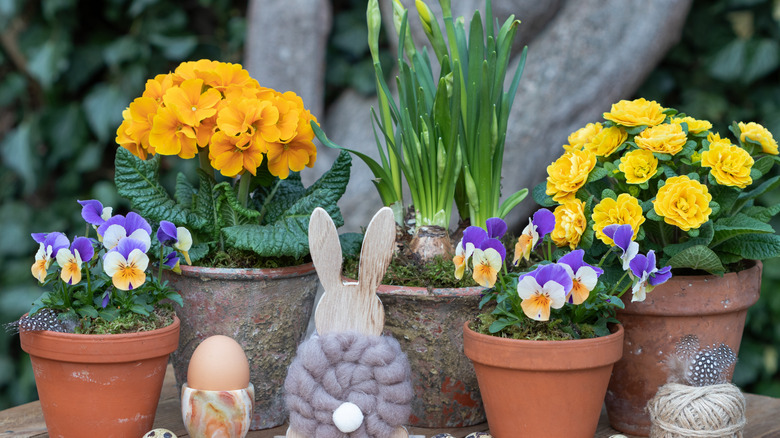
How to decorate your home for Easter? Now that your clay pot bunny is complete, start by choosing a spot that makes the piece a natural focal point — perhaps a mantel, entryway table, or even a mini garden display on your porch. Arrange your bunny alongside other seasonal accents such as pastel Easter eggs, sprigs of fresh greenery, or even rustic twine decorations. The goal is to create a cohesive display that balances simplicity with a burst of springtime energy.
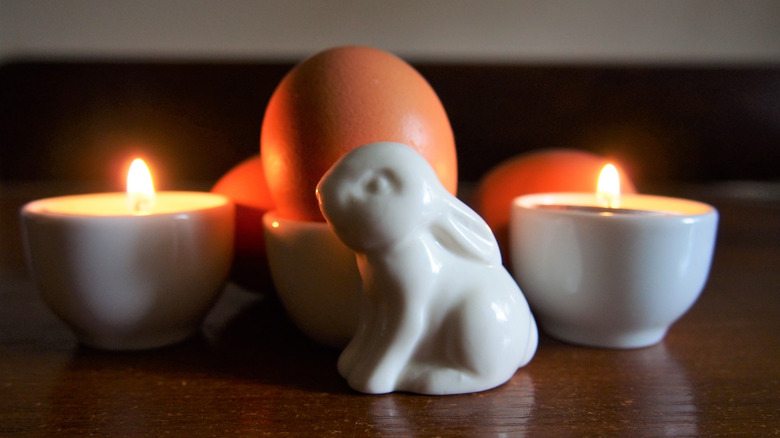
Consider incorporating a miniature LED tea light into the display. Carefully place the LED behind the artificial flowers inside the holder so that a soft glow radiates from within. This subtle lighting not only enhances the visual appeal of your creation, but also transforms it into a charming evening accent. Or leave out the florals completely, and use the pot as a candle or tea light holder instead. Experiment with color variations, use a wicker basket instead of a clay pot, or add a sprinkle of glitter for a bit of sparkle. If you're hosting an Easter egg hunt, consider using your bunnies as directional markers that guide your guests to hidden treats.
Display your bunny decor in a variety of ways. Instead of placing them on a table, try creating a hanging display using small hooks or twine to suspend your bunnies near a window or in a corner of your room. Do it! We're egging you on.