Don't Let Your Countertops Get Ruined When Dyeing Easter Eggs With These Quick Tips
We may receive a commission on purchases made from links.
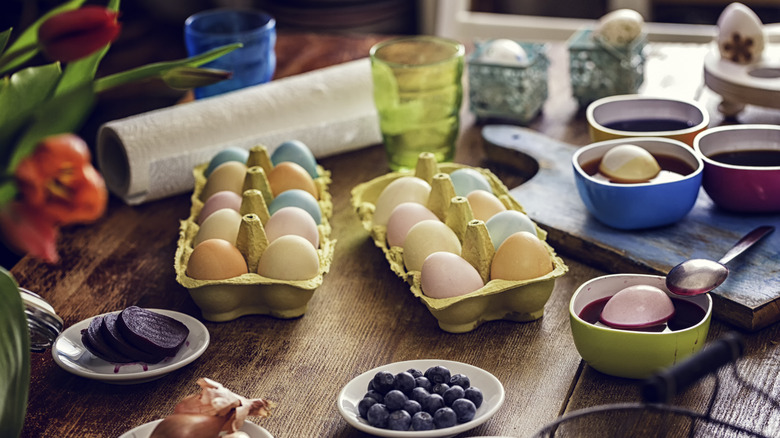
When you anticipate Easter as a family, you might decide to do a timeless activity: dyeing Easter eggs. The activity isn't without its faults, though. The thrill of dyeing the Easter eggs can quickly diminish when the dye makes its way onto other items. Your or your kids' clothes are one thing when it comes to dye stains, but the countertop is another. Your beautiful, gleaming (and expensive) marble countertop could end up with a garish pink or blue splotch in the blink of an eye after someone spills a dye cup or drops an egg out of eggs-citement! Now your quaint family activity has become a bit of a messy headache. To avoid this mishap, you can protect your countertop, use hard-to-spill dye containers, soak the eggs in coloring overnight, wear gloves, and try different coloring techniques.
Yes, there are natural ways to decorate eggs for Easter without using dye, but there's also a sense of nostalgia associated with that familiar PAAS cartoon-covered kit, and you might want to continue the tradition with your own family. Regardless of which type of dye you use, you probably don't want to risk having it on any surface but the eggs' shells. Follow these quick tips to keep your countertops dye-free during your next Easter activity.
Use a disposable covering on your countertops
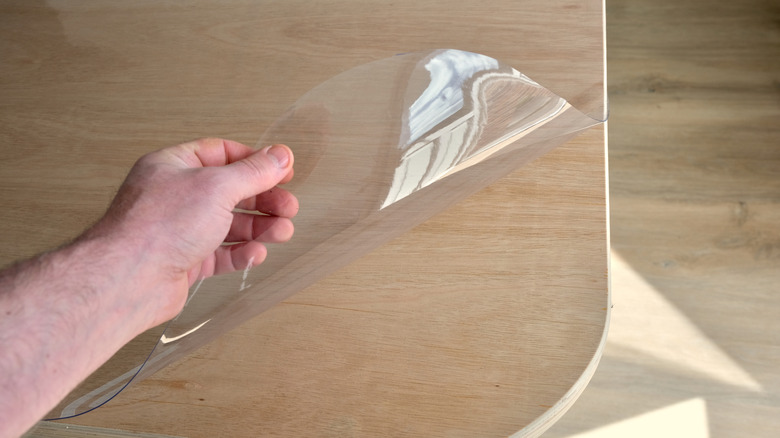
Before you start the dyeing process, cover the surface completely with a disposable cover. You may be tempted to repurpose old newspaper this way, but consider an alternative, such as parchment paper. Ink may rub off from the newspaper and transfer onto your counter, especially if the paper is wet. Parchment paper is ink-free, affordable, and you can just throw it away when you're done. If you don't have any on hand, consider disposable counter covers such as the Wilton Industries Disposable Counter Covers or the Nicole Home Collection Disposable Plastic Counter Liners.
You don't need to use up your parchment paper or buy anything special to protect the counters, though. If you have old clothes, towels, a used vinyl tablecloth, or anything else you don't mind getting stains on, you could use that instead. Even a sheet pan or silicone mat can be a good surface for this messy activity. Whatever you use, just cover the nearby surface carefully to avoid any staining spills.
Replace your dye kit with kitchen utensils and cups
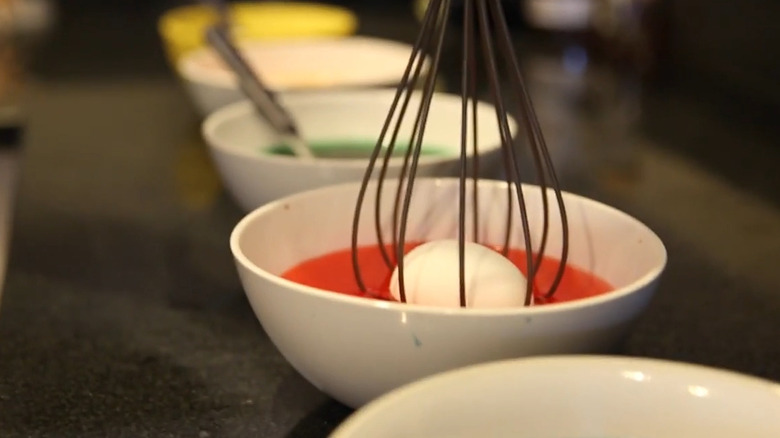
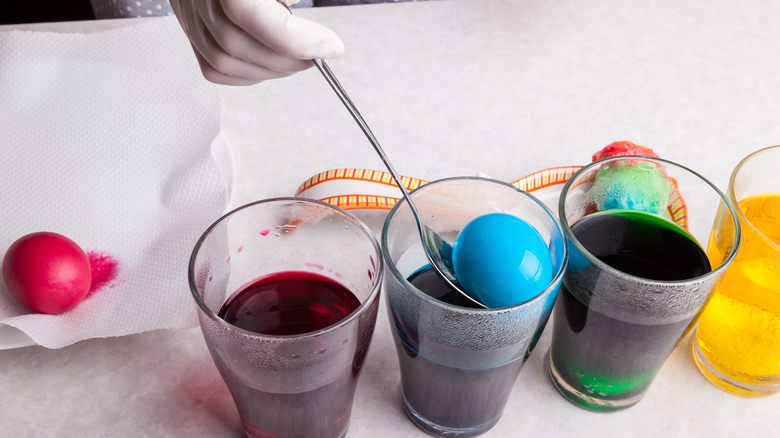
Have you ever looked at the small little wire "dippers" packaged in the PAA brand and other store-bought egg-dyeing kits? They aren't the sturdiest and can snap easily; you could also lose your grip on the wand and drop an egg while dyeing it. Consider tossing the dipping wand and opting for a sturdier instrument. You can search your kitchen for an alternative option to dip the eggs; a large wire balloon whisk should work. Another option could be an ice cream scoop, though that might be a little harder to hold in small hands. A large, slotted spoon is another possibility, but before using it, ensure it can fit into the container when you dip, or you might splatter the dye.
Fragile dippers aren't the only source of frustration. Most egg dyeing kits come with a series of plastic cups, but these can easily be knocked over in the process of dyeing. Consider setting the plastic containers aside for something else, such as growing herbs in a window garden. You can then opt for a container with more heft, such as one made with glass. You'll be less likely to have an "oops" moment after spilling dye on an expensive countertop.
Let eggs sit in the dye overnight
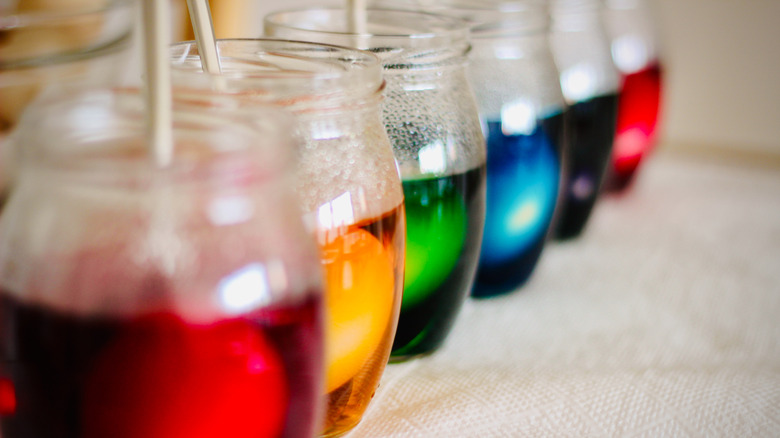
You might be used to dipping your eggs into the dye, typically for around 5 minutes, then pulling them out to marvel at the color. Instead of dipping the eggs and risking splattering the dye everywhere, try leaving the eggs in the coloring for some time — ideally, overnight. They will be a beautiful, deep color in the morning, and the activity will be less messy and more enjoyable.
Here's how you do it. Fill Mason jars with the dye, dip the eggs (over a covered surface), then leave them submerged in the dye. Letting the eggs soak for at least 12 to 15 hours is preferable for a rich color. If you're working with natural eggs, refrigeration is a must, so keep them in the fridge overnight. Also, if you go this route, be sure to dye the eggs naturally or use vinegar mixed with food color to ensure food safety.
Wear gloves to guard against dye transfer
Dye can easily stain your hands, countertop, and any other surface it comes into contact with. Minimize the chances of the coloring transferring from your hands to the countertop by wearing gloves and encouraging everyone else in your family to do so as well. Food coloring can stay on your hands for 1 to 3 days, depending on how much of it gets on the surface, as well as how long you wait to wash it.
If you do get food coloring on your hands, wash it off immediately before you touch any other surface. You can first try soap and water, then if that doesn't work, use a towel soaked with vinegar to remove the dye. You can also use baking soda as a gentle abrasive. Mix it with a few drops of water and stir until you make a paste.
Look at other ways to color eggs
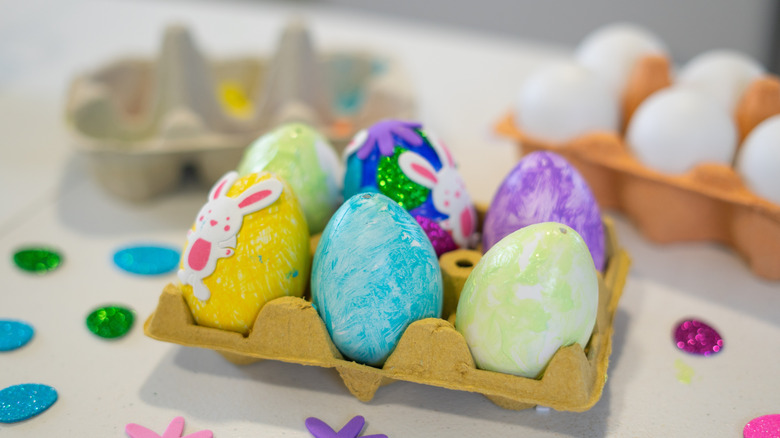
Maybe the idea of using dye for whimsical Easter eggs isn't that appealing. Why not choose a different route? You don't have to use traditional dyes if you want fun, colorful eggs this Easter. Use pre-patterned washi tape, such as Resflyar 12 Rolls Easter Washi Tape, covered with bunnies, eggs, and other Easter motifs for a whimsical touch. You could also cover the eggs in stickers or even use a set of markers to make designs on their shells. All these options are less likely to stain the countertop than actual dye.
The kitchen offers plenty of ways for you to get your eggs ready for the bunny, and it might surprise you to learn that water strained from boiled veggies and combined with vinegar is the key to bright eggs. You can use a pot of simmering beets, strained, for a series of red and pink eggs. Meanwhile, red cabbage is ideal if blue is the color you're after. Want a set of dazzling decorative eggs? Try covering them with glitter, though unless you buy the food-safe glitter, they will not be safe to eat.