6 Tips To Smoothly Transition From Tile To Wood Flooring In Your Home
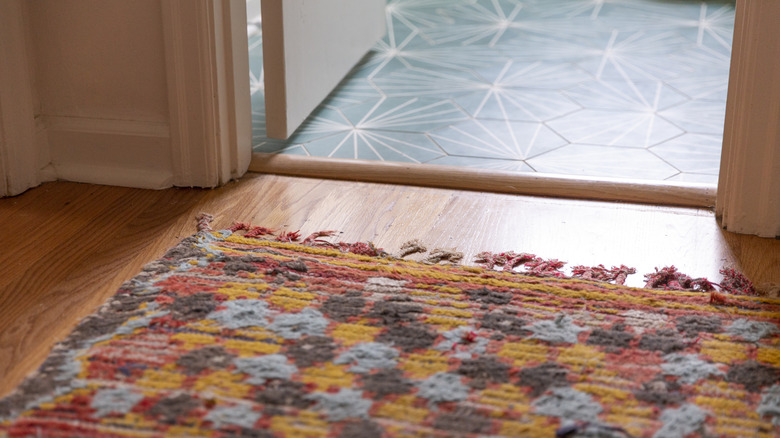
Using different types of flooring in your house is a common practice, and wood and tile are among the most popular choices. Not only are wood and tile both attractive, but they are also versatile and durable, making them great fits for almost any home. However, while these materials can work really well together, they can also clash if you don't understand how to properly meet two different flooring materials in your home. Fortunately, there are several ways you can avoid this and create a smooth transition between your spaces.
From simple DIY options that can work with your existing flooring, to thoughtfully incorporating seamless crossovers into new flooring installations, there is no shortage of ways to get the look you want. Let's take a look at six tips for how to transition from tile to wood flooring smoothly. With a strong understanding of how to connect your spaces, you can ensure that the rooms in your house flow together with ease.
Consider using transition strips
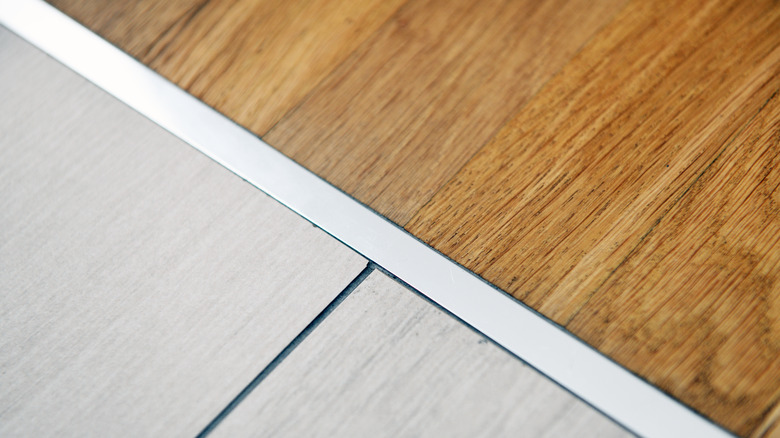
When it comes to making a smooth transition from tile to wood flooring, sometimes simplicity is the key — and that's exactly what transition strips offer. So, what are transition strips? These thin pieces of molding can be used to bring two different kinds of flooring together in a way that is aesthetically pleasing and seamless. In this case, the strip would go in-between the space where the wood flooring ends and the tile floor begins. Transition strips can also be a great solution if there is a slight height difference between your tile and wood floors, too, as they'll essentially create a "ramp" bridging the height discrepancy. Although you can hire a professional to install your transition strips, it can also be a good DIY project for homeowners who are relatively handy.
In addition to being a simple solution, transition strips are also affordable. They typically cost anywhere between $1 and $30 per square foot. However, it's important to keep in mind that the cost will ultimately depend on the length and how much stripping you need, as well as the material of the transition strip you decide to go with. For example, hardwood strips will cost more than those made of aluminum.
Be mindful of height differences

Having floors that are different heights is one of the quickest ways to ruin a flooring transition. After all, no one wants to walk from one room to another and feel like they've taken a noticeable step up or down, when no actual step should exist. But the reality is that there will likely be a height difference between your wood and tile flooring. With that being said, it's important to be mindful of this to ensure that the height of each material is properly aligned for a smooth transition.
One of the best ways to accommodate any height differences is to install a layer of subfloor under the lower portion, so that it matches the height of the higher flooring. Plywood and OSB are both great options for subflooring, because they're quite durable and can be used with a variety of flooring materials (though, those living in super hot climates may run into issues with plywood, as it can crack under these conditions).
Align grout and wood lines for a clean and modern look
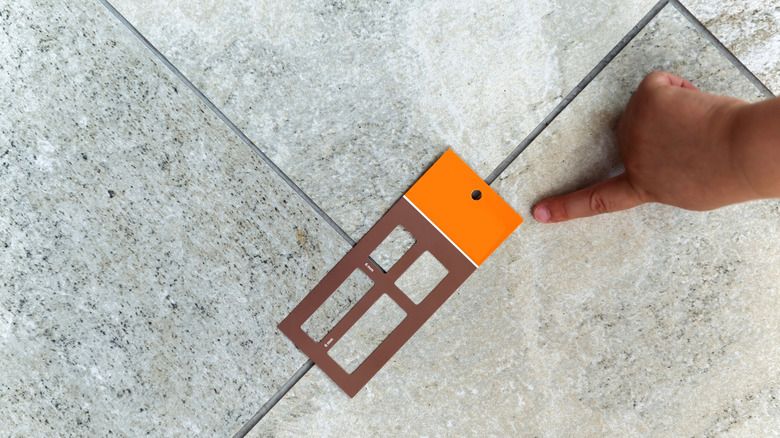
Grout lines probably aren't something you spend much time thinking about, but that might change once you learn what a crucial role they can play — not only in the spacing of each tile, but also in the transition to wood flooring. By aligning your grout lines with the lines of your wood planks, you can create a continuous and effortless look.
Experts note that this option is best suited for rectangular tiles and similarly-sized wooden planks. Since your wood floor won't have actual grout around the planks, they should be a little larger than the tiles to make up for the difference in spacing. If you're a fan of the modern and/or minimalist style and want to incorporate that look into your home, then you should consider this method. However, if your goal is to highlight the distinction between your tile and wood, then using contrasting shapes may be a better choice. For instance, if you prefer a more eclectic aesthetic, you can place square tiles perpendicular to wooden planks to create a creative transition. Ultimately, the right option will depend on your personal style.
Choose wood and tile colors that complement each other
One of the great things about tile and wood is that they're both available in multiple color options, which means you'll have plenty of colors to choose from. However, this also opens the door for people to pick shades and tones that don't necessarily go well together, which can ultimately lead to a very stark contrast that doesn't make for the best transition. For example, putting very light flooring next to dark flooring will result in too much of a contrast to pull off a smooth transition.
When choosing flooring, it's important to pick colors that play well together. The key to this method is understanding that your wood and tile should not necessarily be the exact same color, but they should be colors that complement each other. For instance, if you have light wood flooring, you'll want your tile to be a neutral color like gray or tan. Darker hardwood paired with tan or wheat-colored tile is also a good option. Matching the undertones in your tile and wood floors is a great way to determine which colors can go well together. In general, warm-colored wood – think honey or cherry tones — pairs well with warm tiles, like beige or terracotta. Conversely, woods with a cooler tone, such as gray, go nicely with cool-toned tile like gray or white.
Decorative borders could be just the surprising solution you're looking for
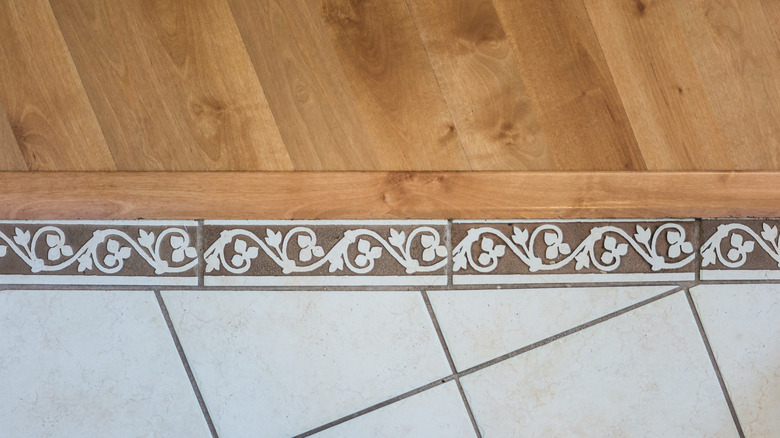
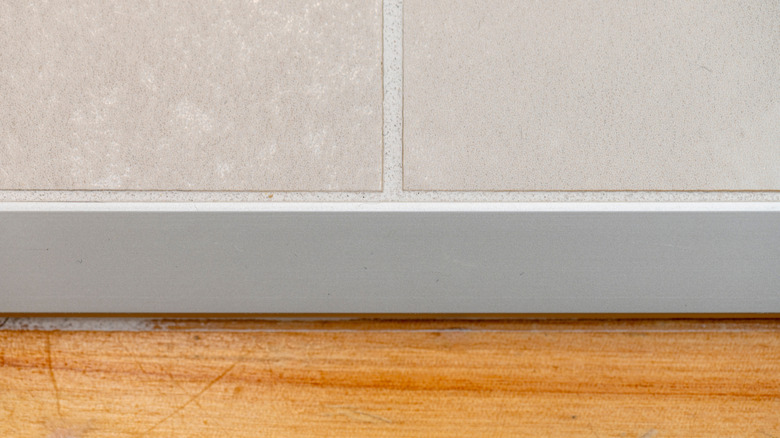
When you're going for a cohesive look, the idea of incorporating decorative borders (also called decorative transition strips) probably seems a little off-putting. However, this is a counterintuitive tip that can help your flooring flow well together. Using a decorative border, which can include patterns or other unique designs, will draw people's eyes and create a clear separation between spaces. At the same time, the border's decorative elements can help serve as a point of connection from one type of flooring to the next.
Please keep in mind that not all decorative borders are created equally — meaning, it's important to choose a decorative border that works well with your space and flooring. Although you want your border to serve as a distinct divider, you also want it to be able to tie your flooring together in a way that appears natural. For example, if your style is more modern, you might check out a mosaic border. On the other hand, borders made of marble (or another natural stone) or metal, like brass, can be great for a more luxurious look. Custom decorative borders are also something to consider if you want to introduce a little more creativity and individuality to your home.
Think about going curved
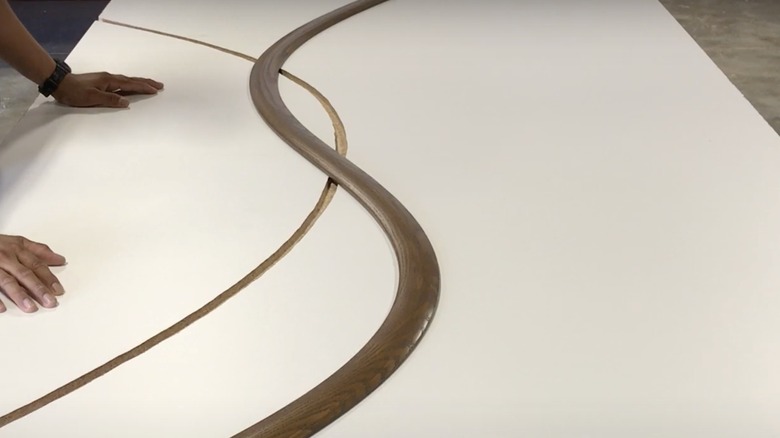
Many people probably think of straight lines when they envision flooring transition points, but a little curvature could potentially be the secret sauce to the smooth look you want between your tile and wood flooring. In order to create a curved transition, your tile should be laid so that it curves out towards your wood. This allows for a natural and softer look that lets the tile almost spill out onto the wood in an organic way.
Although this method can be used for any flooring separation in your home, it often works best when used in spaces that only need subtle separation, such as between a kitchen and eating area — two rooms that are closely related. People who love the Japanese wabi-sabi philosophy, which is essentially an appreciation of imperfections, may be drawn to this option, because the lack of a straight lines embraces the free-flowing nature of life. It's also a great way to bring biophilic design to your home, since the curves mimic the natural bends and arcs in nature (you never find straight lines in the outdoors.)