Organize Your IKEA ALEX Drawers With An Inexpensive Hack
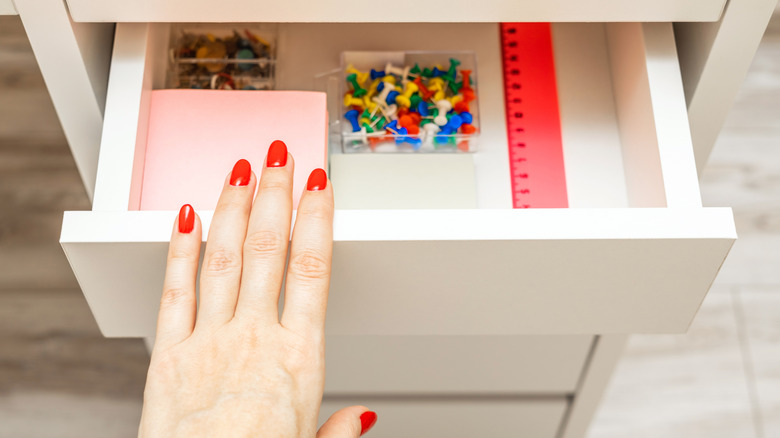
At just $90, IKEA's ALEX drawer unit comes in clutch for storing a wide variety of bits and bobs. But, if your items are constantly sliding around into a jumbled mess, a drawer divider may be exactly what you need to level up your organization. Whether you need to give your junk drawer a major overhaul or you want to streamline your office supply storage, a drawer divider creates little compartments inside the drawer, keeping specific items tucked neatly together so they don't spill over onto neighboring items. While you could buy store-bought drawer dividers for your ALEX drawers, it's actually much cheaper to make them yourself using foam board. Not only is this material super affordable, it's also highly durable, making it perfect to use for this IKEA hack.
You can find large 20-by-30-inch sheets of foam board for under $2 at most craft or office supply stores. This means you can make several drawer dividers for far less than you'd spend on one store-bought divider. Plus, by making your own dividers, you can customize the size and configuration of the compartments to fit your unique storage needs. You can even use these drawer dividers to declutter and organize any cabinet drawer in your home. The only other supplies you need are a tape measure or ruler, a pencil, a utility knife, and fine-grit sandpaper.
How to create custom drawer dividers for ALEX drawers
Start with a paper template that's the same size as the bottom of your drawer. With your template on a flat surface, arrange your items and draw lines around them to determine the size of the compartments you need. Note the measurements and use a utility knife to cut strips of foam board to the correct length and width, making sure they're slightly shorter than the height of the drawer's sides. Place your foam strips on the template, marking each point where they intersect, and cut out a notch at these points. The length of the notches should go halfway across each foam strip and the width should be the same as the board's thickness – for a 3∕16 inch board, cut a 3∕16 inch notch. If needed, lightly sand any rough edges. Line your foam strips up on the template and slide the notches together to lock them in place. Then simply insert it into your drawer to enjoy how much these DIY drawer dividers make organizing your home a breeze.
If you'd like to add a non-slip element, you could line your drawer with non-slip shelf liner before inserting the drawer divider. If you'd like to add a bit of style and color, that's easy to do, too! Simply wrap your drawer dividers with pretty contact paper, peel-and-stick wallpaper, or even thick wrapping paper before cutting the notches. This definitely adds a pop of pretty every time you open your drawers.