DIY An Easy-To-Clean Ironing Board For Your Sheets And Blankets
If you're tired of shifting your sheets and blankets around on the ironing board but don't want to spend the money to purchase a new, larger board, then it might be time to get crafty and DIY one. Not only is it affordable, but it has a customizable size and design. With multiple layers of fabric to protect the plywood base from heat and steam, this DIY is functional and beginner-friendly. Plus, it features a removable cover that can easily be washed. Before you resign yourself to wrinkly sheets, try this surprisingly simple technique to create an ironing board that is perfect for larger items.
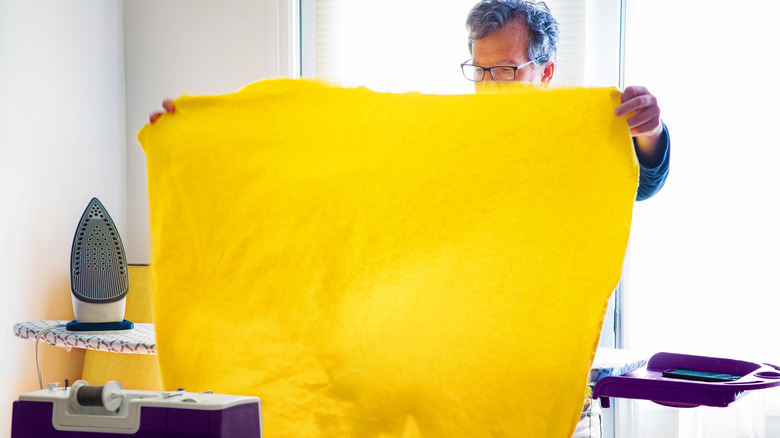
You'll need a plywood board, velcro strips, cotton batting, a staple gun, and cotton fabric. With a trip to a fabric store or Amazon shopping spree, you can gather most of the materials you need. You may also swap the velcro for buttons, snaps, or even a zipper. If you do not care for a removable top layer, you may skip this option and simply sew the fabric together. If you're purchasing plywood, most hardware stores can cut it to size; otherwise, try this hardware store wood-cutting tip that will save time on your home improvement project. A good starting point is to choose a 2-by-4-foot board; just carefully measure it before ordering fabric so that you order the correct sizes. Always overestimate your measurements, as fabric pieces can be cut down later if they are too big.
How to measure materials for this DIY
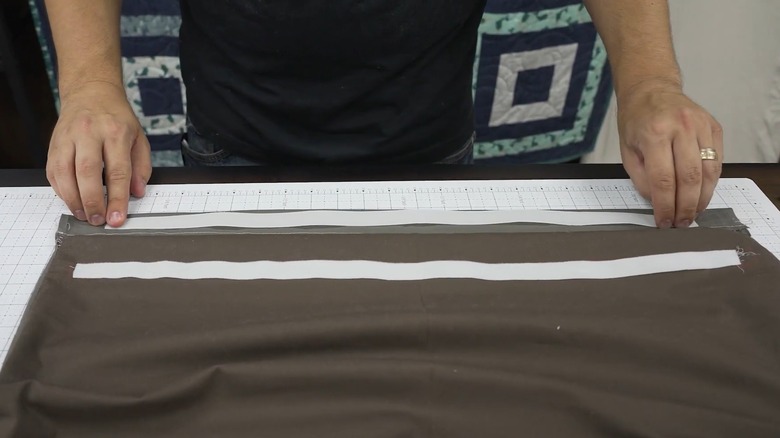
For the batting, you will want enough material to wrap around the board twice so you can use either side of the board for ironing. To measure for this, double the measurements of the size of the board and add about 1 inch on each side to account for the board's thickness and at least a quarter-inch seam allowance on each side. Wrap your batting around the board to make sure it fits correctly before cutting. Once cut, sew along three of the four edges to create a "pillowcase" into which you will slip the plywood board. Pull the batting down tightly on the open end, fold it over, and use the staple gun to secure the batting and create a smooth surface. Repeat this process for the second layer of batting, pulling the "pillowcase" on from the opposite side.
For the outer layer of fabric, you will want to add 1 inch to the width of your board's measurement and add an extra 2 or 3 inches to the length to leave room for the velcro. Create another pillowcase-like sleeve with your outer fabric, leaving extra room on the sides for seam allowances. Then, carefully slide the batting-covered plywood board into the sleeve. Add velcro strips to the opening, which will enable you to easily remove the outer layer for changing or washing as needed. Your ironing board is now complete and ready for use!
Using and caring for your new ironing board
If you decide this DIY project is for you, there are many ways to customize it. Any size and shape can be used for your plywood, though some will be easier to work with than others; rectangular and square boards will be the easiest. You can choose any fabric pattern or color you like, and even change up the material — just keep in mind that some fabrics are more likely to shrink in the laundry, and you do not want your fabric to shrink down and no longer fit the board. Two of the best choices to withstand the heat and steam of ironing boards are 100% unbleached cotton and Teflon. Conversely, acetate, nylon, and polyester should not be used due to their lower heat tolerances.
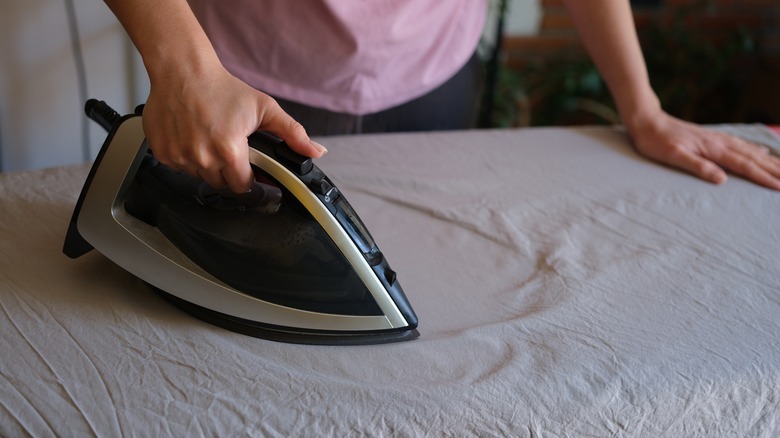
You might also consider making a second outer layer so you have one to use while the other is in the laundry. Of course, you can create a new cover at any time as well. Once you have your new two-sided board ready for use, explore creative ways to repurpose your old ironing board around your home and garden and avoid waste. To make your new ironing board last longer, follow the instructions on your sheets or blankets, and do not leave your iron unattended while it is on.